Netatmo Smart Outdoor Camera: A Comprehensive Guide
Discover the Netatmo Smart Outdoor Camera, a subscription-free security solution with advanced features like object detection and local storage. Learn about installation and setup.
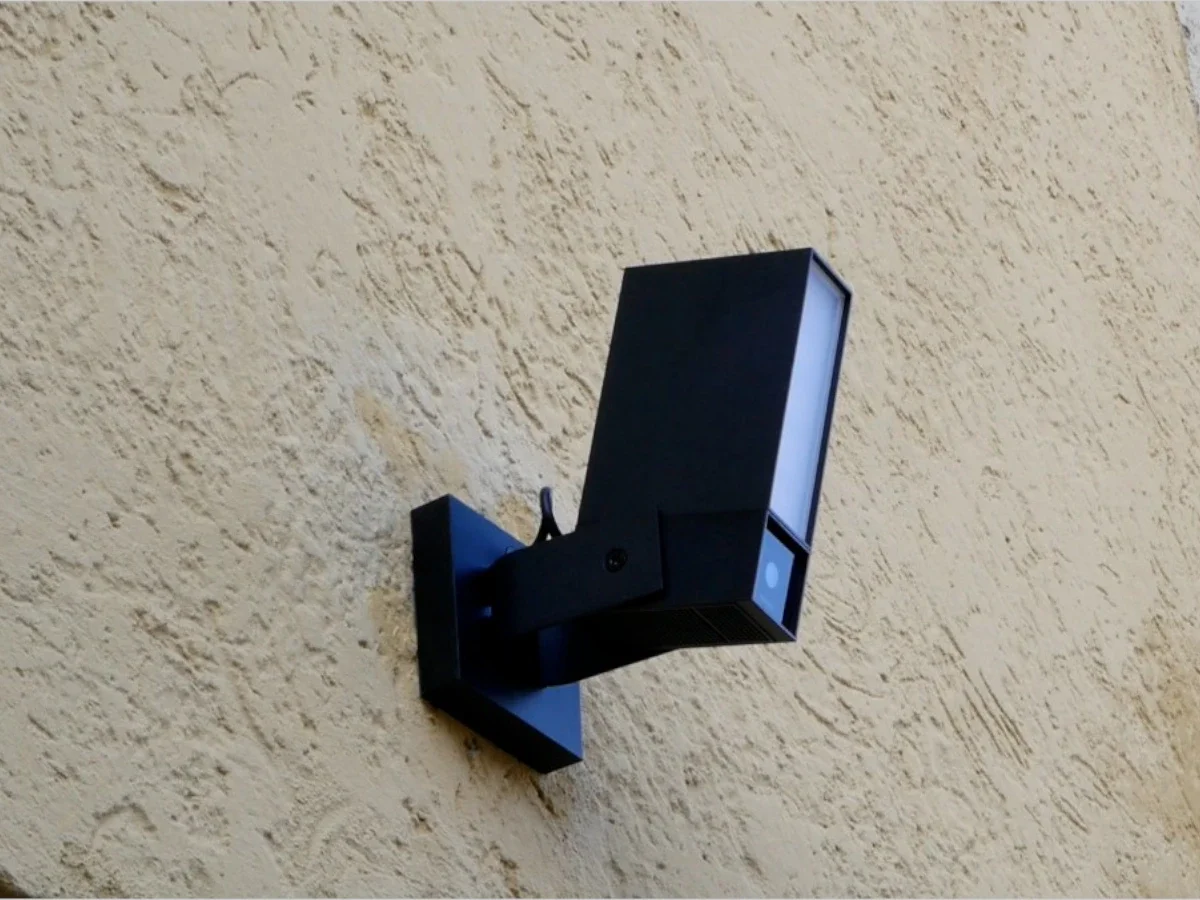
In an era marked by rising burglary rates and an increasing demand for security, many homeowners are turning to smart surveillance solutions.
The Netatmo Smart Outdoor Camera with Floodlight distinguishes itself from competitors by eliminating subscription fees, offering local storage, and featuring intelligent object detection.
Product Overview: What Makes the Netatmo Camera Stand Out?
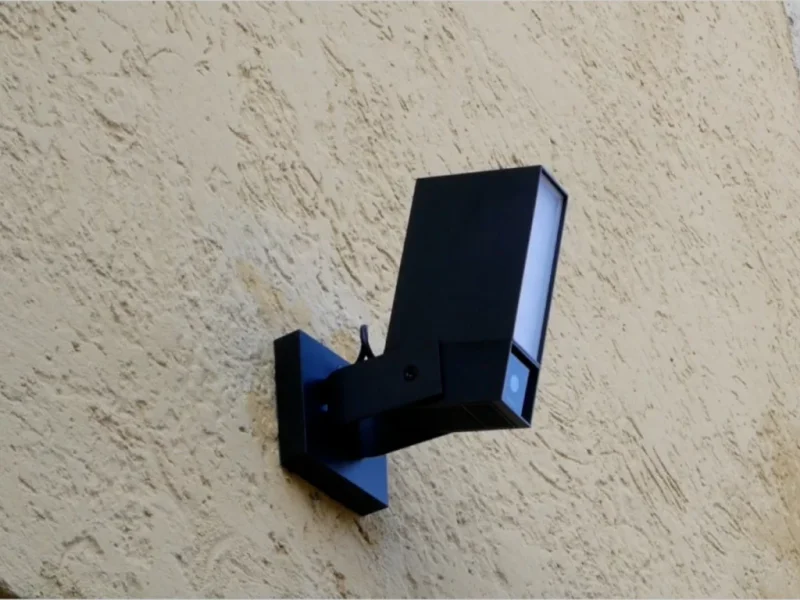
This weatherproof camera (IP66 rating) is made from aluminum and boasts high-quality construction. Its standout features include:
- Person Detection: Alerts only for significant movements, minimizing false alarms caused by animals.
- Vehicle Detection: Perfect for monitoring driveways or parking areas.
- Floodlight Function: Deters intruders with bright light upon detecting motion.
- Data Security: Local storage on MicroSD without reliance on cloud services.
Preparations Before Installation
What You Will Need:
- Wi-Fi access at the installation location
- 230V power outlet (for example, to replace an old outdoor light)
- Drill, screwdriver, and possibly silicone
Choosing the Location:
Select a spot that provides a clear view of the area to be monitored (e.g., front door, garage, garden fence). The camera should be mounted high enough to deter tampering but still accessible for maintenance.
Installation Process: Step-by-Step Guide
Installing the Netatmo Smart Outdoor Camera is manageable with some DIY skills. Below is a detailed step-by-step guide to help you through the entire installation process.
1. Remove the Old Light Fixture
- Turn Off the Power: Before starting, ensure the circuit is deactivated at the breaker box to avoid electric shocks.
- Dismantle the Existing Light: Remove covers, disconnect wiring, and carefully take down the old fixture.
- Check the Wires: Verify that the existing wires (L, N, PE) are intact and of sufficient length.
Tip: Use a phase tester or voltage tester to ensure there is no current present!
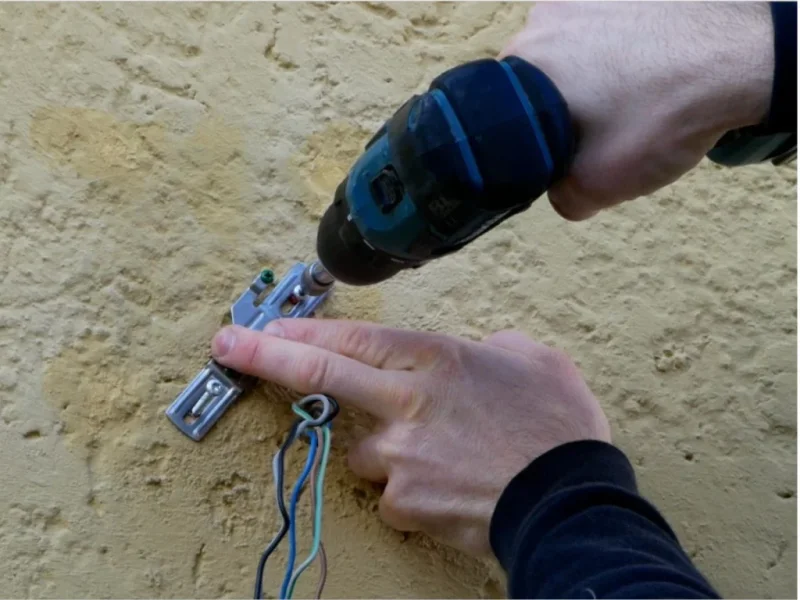
2. Attach the Mounting Bracket
- Check the Position: The camera should be mounted at about 2.5 meters high – high enough to prevent tampering but low enough for good facial visibility.
- Drill Holes: Use a level to ensure alignment, mark the holes, and drill.
- Use Anchors and Screws: Select appropriate anchors based on wall material (e.g., for concrete or brick).
- Prepare Cable Routing: Decide on a central or side cable entry based on wall connection.
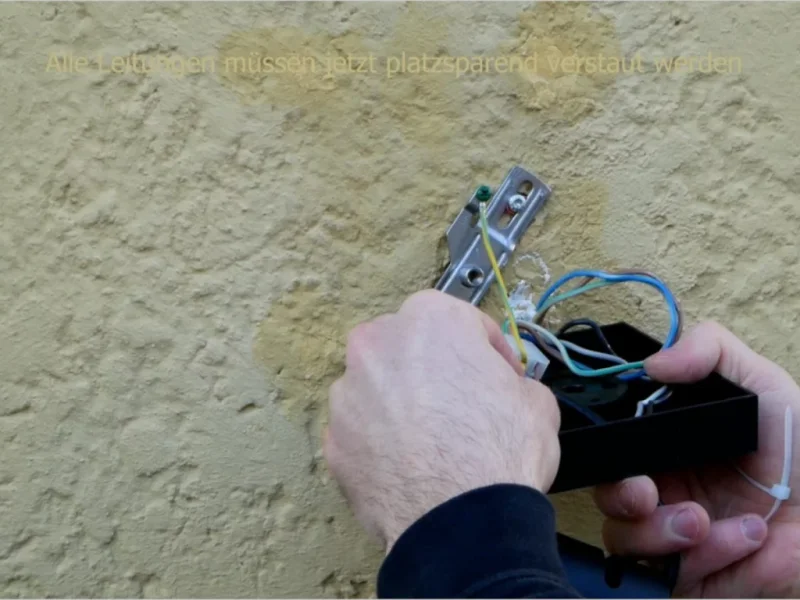
3. Establish Electrical Connections
- Connect the Wires Correctly:
- L (brown/black): Live wire (power supply)
- N (blue): Neutral wire
- PE (yellow/green): Protective earth (ground)
- Insulate Connections: Ensure proper strain relief and use insulated wire end sleeves.
- Secure Connections: No bare wires should be visible.
Caution: If you are unsure about the connections, consult an electrician – safety first!
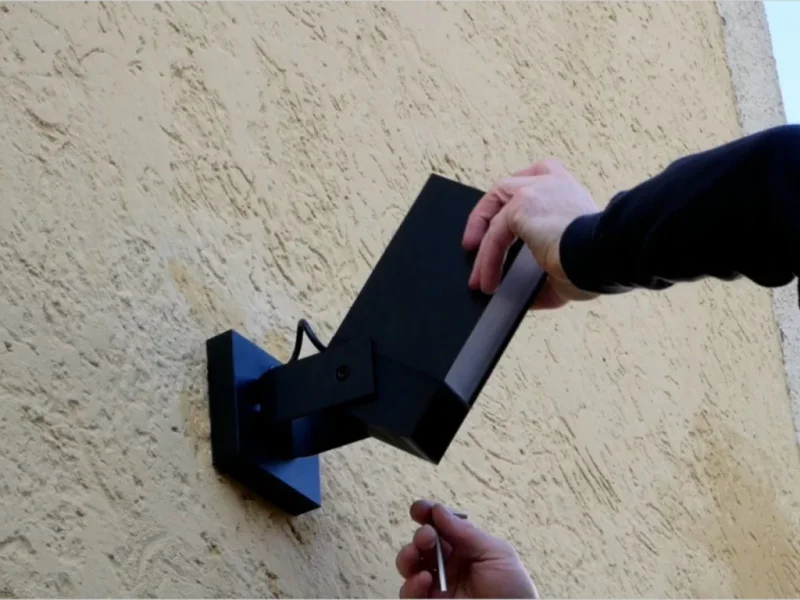
4. Mount the Camera
- Position the Camera: Slide the Netatmo camera onto the installed mounting bracket.
- Adjust the Angle: Ensure the camera covers both the entrance area and the horizon effectively.
- Secure the Camera: Use the provided Allen key to firmly attach the camera to the bracket.
Note: Position the camera to avoid direct views of streetlights or reflective surfaces, as this can hinder night vision.
Weatherproof Sealing
- Use Silicone: Seal the cable opening and the back of the bracket with weather-resistant silicone.
- Prevent Moisture: This will help keep rain or condensation from entering the electronics.
- Check: Ensure no silicone debris obstructs ventilation openings or the microphone.
Pro Tip: Use clear silicone for a discreet seal that blends with the facade.
Setup and App Configuration
After successful installation, the next step is configuring the camera through the app, which is designed to be simple and intuitive.
App Installation
- Download the free Netatmo Security app from the App Store (iOS) or Google Play Store (Android).
- Launch the app and create an account or log in if you already have one.
- Select "Add Device" and scan the QR code located on the back of the camera or in the manual.
- The app will guide you through the process of connecting to your Wi-Fi. Ensure you are on the 2.4 GHz network, as 5 GHz is not supported.
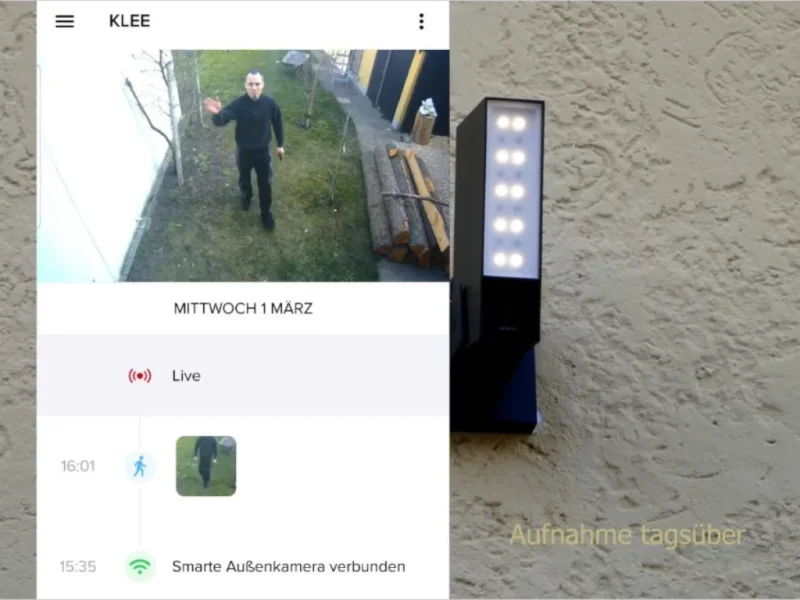
- Once connected, you’ll immediately gain access to the camera’s live feed.
Security Tip: Use a strong password and enable two-factor authentication for your Netatmo account.
Setting Up Detection Zones
A key feature of the Netatmo camera is its precise motion analysis through customizable “alarm zones”:
- You can draw multiple user-defined zones over the live image in the app, such as the driveway, front door, or garden path.
- The camera will monitor movements only within these zones, filtering out everything else – saving storage and preventing unnecessary alerts.
- You can specify which types of movements will trigger notifications: people, vehicles, or animals.
Pro Tip: Deliberately set adjacent private areas (e.g., neighboring properties or public pathways) as ignored zones – this protects privacy and fulfills data protection requirements (GDPR compliance).
Advanced Features in the App
- Notification Settings: Customize how and when you receive alerts for motion detection (push notifications, email).
- Floodlight Control: Choose whether the light activates automatically upon motion or can be manually controlled via the app.
- Schedules & Automations: Set specific times for the camera to be active – for instance, at night or during your absence.
- Access Permissions: Grant other household members access to the camera with their own permissions.
- Smart Home Integration: Seamlessly integrate the camera into systems like Apple HomeKit (including Secure Video), Google Home, or Amazon Alexa.
By configuring the app, you can maximize the potential of the Netatmo camera – offering precise, intelligent, and convenient control from anywhere.
Advantages & Disadvantages at a Glance
Advantages:
- High-quality construction & weatherproof
- AI-based object detection
- Integrated floodlight & siren
- No ongoing costs
- Privacy-friendly (local storage)
Disadvantages:
- Installation requires electrical knowledge
- Siren cannot be triggered automatically
- No pan/tilt mechanism
Conclusion: Is the Netatmo Camera Worth It?
The Netatmo Smart Outdoor Camera with Floodlight is a well-thought-out solution for those seeking security without the commitment of long-term cloud subscriptions. It offers robust technology, smart features, and a user-friendly app, making it particularly suitable for homeowners looking to replace an existing outdoor light.