5 Tips for Keeping Your Dishwasher in Top Shape
Discover five simple tips to effectively clean and maintain your dishwasher, ensuring it runs like new without harsh chemicals.
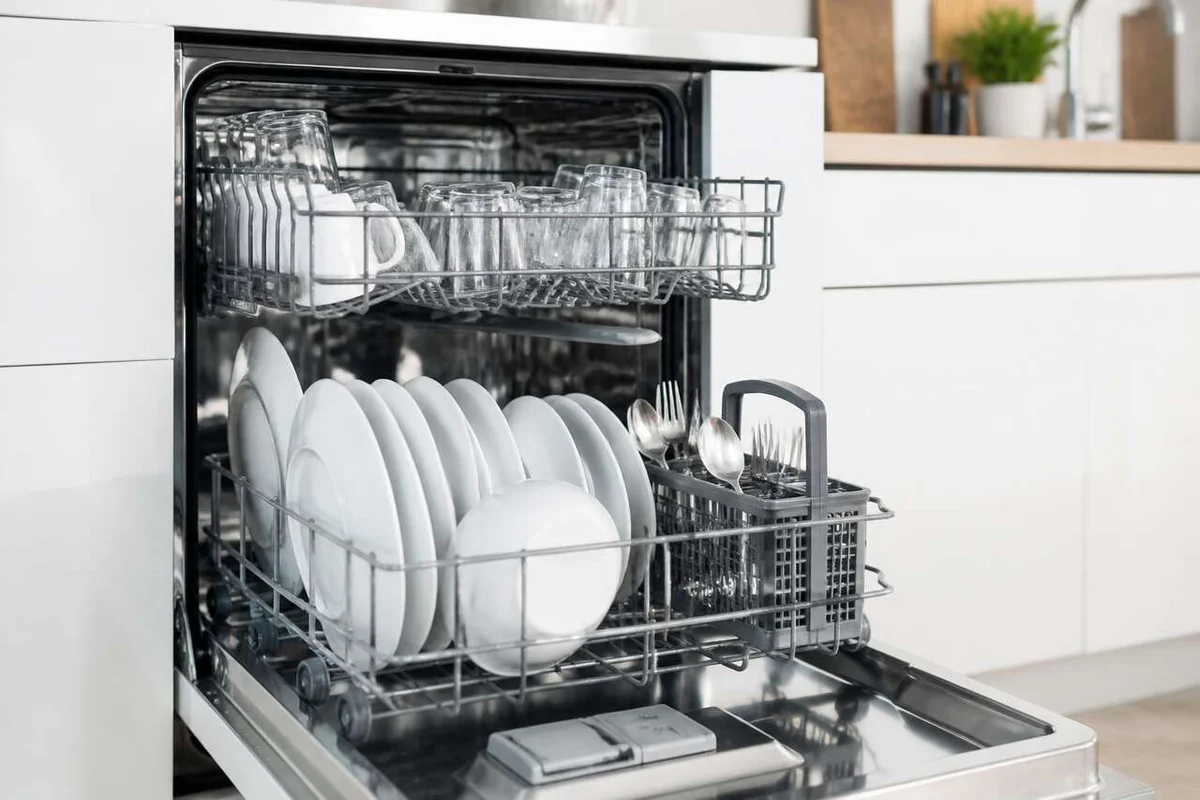
Many homeowners face issues with their dishwashers, such as unpleasant odors, white residue, and less-than-sparkling dishes. Fortunately, with just 30 minutes of active maintenance, you can restore your dishwasher’s performance without resorting to harsh chemicals or spending your entire weekend on the task.
Key Takeaways
- Check the filter and drain area every two weeks, as they are primary sources of odors and performance issues.
- Clogged spray arms can lead to dull dishes; a simple toothpick can clear the nozzles—avoid using metal objects.
- A cup of white vinegar during a high-temperature empty cycle can effectively remove light grease and limescale from the tub.
- While vinegar is effective, it should be used sparingly to avoid damaging seals.
- A thorough cleaning every two months, along with a deep clean every six months, prevents most breakdowns.
Why Dishwashers Get Dirty (Even When They Clean)
Even a functioning dishwasher can accumulate food particles, grease, limescale, and mineral deposits over time. These residues tend to settle in less visible areas, such as the bottom of the tub, seals, and inside the spray arms. Over time, they can form a biofilm that promotes the growth of bacteria and mold, leading to noticeable odors and unsightly residue.
Common warning signs include cloudy glasses with white marks, greasy dishes, unpleasant smells upon opening the door, and unusual noises during the wash cycle. These symptoms typically indicate a gradual buildup rather than a complete breakdown. For instance, a partially clogged spray arm can reduce water pressure without halting the dishwasher's operation, making the problem easy to overlook for weeks.
Neglecting maintenance can exacerbate these issues, resulting in decreased cleaning efficiency, persistent odors, bacterial growth, accelerated wear of components, and ultimately, costly repairs. The frequency of maintenance depends on the model and water hardness; if unclear, aim for a cleaning schedule every 3 to 12 weeks. In practice, a tighter schedule is advisable for sensitive areas:
- Seals and filter: every two weeks
- Bottom of the tub: once a month
- Complete deep clean: every two months
This straightforward routine helps mitigate symptoms before they become entrenched. Now, let’s explore where to begin: Tip 1: Clean the filter and drain area, the true trouble spot.
Tip 1: Clean the Filter and Drain Area, the True Trouble Spot
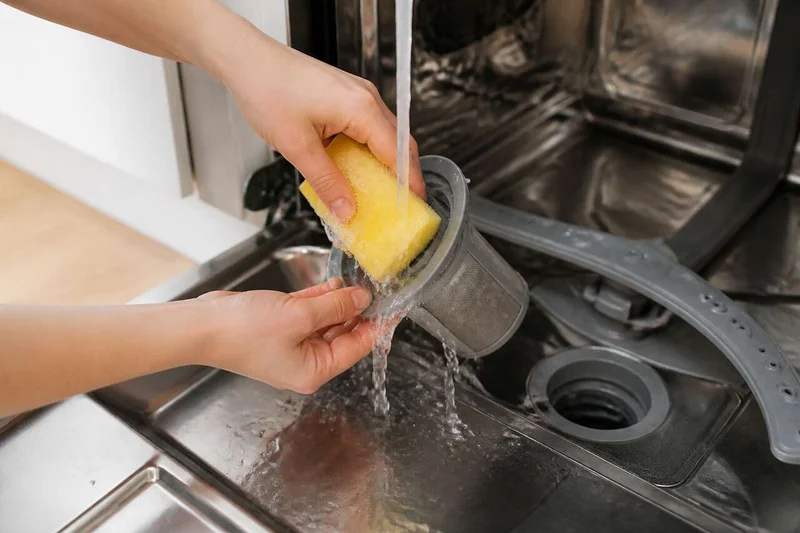
The filter, located at the bottom of the tub, captures food particles carried by water during each cycle. When it becomes clogged, two problems arise: dishes come out less clean, and unpleasant odors develop. This is often the first area suspected, and rightly so.
The cleaning process is quick, taking about 5 minutes:
- Gently twist to unclip the filter from the bottom of the tub.
- Rinse it thoroughly under hot water to dislodge residues.
- If it remains heavily soiled, scrub it with a toothbrush soaked in undiluted white vinegar.
- Check the drain pump and the screen just below it; hair, labels, or fruit pits can block drainage.
- Reattach the filter securely to prevent water from pooling at the bottom.
This step corresponds to the most widely used home remedy for a smelly dishwasher: it requires minimal materials, costs almost nothing, and resolves a significant portion of dirty dish issues. Checking the filter every two weeks prevents it from becoming a problem area again. Next, let’s focus on another often-overlooked component: Tip 2: Unclog the Spray Arms for Effective Pressure.
Tip 2: Unclog the Spray Arms for Effective Pressure
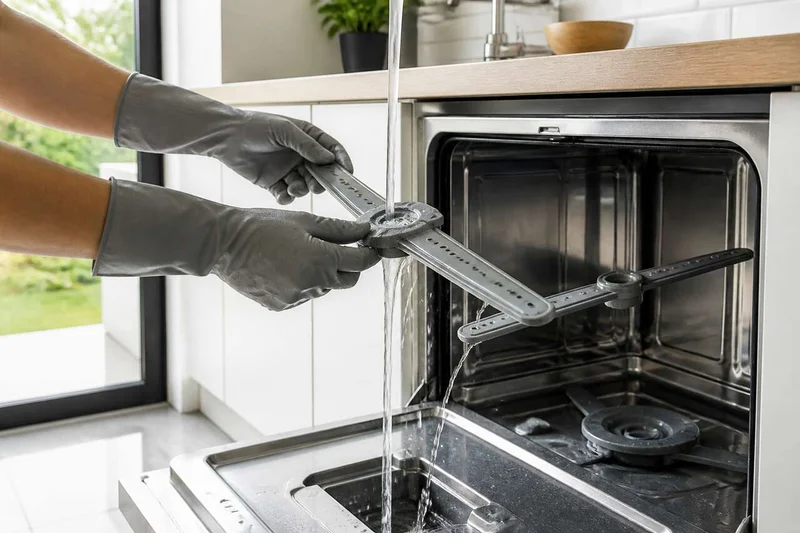
The spray arms propel water under pressure onto the dishes through small spray nozzles. When these nozzles become clogged, the pressure drops locally, leading to poorly rinsed items and a characteristic dull appearance.
Dismantling the spray arms is generally straightforward and requires no tools:
- Remove the lower and upper spray arms, usually secured by a simple clip or a hand-tightened nut.
- Rinse them under hot water, paying special attention to the ends.
- Identify any nozzles blocked by limescale, seeds, or stuck labels.
- Clear each nozzle using a wooden or plastic object, like a toothpick; avoid metal objects, which can widen the holes and disrupt the spray pattern.
- Reassemble the arms, ensuring they can rotate freely.
This task takes about 5 to 7 minutes and can easily be combined with filter cleaning, as both areas are connected. If a spray arm isn’t turning properly or has low water flow, this check is essential before blaming the detergent. Once the pressure is restored, it’s time to tackle hidden corners: Tip 3: Clean Seals, Door, and Crevices, Where Odors Develop.
Tip 3: Clean Seals, Door, and Crevices, Where Odors Develop
The door seal is perpetually damp, making it an ideal breeding ground for mold and biofilm. It is often here, rather than in the tub itself, that the most stubborn odors reside.
A targeted cleaning session, taking about 5 minutes, is usually sufficient:
- Wipe the seal with a damp cloth soaked in dish soap or white vinegar.
- Pay special attention to the corners and folds of the seal, where residues can accumulate out of sight.
- Clean the door lip and control panel, which are often neglected.
- Avoid bleach on the seals, as it can weaken the rubber and accelerate aging.
This regular task, performed every two weeks alongside the filter cleaning, significantly limits the return of biofilm. Once the corners are sanitized, it’s time to focus on the tub itself: Tip 4: Deep Clean the Tub with the Right Product (Vinegar, Citric Acid, Soda Crystals).
Tip 4: Deep Clean the Tub with the Right Product (Vinegar, Citric Acid, Soda Crystals)
Three categories of natural products are commonly used to treat the tub, each with specific applications depending on whether the primary issue is limescale or grease.
| Product | Main Target | Suggested Dosage | Recommended Use | |------------------|---------------------|----------------------------------|-------------------------------------| | White Vinegar | Limescale, mineral deposits | 1 large glass in the tub bottom | Empty cycle at maximum temperature | | Citric Acid | Stubborn limescale | 1 to 2 tablespoons diluted | Bottom of the tub before an intensive cycle | | Soda Crystals | Stubborn grease | 1 tablespoon | Added at the end of filling | | Baking Soda | Odors, light residues | 1 to 2 tablespoons | As a complement, at the end of the cycle |
The most cited method involves pouring a large glass of white vinegar into the empty tub and running a high-temperature cycle. Some people also sprinkle a bit of baking soda at the end of the cycle, which neutralizes residual odors. For heavily limescaled dishwashers, citric acid often proves more effective than vinegar on older deposits without leaving a persistent acidic smell. Soda crystals are recommended when grease is the dominant problem rather than limescale.
This comprehensive step, to be performed every two months as a general guideline, should be followed by a special note on the most commonly used and mismeasured product: Tip 5: Use White Vinegar Without Damaging the Appliance.