A Comprehensive Guide to Window Installation in Renovation Projects
Learn how to successfully install new windows in renovation projects with our comprehensive guide. Understand the techniques, materials, and steps involved for a seamless installation.
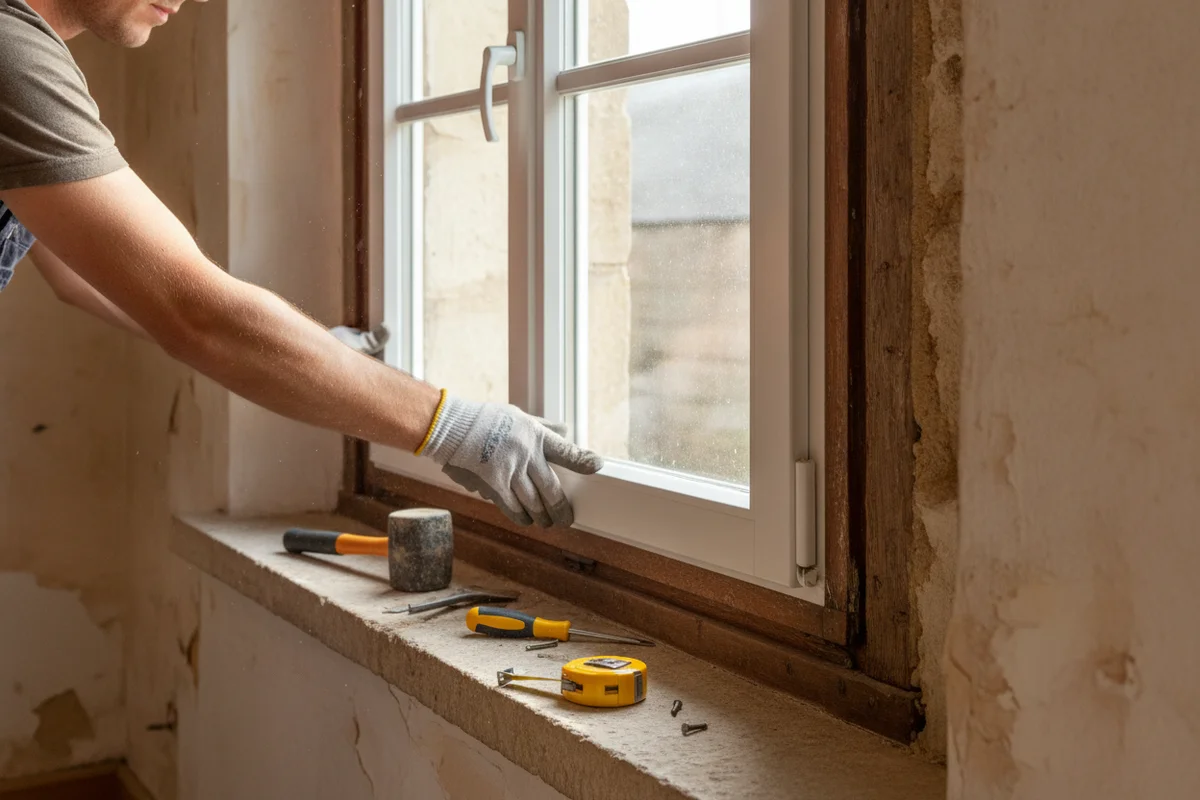
Renovating your home often requires making significant updates, and one of the most impactful changes can be the installation of new windows. The renovation installation method has become the preferred choice for replacing aging windows without the need for extensive masonry work. This technique involves keeping the existing frame, which is securely fixed to the wall, and fitting the new window into it. As a result, the process is quicker, more cost-effective, and can be managed by both qualified professionals and skilled DIY enthusiasts. This guide outlines the essential steps, precautions, and common pitfalls to avoid for a successful installation.
Choosing Between Renovation Installation and New Installation
Before ordering new window frames, it's crucial to assess whether renovation installation is suitable for your project. This method retains the old frame embedded in the masonry and attaches the new frame directly to it. It is ideal when the existing structure is sound, straight, and securely anchored.
Conversely, new installation requires the complete removal of the frame down to the bare masonry. This approach is necessary if the old frame is made of PVC or aluminum (as these materials do not provide reliable long-term support), if it is swollen, cracked, or detached from the wall. New installation is also required when creating a new opening or expanding an existing one.
In practice, window renovation is typically the preferred option for older homes built before the 1980s. New installations are mostly relevant for newer constructions with degraded PVC or aluminum frames, or for complete rehabilitation projects.
Administrative Obligations Before Beginning
Many homeowners may not realize that replacing a window can involve administrative processes. If you are replacing a window with an identical one (same dimensions, color, and material), no prior work declaration is necessary. However, as soon as you change any of these criteria or create a new opening, a declaration is required.
This requirement is even stricter if your property is located within the vicinity of a historic monument or in a protected area (such as a conservation zone). In such cases, approval from an Architect of Buildings of France is necessary, and the choice of material (PVC, wood, aluminum) and color may be mandated. It is advisable to check with your local municipality before placing an order.
Selecting the Right Material: PVC, Wood, or Aluminum
The choice of material significantly impacts the performance, cost, and longevity of your installation. PVC windows are the most commonly used in renovations due to their excellent quality-to-price ratio, low maintenance requirements, and outstanding thermal insulation with standard double glazing. A standard white PVC frame with double glazing 4/16/4 argon has a Uw coefficient around 1.3 W/m².K, which can drop to 0.9 with triple glazing.
Wood offers superior natural thermal performance and is aesthetically pleasing in character homes. However, it requires regular maintenance (staining or painting every 5 to 7 years) and tends to be more expensive. Aluminum is more rigid and allows for thinner profiles and larger dimensions, but it conducts heat more readily, necessitating careful attention to thermal bridge breaks integrated into the profile.
In PVC renovation, window frames come with a renovation profile (also known as a cover joint or corner piece) that conceals the gap between the old frame and the new one. This profile is available in various widths (15 to 40 mm) depending on the size of the gap to be filled.
Essential Tools and Supplies
A well-prepared window installation project can prevent 80% of potential issues. Here’s a list of essential materials:
- Drill/driver with bits for wood and masonry
- Level and masonry ruler (minimum length of 1 m)
- Caulking gun for polyurethane foam and silicone sealant
- Plastic shims for leveling (shims ranging from 1 to 10 mm)
- Miter saw for cutting PVC finishing profiles
- Stainless steel countersunk screws for fixing to the wooden frame
- Compressed band (illmod or equivalent) for air sealing
- Window sill or threshold profile if replacing the sill
For large volumes or oversized frames (such as sliding doors), a suction lifter and a second operator are strongly recommended. A standard 120×120 PVC window weighs between 25 to 35 kg with its glazing, so proper handling should not be underestimated.
Step 1: Removing the Old Window
In renovation installation, you do not remove the old frame entirely; instead, you only take out the sash (the moving part) and the glazing of the old window, leaving the fixed frame in place. Start by unscrewing the hinges and removing the sash. If the window is a monobloc (as seen in some older wooden frames), you may need to cut the sash with a jigsaw, taking care not to damage the frame.
Next, thoroughly clean the frame: remove any old layers of paint that could hinder proper adhesion, fill any cracks or rotting areas with wood filler or epoxy resin, and check the levelness. A frame that is warped by more than 3 mm will need to be shimmed or planed before installation.
Step 2: Preparing and Leveling the New Window
Before inserting the new frame, remove the sashes from the new frame to lighten the structure and facilitate installation. Place plastic shims on the lower support of the existing frame, ensuring a minimum height of 20 mm to allow for the installation of sealing foam beneath the frame.
Insert the bare frame into the opening, checking the plumb, level, and square using your instruments. Adjust the shimming as you go. The frame should never rest directly on the old frame without shims: shimming at 1/4 and 3/4 of the width at the bottom, and at the top on both sides, is usually sufficient.
Step 3: Fixing the New Frame to the Old Frame
Once the shimming is confirmed, drill through the new PVC frame into the old wooden frame, using stainless steel screws of adequate length (5 to 6 cm minimum). Place one screw every 60 to 70 cm on each vertical member, and at least two points of fixation on the top and bottom rails. The drill holes in the PVC should be slightly larger than the screw diameter to allow for thermal expansion.
Be cautious with tightening: overtightening a PVC frame can cause deformation and compromise the functionality of the sashes. Tighten progressively while alternating the fixation points, regularly checking for levelness and squareness. If the new window is a sliding door, ensure that the threshold is properly leveled to avoid closing issues.
Step 4: Ensuring Air and Water Tightness
This step is the most critical in renovation installation and is often rushed. Poor sealing can lead to water infiltration, thermal bridges, condensation, and rapid deterioration of the masonry. The basic principle is the three-level rule:
- Interior side: install a compressed band or elastic sealant for air tightness (warm side).
- Intermediate space: inject expanding polyurethane foam into the gap between the old and new frames to fill and insulate thermally.
- Exterior side: use silicone sealant or an impregnated compressed band that is tolerant to water vapor, ensuring rain impermeability while allowing vapor to escape outside.
Polyurethane foam should not be used alone for exterior sealing: it absorbs moisture and degrades in sunlight. It must always be covered with a profile or finishing sealant on the exterior side.
Step 5: Installing Finishing Profiles
Renovation profiles (cover joints) are used to hide the gap between the old frame and the new frame, both inside and outside. In PVC, they clip or adhere directly to the new frame and cover the existing structure. They come in standard white or in the chosen window color (such as anthracite gray, golden oak, etc.).
Angles should be cut at 45° using a miter saw for a clean finish. Apply a bead of glue or sealant on the back before positioning them, then press firmly. On the exterior, a silicone joint is applied all around to finalize the sealing. On the interior side, the junction can be dressed with plasterboard or a finishing profile depending on the condition of the reveals.
Adjusting Sashes and Final Touches
Once the window is installed and finishing touches are completed, reattach the sashes and test their operation. A sash that rubs, closes poorly, or whose seal does not compress correctly indicates a problem with shimming or screwing. On modern PVC windows, hinges and locks can be adjusted in three dimensions (height, lateral, compression) using Allen screws accessible without disassembly.
Check the uniformity of the gap between the sash and the frame around the perimeter (approximately 3 to 5 mm), as well as the proper compression of the sealing joints. A joint that is too loosely compressed will allow air in; conversely, an overly compressed joint will wear out prematurely. If the frame has built-in ventilation (hygroregulated air inlet), ensure it is functional and correctly positioned.
When to Call a Professional
Window renovation installation is technically feasible for a skilled artisan or an experienced DIYer with standard frames. However, several scenarios warrant hiring a qualified RGE (Recognized Environmental Guarantee) professional: large openings (such as sliding glass doors), degraded or needing repair masonry, properties located in protected areas, or projects eligible for financial assistance (MaPrimeRénov’, CEE).
Certified artisans not only ensure quality installation but also condition the receipt of subsidies. A poorly installed window will never achieve its theoretical performance: a Uw of 1.1 claimed by the manufacturer can rise to 1.6 or more in real conditions if sealing is inadequate. For residents in the area, Verreclair, a specialist in window installation in Chantilly, offers comprehensive support from measurement to installation, with a ten-year guarantee.
The cost of professional installation in renovation ranges from 150 to 400 euros per window, depending on size, type of frame, and requested finishes. This additional cost is often offset by the lifespan of the equipment (20 to 30 years) and the energy savings generated.
Frequently Asked Questions about Window Renovation Installation
Can a PVC window be installed on an old PVC or aluminum frame?
No, this is technically inadvisable. Fixing a new PVC frame onto an old PVC or aluminum frame does not provide sufficient mechanical strength. In such cases, new installation is required, involving complete removal of the old frame down to the masonry.
How long does it take to install a window in renovation?
The duration of installation varies based on the complexity of the project, but generally, a standard window can be installed within a few hours. Proper planning and preparation can significantly reduce installation time.