A Step-by-Step Guide to Embroidering a Cap
Learn how to embroider a cap with this comprehensive step-by-step guide. From preparation to final touches, discover the essential techniques and materials needed for a professional finish.
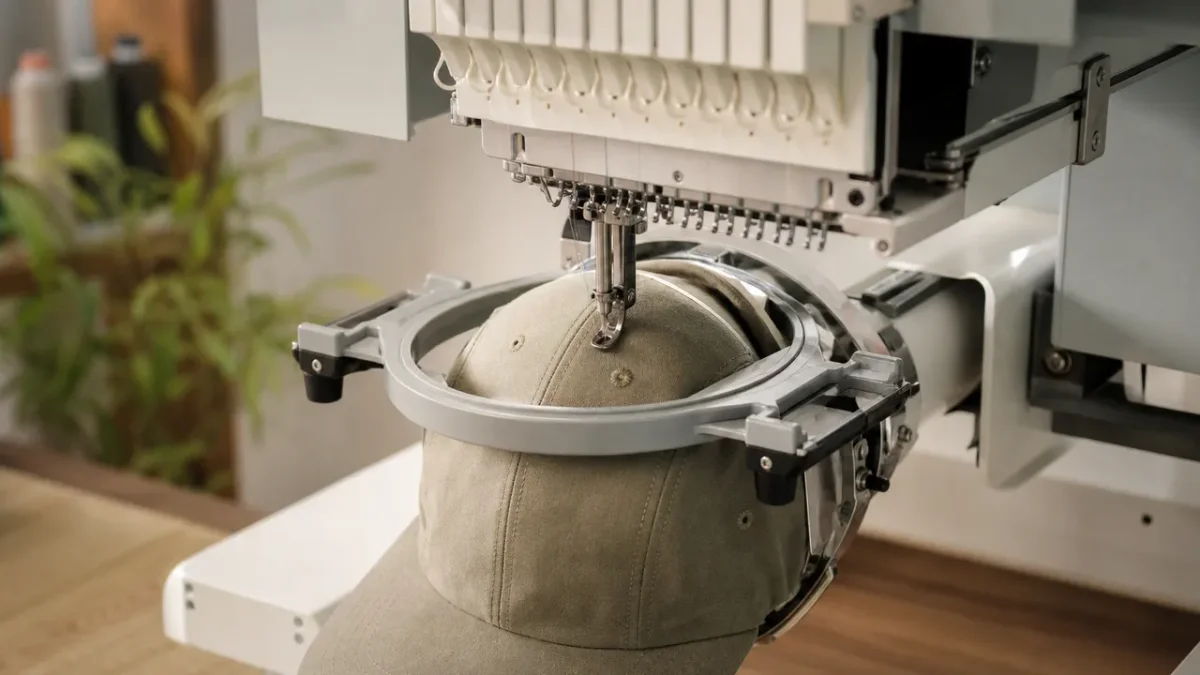
Embroidering a cap requires meticulous preparation at every stage. Key factors include the choice of stabilizer, motif placement, and managing the visor, all crucial for achieving a clean finish.
This guide outlines the complete method, from sketching to final touches, detailing the necessary materials and common pitfalls that often compromise cap embroidery.
Step-by-Step Guide to Embroidering a Cap
A successful cap embroidery hinges on three essential elements:
- proper preparation,
- accurate motif placement,
- and stable fixation.
The rounded shape and thickness of the fabric make this task more challenging than embroidering on flat textiles. However, with the right approach, the results can be impressive.
Preparing the Motif, Transfer, and Placement on the Cap
Begin by selecting a suitable cap, ensuring it has a clean, smooth, and sufficiently structured fabric to support the embroidery. Prepare your motif on paper, adjusting its size to fit the available area, usually on the front or side.
Two effective techniques for transferring the design include:
- Carbon paper: Place it between the motif and the cap, then iron over the lines to transfer the design onto the fabric.
- Transfer paper: Ideal for simple designs, this paper adheres directly to the cap before embroidery.
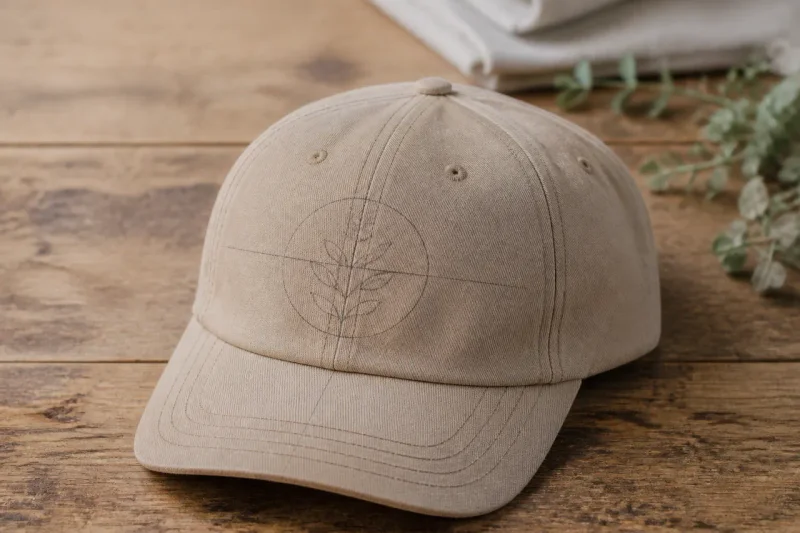
Always mark the center and seams of the cap before starting. This prevents misalignment, a common mistake among beginners. Ensure the embroidery does not interfere with the visor or thick seams once the motif is placed.
Securing, Embroidering, and Finalizing the Cap
Insert a stabilizer or interfacing inside the cap, slightly larger than the area to be embroidered. This keeps the fabric in place and prevents distortion from thread tension. Next, secure the cap on an appropriate frame or specific clip. Carefully center the embroidery area under the needle before starting, as precise placement is critical to the final outcome.
Before you begin the embroidery, trace the outline of the motif without stitching. This step allows you to check its positioning and ensure it doesn't touch the visor. Use a full bobbin to minimize interruptions, and monitor the thread tension and fabric stability throughout the process.
Once the embroidery is complete, remove the cap from the frame, detach the stabilizer, and trim any excess interfacing. A steam press or hat press helps achieve a cleaner finish. For hand embroidery, back stitches and stem stitches allow for easy contour following.
Essential Materials for Embroidering a Cap
The necessary materials include a suitable cap, quality threads, appropriate needles, and a stabilizer. Each component is vital for achieving a clean and durable embroidery.
- Cap: A fabric or structured model, clean, with an unembroidered surface on the front or sides.
- Threads: High-quality embroidery thread, chosen to contrast with the fabric color.
- Needles: Sizes 75/11 to 90/14 for thick fabrics, preferably titanium to withstand heat and friction.
- Cap frame: A dedicated curved frame or clip system placed on an adhesive frame.
- Stabilizer: Fabric or adhesive support placed inside, always larger than the embroidered area.
- Transfer tools: Carbon paper, tracing paper, or transfer paper, along with a marking pen for the center.
- Fixation accessories: Binder clips and tape to secure edges on the stabilizer.
If you are new to embroidery, the basic materials remain the same for a cap. Just ensure the support is adapted to its rounded shape and choose suitable stabilization.
Can You Embroider a Cap with a Home Embroidery Machine?
Yes, a home embroidery machine can embroider a cap with the right accessories. A cap clip combined with an adhesive frame allows the hat to be held securely under the needle.
This method does, however, offer a smaller embroidery area compared to professional equipment. Be cautious with the visor and rigid parts during motif tracing. For thicker caps, use appropriate needles and reduce sewing speed to minimize thread issues.
Always test the motif on similar fabric before embroidering the final cap. This allows you to check alignment and adjust size without damaging your piece.
Where to Embroider or Customize a Cap with a Logo?
There are two options for customizing a cap: hiring a professional or doing it yourself. A workshop equipped with machines and frames can easily handle complex motifs, logos, or detailed texts.
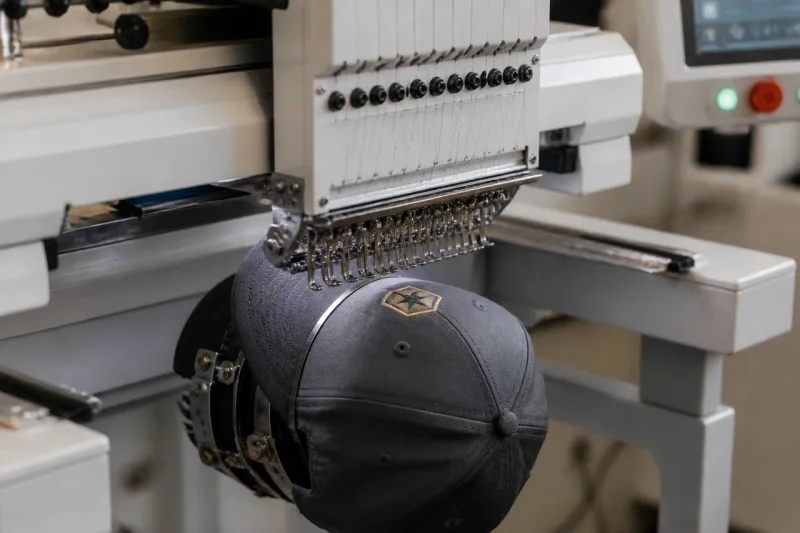
For a precise logo, digitization transforms your visual into a file suitable for the embroidery machine. This step ensures a faithful result despite the cap's curved shape. At home, hand embroidery or a family machine with an appropriate frame can also yield a beautiful finish, provided the support is well-prepared.
For side embroidery, professionals often use specialized frames and adhesive stabilizers to maintain this more challenging area.
What Is the Cost of an Embroidered Cap?
The cost of an embroidered cap largely depends on the complexity of the design, the number of colors, and the chosen service provider. Prices can therefore vary from one workshop to another. To get an accurate estimate, request a quote specifying the size of the design and the desired level of detail.