Creating a Root Barrier Bed for Bamboo, Bananas, and Spreading Plants
Learn how to create a circular garden bed with a root barrier for bamboo, bananas, and other spreading plants to keep your garden organized and beautiful.
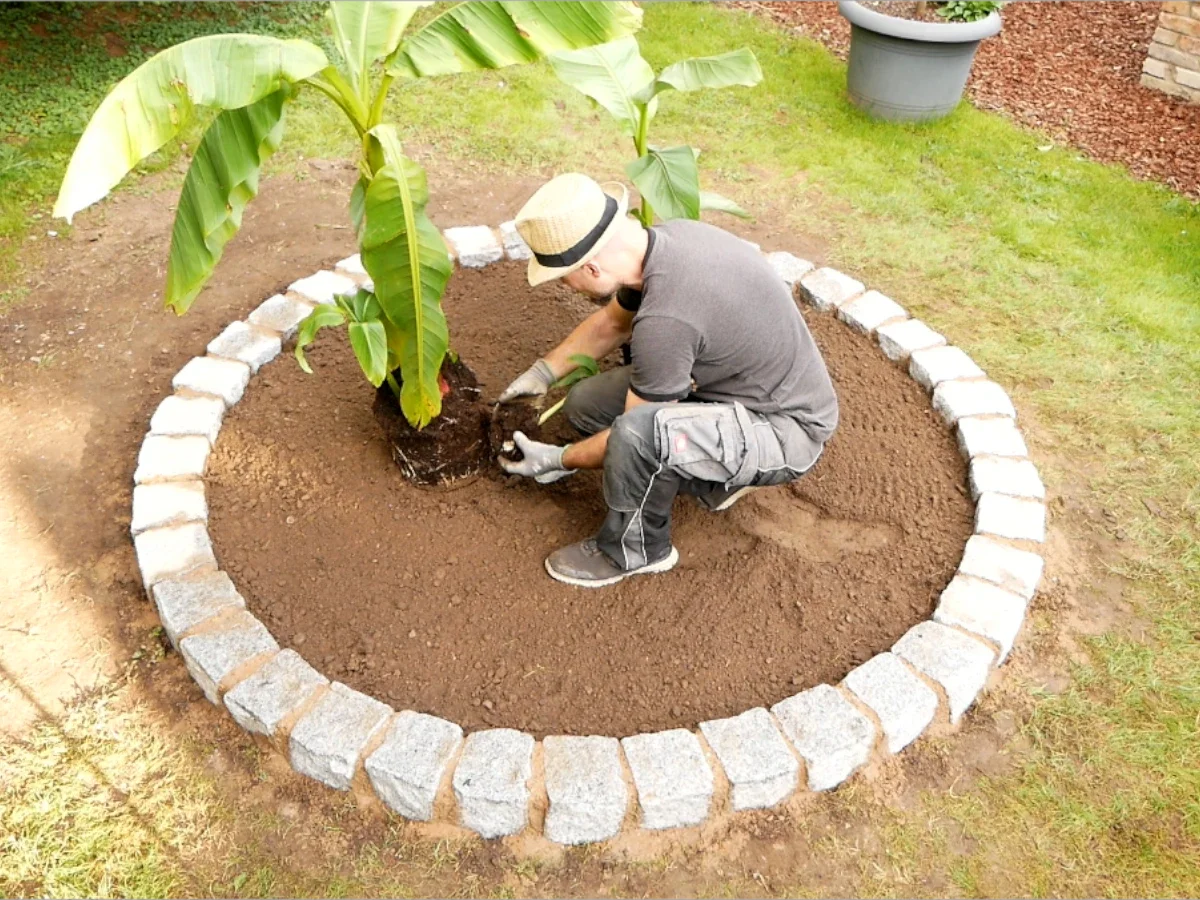
Establishing a beautiful circular bed filled with lush bananas, bamboo, or decorative grasses can be a rewarding project for any garden enthusiast. However, it’s crucial to implement a root barrier to prevent invasive roots from spreading into the rest of your garden. This guide outlines the steps I took to create a round bed using granite stones for edging and an invisible root barrier beneath the soil.
The Importance of a Root Barrier
Many gardeners underestimate the power of roots. Plants such as bamboo (especially spreading varieties), banana plants, and certain ornamental grasses can quickly proliferate through rhizomes and root runners. Without a root barrier, bamboo can unexpectedly appear in your lawn or neighboring beds, while banana plants produce new offshoots yearly that can become unmanageable.
A well-planned root barrier ensures your plants remain exactly where you want them—in the bed—while protecting pathways, terraces, and neighboring properties.
Planning: Size, Location, and Plant Selection
Before diving into the project, consider the following questions:
- What size should the bed be?
- Which plants will you include (bamboo, bananas, grasses, mixed plantings)?
- Will the bed be in full sun, partial shade, or full shade?
- Should it be a standalone bed or integrated into existing beds?
In my video, I opted for a round bed that will be surrounded by granite stones. The circular shape creates a harmonious look in the garden, making it ideal for a central planting like a banana surrounded by companion grasses or a striking bamboo feature.
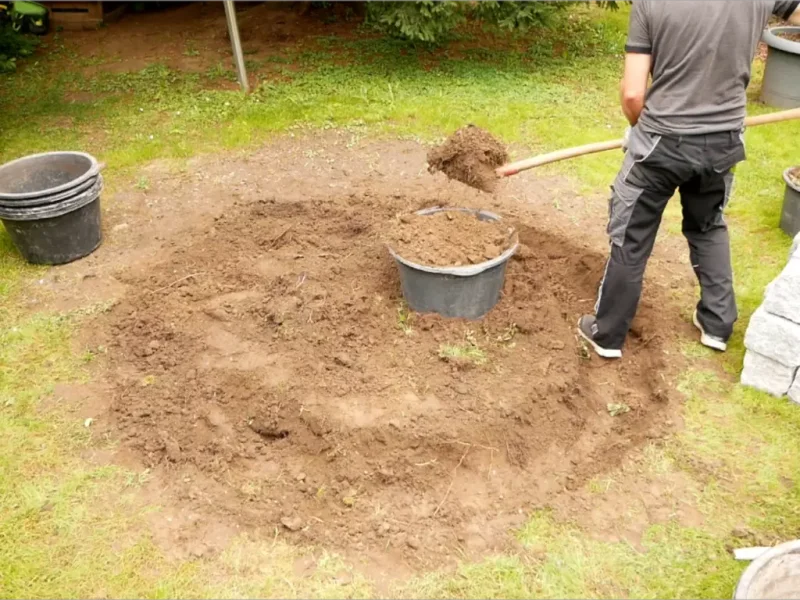
Step 1: Marking the Circle and Digging for the Root Barrier
To start, you need to define the exact shape of your bed. Here’s how I did it:
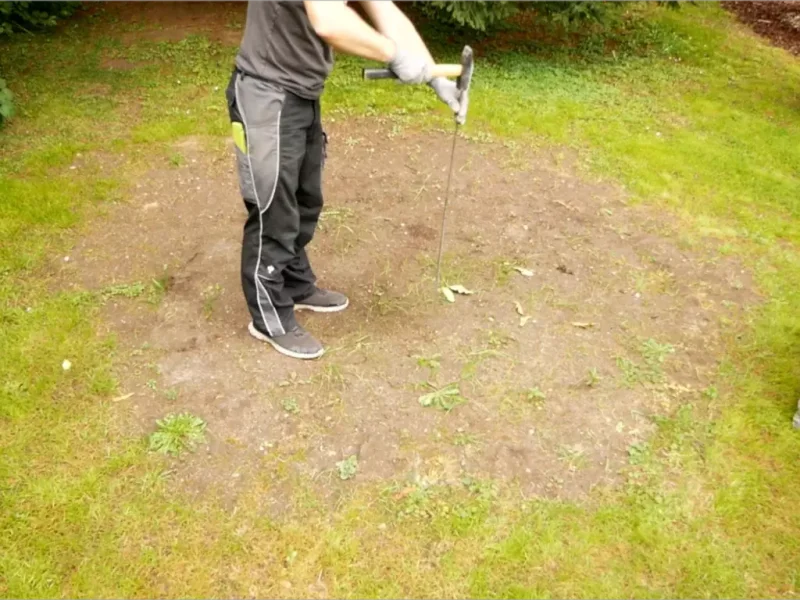
- Establish the center: Drive a piece of rebar into the ground at the future center of the bed. This acts as a stable pivot point for the circle.
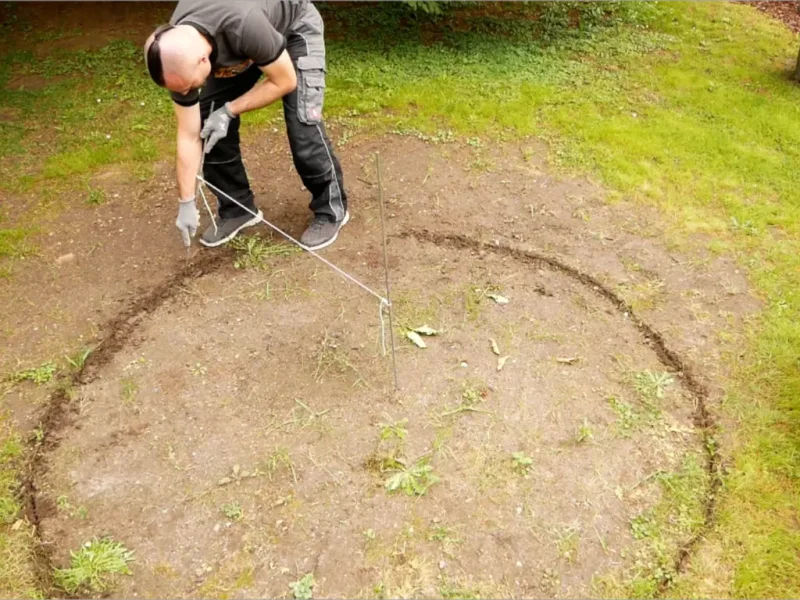
- Mark the circle: Attach a string to the rebar with a loop (make sure it’s not tightly knotted so it can rotate freely). At the other end, tie a shorter piece of rebar or a stick. Walk in a circle to etch the bed’s edge into the ground, creating a clean circle.
- Dig the trench for the root barrier: Following the marked line, dig a trench about 25 cm wide and 40 cm deep. You can place the excavated soil into buckets, reserving the excess for the center of the bed later.
Depending on soil hardness, a shovel and possibly a pickaxe will suffice.
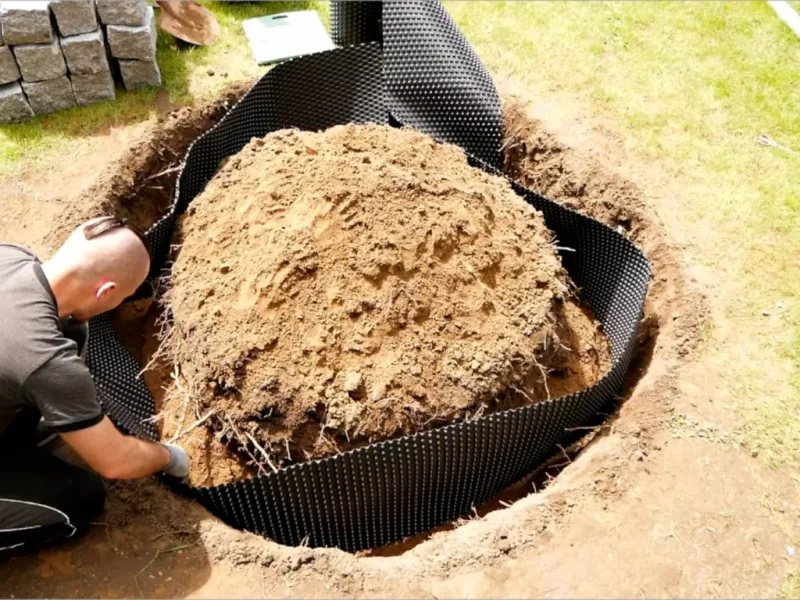
Step 2: Selecting the Right Root Barrier
In the video, I used a 500 mm high dimpled foil as a simple root barrier for bananas. This is adequate for many spreading perennials or smaller grasses, but bamboo requires more robust measures.
Recommended Depth and Material for Root Barriers
| Plant | Recommended Barrier | Depth (approx.) | Material Note | |-----------------------------|--------------------------|------------------|------------------------------------| | Banana plants | Simple barrier sufficient | 40–50 cm | e.g., sturdy dimpled foil | | Ornamental grasses | Optional, depending on type | 30–40 cm | Dimpled foil or rhizome barrier | | Spreading bamboo species| Strong barrier needed | 70–90 cm | Special bamboo rhizome barrier (HDPE) | | Clumping bamboo | Usually less critical | 50–60 cm | High-quality rhizome barrier |
Important: For bamboo, particularly the aggressive spreading varieties, a very robust rhizome barrier (e.g., made from HDPE) should be installed at a depth of 70–90 cm. Regular dimpled foil may not withstand the force of the rhizomes over time.
Step 3: Installing the Root Barrier
Now, it’s time to place the root barrier in the trench:
- Lay the foil in the trench: The 500 mm high dimpled foil is placed around the bed in the trench. A slight overlap of the ends is desirable, eliminating the need for screws or adhesives.
- Check the height: The top edge of the foil should be level with the soil surface or slightly above it. Avoid burying it too deep to prevent roots from growing over the top.
- Refill the trench: Fill the trench with the previously removed soil, packing it down firmly and leveling it off.
With this, the invisible root protection is complete. Now the roots will remain within the bed.
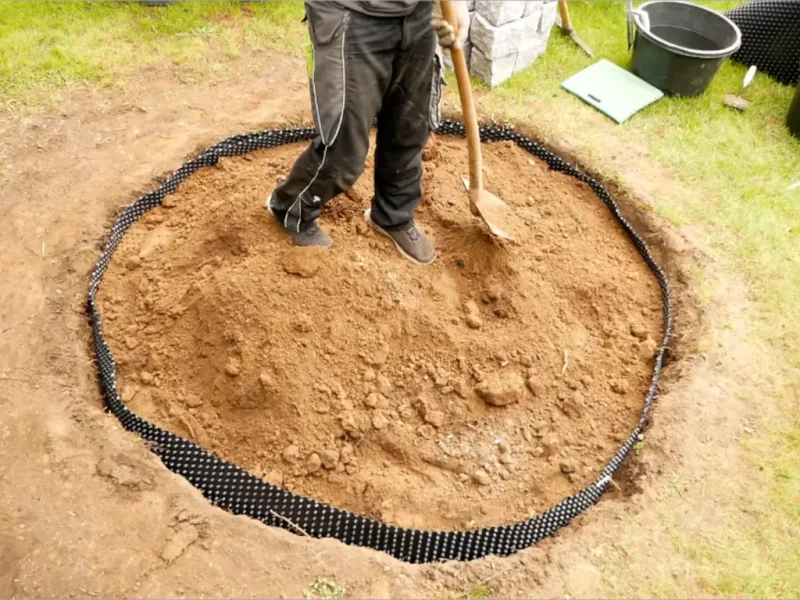
Step 4: Marking a Second Circle for the Granite Stones
To ensure the bed is not only functional but also visually appealing, the next step involves creating the stone ring from granite.
- Mark the outer circle: From the original bed circle, draw a second circle about 25 cm larger in radius. This outer circle marks where the granite stones will be placed.
- Dig the trench for the stones: Along the outer circle, dig another trench, about 15–20 cm deep. This trench will later be filled with concrete to serve as a foundation for the stones.
- Compact the base: Carefully compact the soil in the trench using a heavy mallet. This prevents the stones from settling or tipping later.
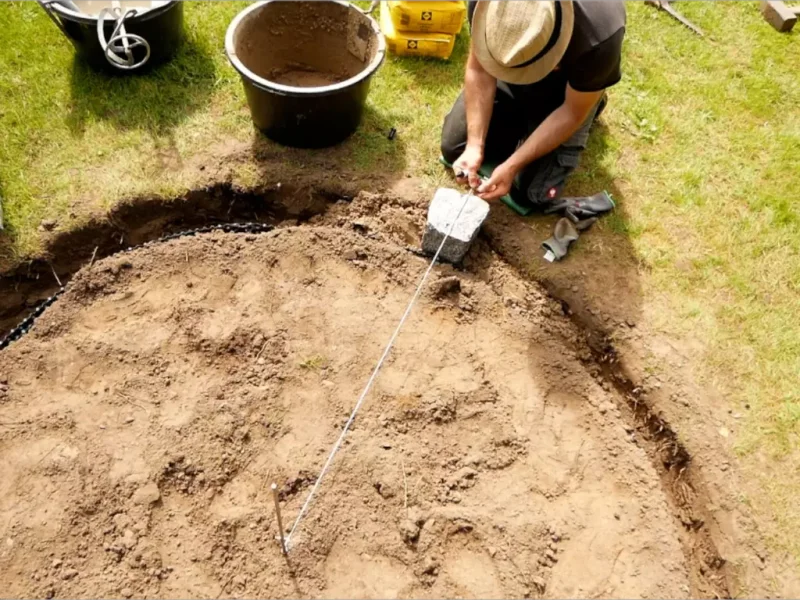
Step 5: Mixing Concrete and Setting the Granite Stones
To ensure the stone ring remains stable, garden concrete and granite stones are introduced.
- Mix the concrete: Prepare garden concrete according to the instructions, which is easiest with a mortar mixer. Fill the trench evenly with concrete.
- Align the first stone: Use the string to mark the exact outer edge. Place the first granite stone into the fresh concrete and gently tap it in with a rubber mallet. Check if it’s level with a spirit level.
- Continue placing stones: Following the string, set the next stones in place. Regularly check the gap width and height with a leveling stick. Each stone may vary slightly, so feel free to rotate and adjust until it fits well. It’s advisable to purchase a few extra stones for selection.
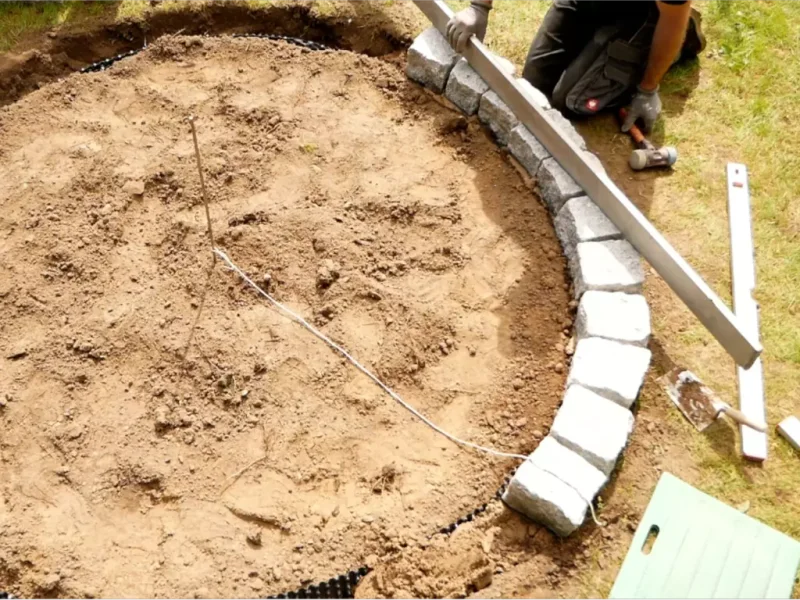
Step 6: Filling Joints with Dry Concrete
To ensure the edge is truly solid, the joints need to be filled:
- Mix the concrete drier: Not too wet, to keep the surface of the granite stones clean.
- Fill the joints: Pour the dry concrete into the gaps. Use your hands or a small tool to press it in to avoid air pockets.
- Remove excess: Sweep away any surplus concrete and keep the top edge of the stones clean.
Now your granite ring is stable and provides a visually appealing finish around your bed.
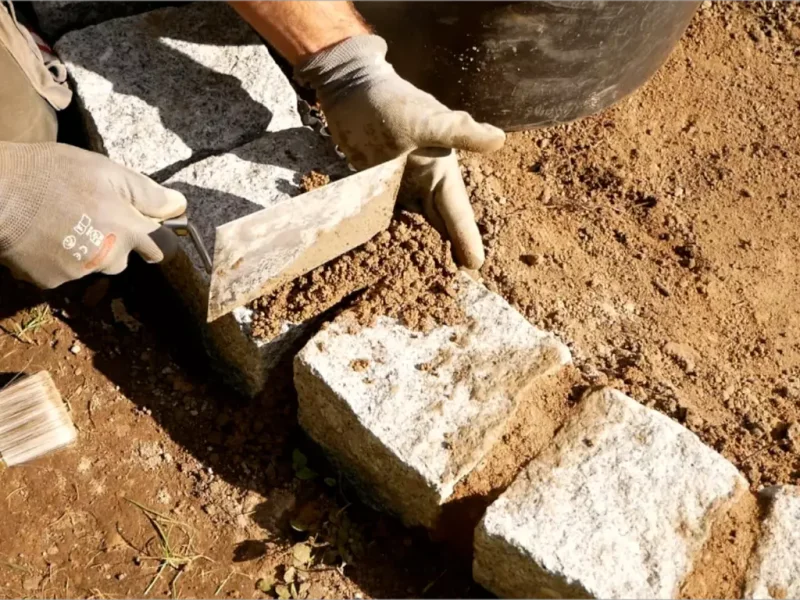
Step 7: Preparing and Planting the Bed
With the root barrier and granite stones completed, it’s time for the most enjoyable part: planting.
- Prepare the bed soil: Rake the soil inside the circle to smooth it out, removing root remnants, stones, and grass clumps. Depending on the plants, you can also incorporate compost or high-quality potting soil.
- Select suitable plants: Ideal choices include banana plants (e.g., Musa basjoo), bamboo (with an appropriate rhizome barrier!), tall ornamental grasses (e.g., Miscanthus, pampas grass), and combinations of bananas or bamboo with low perennials or ground covers.
- Planting: Position larger plants like bananas or bamboo in the center, arranging smaller grasses or perennials around them to create a harmonious overall appearance.
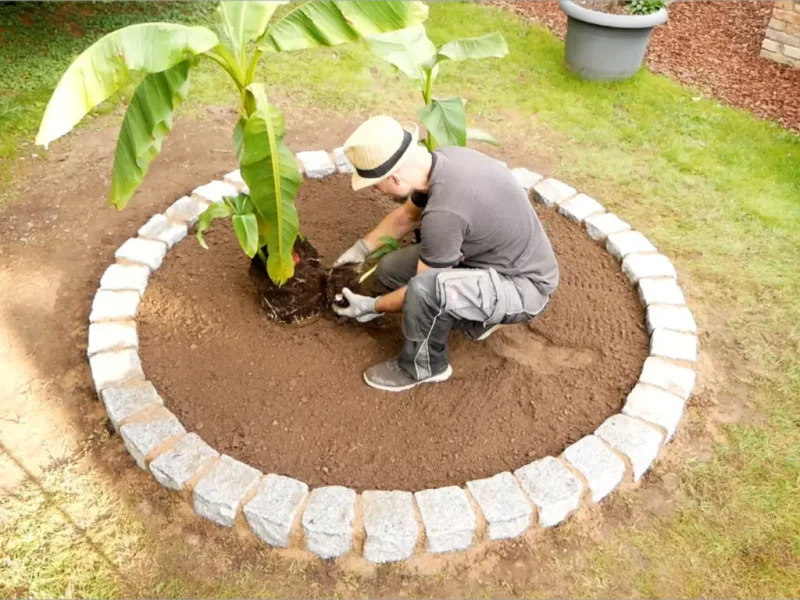
Care Tips for Your Bed with a Root Barrier
To enjoy your bed for years to come, keep these simple care tips in mind:
- Regular watering: Especially bananas and bamboo thrive on water, particularly during their growing season.
- Fertilization: Bananas respond well to a good nutrient supply, so organic fertilizers or well-rotted compost are ideal.
- Monitor root runners: Despite the root barrier, it’s wise to check occasionally. If plants sprout directly at the edge, you can cut them back early.
- Mulching: A layer of mulch helps retain moisture in the soil and suppress weeds.
Common Mistakes When Installing Root Barriers
- Barrier installed too shallow: Roots may simply grow over the barrier. Therefore, the top edge must be at least level with the ground, preferably slightly above.
- Incorrect material for bamboo: Standard foils or thin dimpled foils are inadequate for spreading bamboo. Always use high-quality rhizome barriers.
- Open seams: For bamboo rhizome barriers, the ends must be screwed or fixed with special clamps to prevent rhizomes from slipping through.
- Uncompacted base: If the foundation for the stones is not well-compacted, the edge may sag or deform over time.
FAQ: Common Questions About Root Barriers for Bamboo, Bananas, and More
How deep should a root barrier for bamboo be? For spreading bamboo species, a root barrier of about 70–90 cm deep should be installed, and it’s essential to use very sturdy materials (e.g., HDPE rhizome barrier).
Is a 50 cm high dimpled foil sufficient for bananas? For banana plants, a 50 cm high dimpled foil is usually sufficient, as they do not produce aggressive rhizomes like bamboo.
Can I retrofit an existing bed with a root barrier? Yes, but the effort is greater. You’ll need to dig a trench around the plant, install the root barrier, and refill everything. The sooner you do this, the easier it will be.
What happens if I don’t install a root barrier at all? With weak-growing perennials, not much may happen. However, with bamboo or vigorous bananas, aggressive root growth can occur outside the bed, leading to issues with pathways, lawns, or neighboring gardens.
How large should a round bed be at a minimum? For a banana or bamboo as a focal point, you should plan for a diameter of at least 1–1.5 meters to allow the plant to develop well and prevent the bed from appearing cramped.