Installing an IKEA Kitchen Sink: A Guide to Fitting the Knoxhult Sink Cabinet
A comprehensive guide for DIY enthusiasts on installing an IKEA kitchen sink and faucet in the Knoxhult sink cabinet, covering tools, components, and challenges.
Overview
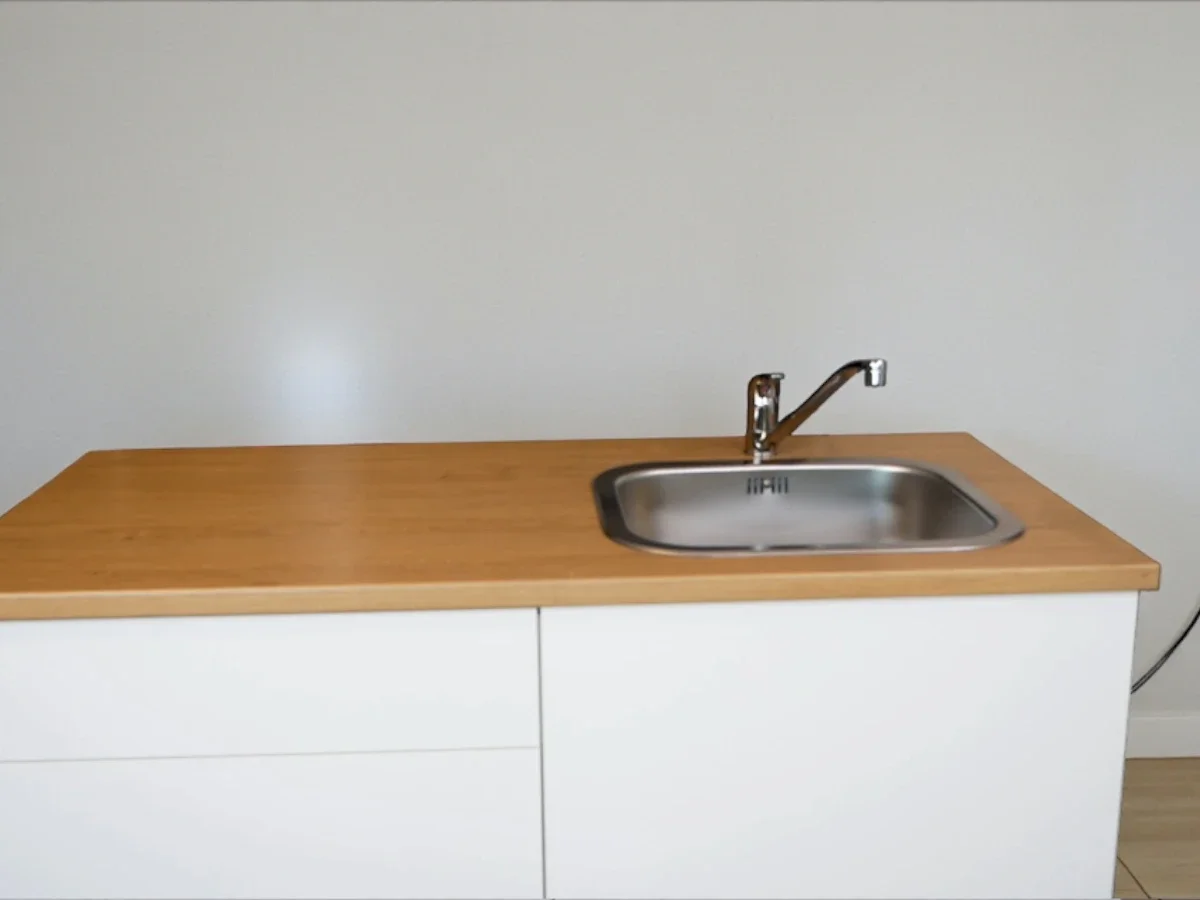
This article provides a detailed guide on how to install an IKEA kitchen sink and faucet into the Knoxhult sink cabinet.
Suitability
This project is ideal for DIY enthusiasts who possess basic tool skills.
Required Components
To successfully complete the installation, you will need the following components: Knoxhult base cabinet, countertop, sink, faucet, and siphon.
Essential Tools
The installation requires several key tools, including:
- Jigsaw
- Level
- Drill with a 35 mm hole saw
- Screwdriver
Estimated Time
The installation process typically takes around 3 to 5 hours, which includes preparation, installation, and connection.
Challenges
Some common challenges during the installation may include:
- Creating precise cutouts
- Ensuring a watertight seal
- Mounting the sink beneath the countertop
Sealing
It is important to seal cut edges with silicone, adhesive, or aluminum tape to prevent water damage.
Faucet Hole
Drill a 35 mm diameter hole for the faucet, ensuring it is centered over the sink.
Water Connection
Utilize flexible hoses and shut-off valves for the water connection, and make sure to check for leaks after installation.
Maintenance Tip
To maintain your stainless steel sink, clean it with dish soap and wipe it dry to avoid limescale buildup.
Expandability
The setup is modular, allowing for future expansion with additional IKEA kitchen elements.