Revitalize Your PC: A Comprehensive 7-Step Cleaning Guide
Enhance your PC's performance with these seven essential cleaning steps. Free up space, reduce lag, and ensure a smoother user experience.
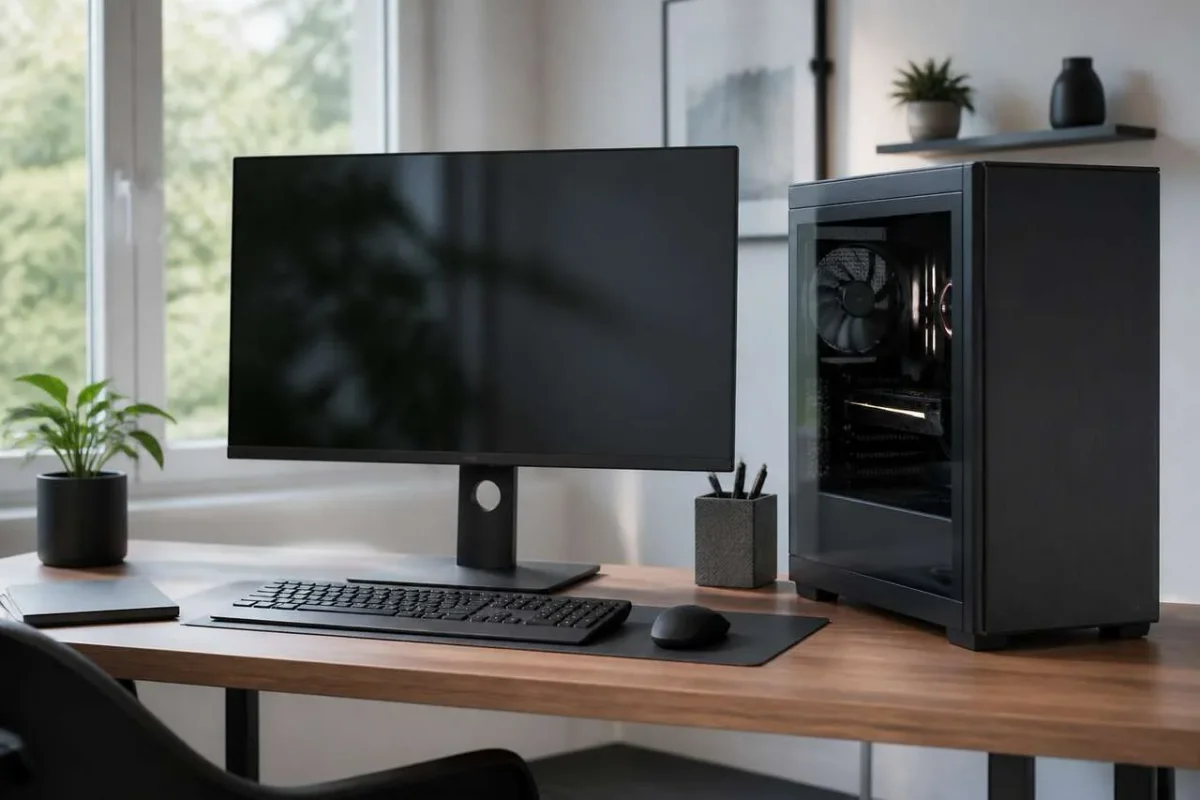
An underperforming computer doesn't always need a replacement. By following seven straightforward steps, you can enhance your PC's responsiveness, free up space, and reduce lag, all while avoiding common mistakes that could worsen the situation.
Key Takeaways
- Slow performance often stems from a full disk, cluttered startup programs, or accumulated dust.
- Backup and create a restore point before making any changes.
- The built-in disk cleanup tool in Windows is adequate for most cases, without needing third-party software.
- SSDs and HDDs require different treatments: TRIM for SSDs and defragmentation for HDDs.
- Regular dusting helps prevent overheating and prolongs the lifespan of hardware.
Why Your PC Slows Down and What Cleaning Can Improve
A new computer boots in mere seconds and responds instantly. However, after two or three years, the same device may take a minute to become usable. This decline isn't a mechanical inevitability; rather, it results from the gradual accumulation of unnecessary files, indiscriminately installed software, and obsolete registry entries that pile up over time due to updates and installations.
Common Causes of Slow Performance
Each Windows update, software installation, and browsing session generates temporary files. Over months of use, these can total thousands of obsolete files that clutter the disk and complicate access to useful data. Additionally, programs may launch at startup without the user's awareness, and malware can consume resources in the background.
What Cleaning Can Actually Change
A thorough cleaning can boost performance, free up disk space, and help eliminate spyware or viruses when paired with appropriate security tools. While it won't turn an old PC with a mechanical hard drive into a high-speed machine, it can reclaim several seconds at startup and streamline daily usage: browsing, document opening, and application launching. The goal is realistic: to regain lost responsiveness, not to match a new computer's speed.
Before Cleaning: Quick Diagnostics and Data Backup
Cleaning without a diagnosis is akin to treating a symptom randomly. A few minutes of observation can help identify the real bottleneck before taking action.
Identify the Cause of Slowdown
In the event of sudden slow performance, open the Task Manager (Ctrl+Shift+Esc), navigate to the "Processes" tab, and sort by the "CPU" or "Memory" column. This will quickly reveal which application is consuming the most resources. Close resource-hungry programs, and consider uninstalling them if they are not essential for daily use. Also, check the available disk space: a disk filled to over 90% will systematically slow down the system, regardless of its age.
Secure Your Data Before Any Changes
Before deleting anything, a backup of important documents to an external drive or cloud service will prevent any unpleasant surprises. It's also advisable to create a system restore point, accessible from system properties in Windows 10 and 11, allowing you to revert if an uninstallation or setting change causes issues. This precaution takes just two minutes but can save hours of troubleshooting.
Step 1: Free Up Disk Space Without Deleting Essentials
The first concrete step is to sift through what clutters the disk without real utility. Windows offers an effective built-in tool for this.
Use the Built-in Disk Cleanup Tool
Press Windows + R, type cleanmgr, select the relevant drive, and choose the items to delete: temporary files, recycle bin, obsolete Windows update files, and error reports. An interesting option is found under "More Options" then "Clean Up System Restore," which frees up space taken by older restore points while keeping the most recent one.
What to Keep
- Personal documents, photos, and ongoing projects
- Essential system folders for Windows operation
- The most recent system restore point
- Recently installed hardware drivers
Conversely, forgotten downloads from months ago, duplicate files, and browser caches can be safely deleted. This removal of duplicates and temporary files is recommended to speed up the computer and free up disk space, especially beneficial for laptops with limited SSD capacity.
Step 2: Uninstall Unnecessary Software and Track Unwanted Programs
Step 2: Uninstall Unnecessary Software and Track Unwanted Programs
A cluttered disk often hides dozens of software applications that were installed once and subsequently forgotten, many of which may still be running in the background.
Spotting Superfluous Applications
Open "Apps & Features" from Windows settings, or use Windows + R and type %WINDIR%System32Control.exe Appwiz.cpl. Browse the list sorted by installation date or size: browser toolbars, unused trial software, and promotional programs installed alongside other software are prime targets for removal.
Uninstall Properly, Without Aggressive Tools
Select the relevant program, click "Uninstall," and follow the prompts. There's no need to resort to third-party "PC cleaners" that promise to clean everything automatically; these tools can sometimes modify the registry in risky ways. Manual uninstallation, though more time-consuming, remains safer and prevents introducing new unwanted software onto the machine.
Step 3: Streamline Startup to Speed Up Initial Usage
Step 3: Streamline Startup to Speed Up Initial Usage
Windows startup times often elongate due to programs that launch automatically without explicit user consent.
Disable Startup Programs
In Windows 10 and 11, the Task Manager features a "Startup" tab that lists all affected programs along with their estimated impact. For Windows 7, you must use msconfig, navigate to the "Startup" tab, and manually uncheck unnecessary programs. In both scenarios, the rule is simple: keep security software (antivirus) checked and disable everything else, particularly automatic updates for less-used software or sync assistants.
What to Never Disable
- Antivirus and security software
- Essential hardware drivers (graphics card, chipset)
- System services marked as "Microsoft" in the publisher column
This step alone can reduce startup time by several seconds to even tens of seconds, depending on how many programs are disabled, a noticeable gain for older laptops.
Step 4: Check System Health, Updates, and Malware
Step 4: Check System Health, Updates, and Malware
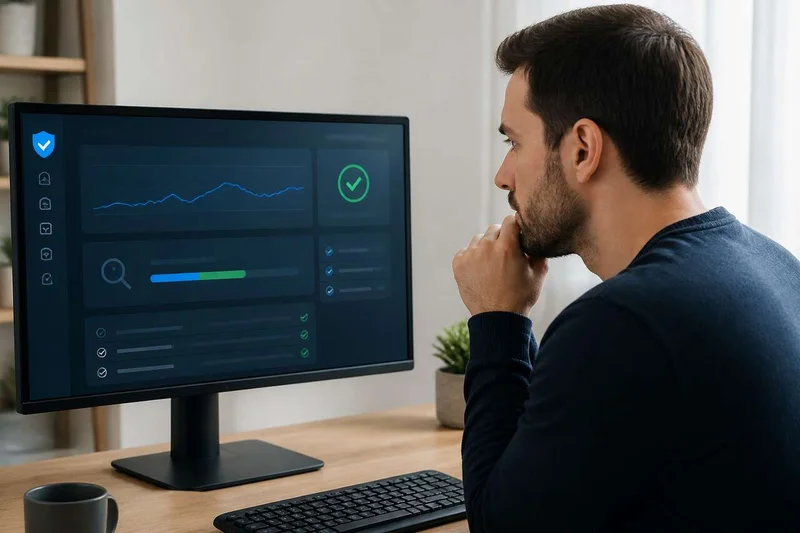
An updated system free of malware is fundamental for a high-performing PC. This step combines several quick checks.
Updates and Browsers
Ensure Windows has the latest updates available, including security patches and performance enhancements. Also, clean the browser: cookies, history, and cache accumulate and can slow down browsing. The usual path is through the menu represented by three dots in the upper right corner, then "Clear Browsing Data." Additionally, check installed extensions, which are often forgotten and can sometimes cause issues.
Detect and Remove Malware
Malware can significantly slow down a computer by consuming resources in the background. A comprehensive antivirus or anti-malware scan can identify and eliminate these threats. Some third-party software claim a simplified three-step process (download, install, run scan) with a registry scan completed in minutes, and free access without hidden fees; these marketing promises should be verified through the terms of use before any installation.