Revitalize Your Solid Wood Table: A Simple Guide
A solid wood table can regain its charm through a simple DIY renovation process. Key steps include cleaning, sanding, repairing, and finishing to achieve a lasting result.
A damaged solid wood table can regain its charm with the right approach. With just a few tools and a bit of patience, you can renovate it yourself.
Cleaning, sanding, repairing, and finishing are the essential steps to achieve a lasting result. This guide also presents quicker solutions for refreshing a table without extensive sanding.
Step-by-Step Guide to Refreshing a Solid Wood Table
Refreshing a solid wood table follows a straightforward method, from cleaning to finishing. There are five main steps that ensure a successful outcome, with each step setting the stage for the next.
Prepare and Clean the Table Before Work
Begin by removing all dust from the table. Next, clean the wood with warm water and white vinegar, or with soapy water using a mild soap. Rinse with clear water and allow it to dry completely. A damp wood surface can hinder the application of subsequent products.
Strip, Sand, and Repair Surface Defects
To remove old varnish or paint, use a gel stripper that is free of dichloromethane, which is suitable for home use. Let it sit for 15 to 30 minutes, then remove the residue with a flat tool. Repeat the process if some areas remain resistant.
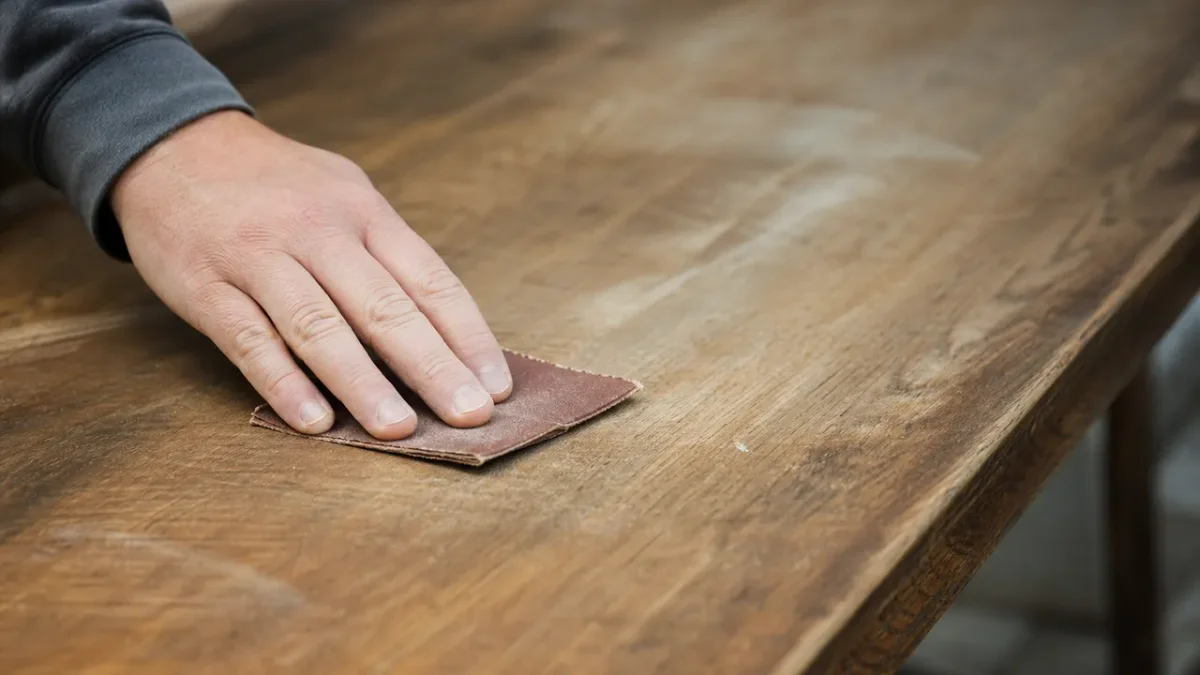
Sand in the direction of the wood grain to avoid scratches. For a solid oak table, gradually use finer grits, such as 80, 120, 180, and then 220.
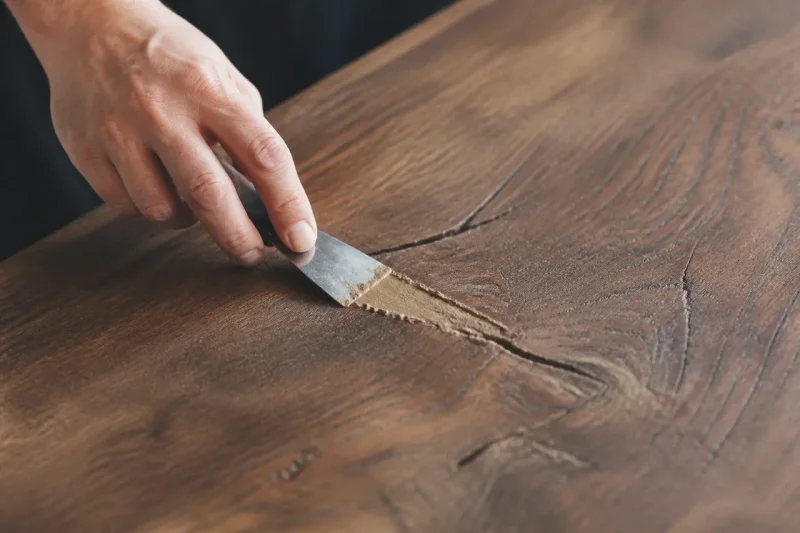
Repair any cracks, holes, or chips with wood filler that matches the wood tone. Once dry, sand the repaired area to achieve a uniform surface.
Choose and Apply the Finish (Oil, Varnish, Wax, or Paint)
The choice of finish depends on the desired look, whether modern, vintage, or aged. Oil requires about 24 hours of drying time between coats. Varnish should be applied in 2 or 3 thin layers, with light sanding using 320 or 400 grit between applications.
Wax necessitates several layers and regular maintenance, approximately every 3 months, to maintain its original appearance. For a comparison of glossy versus satin varnish, consult our guide, which is helpful in making a choice based on the table's intended use.
Can You Refresh a Table Without Complete Sanding?
Yes, there are several options to renovate a table without full sanding. Chemical stripping can remove much of the old finishes with less effort.
To repaint a table without stripping it down, light sanding with sandpaper often suffices. This creates a better bond for the new paint while preserving the existing wood.
- Multi-support paint with a primer: It adheres well to a lightly sanded surface without requiring extensive sanding.
- Patina or aged effect: Apply a diluted paint, then lightly sand it for an authentic look.
- Gel stripper: It removes softened layers without the need for an electric sander.
These techniques are particularly suitable for tables that remain sturdy and whose surface does not have significant defects that need repair.
How to Restore a Damaged Solid Wood Table?
A damaged table first requires an assessment of the damage. Holes, cracks, or chips need different treatments and should be repaired before applying a new finish.
Repair Cracks, Holes, and Chips
For small holes and chips, a suitable wood filler is generally sufficient. Larger cracks require a sturdier repair using PVA glue and clamps. Allow it to dry for about 24 hours before resuming sanding.
To smooth the surface, start with a grit of 60 or 80 to eliminate defects, then progress through grits 120, 220, and 320 for a softer finish.
How to Repaint or Change the Color of a Wood Table?
Changing the color or repainting a solid wood table requires thorough preparation. Depending on the wood's condition, completely remove the old varnish or simply sand the surface to improve adhesion.
Then apply an appropriate primer, especially on dark wood. Paint is typically applied in two coats, with a drying time of about 6 hours between each application.
For a wood stain, apply the product in the direction of the grain in multiple layers until the desired color is achieved. Light sanding between applications enhances the finish. Always finish with a protection of oil, varnish, or wax to preserve the table in the long run.
| Finish Type | Number of Coats | Drying Time Between Coats | |-------------|-----------------|---------------------------| | Oil | 2 to 3 | 24 hours | | Varnish | 2 to 3 | Depending on sanding 320/400 | | Wax | 3 to 4 | Maintenance every 3 months | | Satin Paint | 2 | About 6 hours |
To make an informed choice between oil or varnish protection based on your table's daily use, check our guide on oils or varnish for countertops, as the same principles apply.
How to Customize the Top of a Solid Wood Table?
The top of a table offers numerous customization possibilities beyond a simple uniform paint job. A white ceruse patina highlights the wood grain of the stripped wood, and a clear protective coat preserves the result.
To create a modern contrast with the base, a satin black multi-support paint adds a contemporary style.
- Decorative stencils: Outline patterns with masking tape, then apply color with a brush using small tapping motions.
- Effect paints: Metallic or lacquered finishes provide a distinctly modern or chic look.
- Wax or varnish finish: Depending on the desired vintage, rustic, or contemporary effect, apply in 2 to 3 layers.
Current trends favor dark shades or natural wood. For a soft and warm ambiance, white, pink, and beige remain popular choices alongside wooden furniture.
What Mistakes to Avoid for a Successful Makeover?
Certain mistakes can spoil a well-prepared makeover. Avoiding them ensures a clean and durable finish.
- Inappropriate stripper: Always check the product composition and avoid strippers prohibited for home use.
- Sanding against the grain: This leaves visible marks. Always work with the wood grain.
- Too thick layers: These can cause drips and bubbles. Multiple thin layers yield better results.
- Poorly prepared surface: Insufficient cleaning reduces adhesion and can alter the final color.
- Forgotten finish: A protective layer of oil, varnish, or wax enhances resistance to stains and moisture.
- Aggressive products too soon: Wait about 48 hours after renovation before using strong cleaners.
Before returning the table to service, conduct a final check. Run your hand across the entire surface to detect any remaining rough spots or imperfections.

Margaret, 37, a lover of beautiful things and real life. I share my adventures, discoveries, and escapades with you. Here, there’s no perfect home or retouched life, just the desire to show what can be done with a bit of creativity.