Car Cleaning: 10 Professional Tips for a Flawless Finish
Transform an ordinary car wash into a professional-level clean with these ten essential tips, ensuring a flawless finish without the need for expensive detailing services.
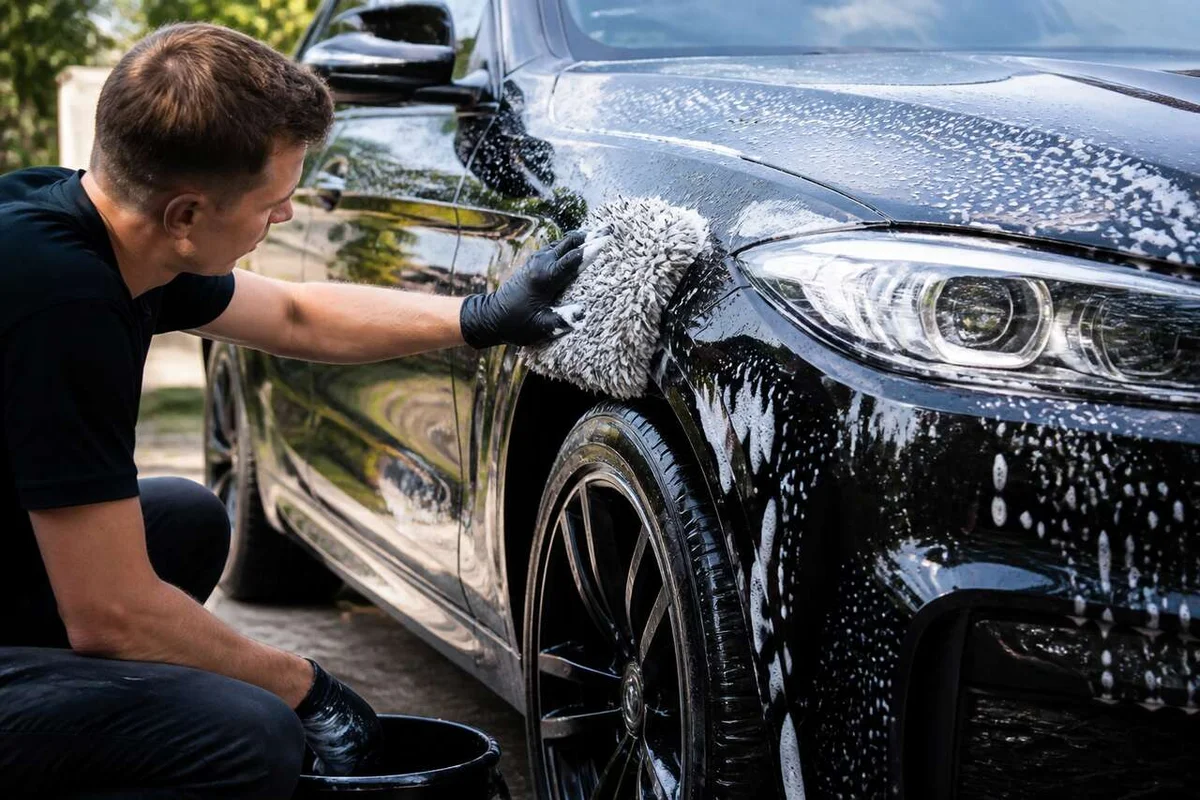
Achieving a professional-level car wash doesn't require expensive detailing services or a fully equipped garage. With just a few smart techniques, you can transform an ordinary wash into a stunning result, ensuring a streak-free body, clear windows, and no visible micro-scratches. Here are ten essential tips to enhance your car cleaning routine.
Key Takeaways
- The order of steps is more important than the amount of product used: pre-wash, wash from top to bottom, and dry immediately.
- Dedicated microfiber cloths and wash mitts are superior to sponges, which can trap dirt and scratch the paint.
- The two-bucket method (soapy water + rinse water) is sufficient for most cases; add a third bucket for heavily soiled wheels.
- Household cleaners, bleach, and products not specifically formulated for cars can harm seals, plastics, and paint.
- Applying a sealant or quick wax after each wash reduces dirt adherence and extends the time between washes.
Understanding the Causes of Streaks and Micro-Scratches
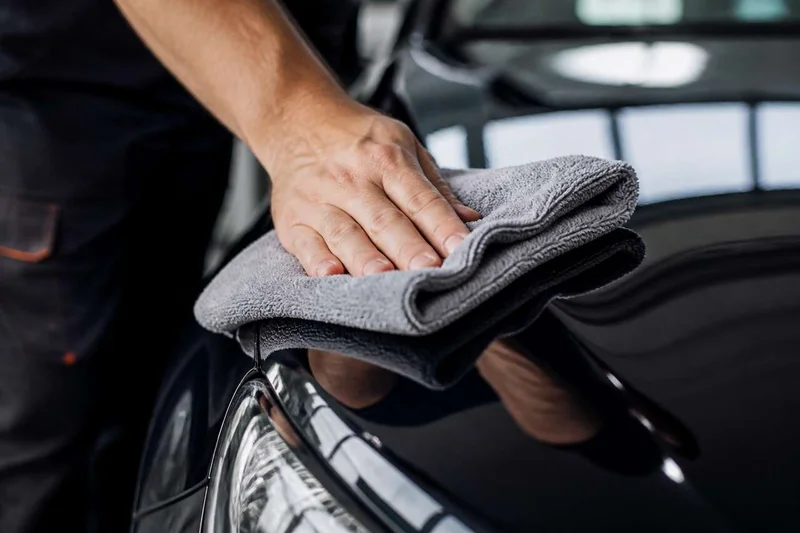
Many disappointing results after a wash stem not from poor products, but from improper techniques. Understanding the mechanisms at play allows you to correct mistakes without additional investment.
Micro-scratches occur whenever an abrasive, no matter how small, rubs against the paint. Dust trapped in a sponge, a rough cotton cloth, or a poorly rinsed mitt can act like fine sandpaper. Automatic car washes with rolling brushes are particularly problematic, as their brushes collect debris from thousands of vehicles, creating numerous micro-scratches in seconds. Removing these marks requires extensive polishing, which can be both time-consuming and costly.
Streaks and water spots come from hard water drying on a hot surface. As moisture evaporates due to sunlight or engine heat, dissolved minerals remain on the surface, leaving visible deposits. Working in the shade can help minimize this issue by slowing down evaporation and significantly reducing the risk of water spots. Automatic washes often leave these same marks for the same reason: the vehicle exits wet and dries in the open air, frequently in direct sunlight.
The choice of cleaning materials is crucial. A low-quality microfiber or a regular sponge can trap dirt in its fibers and redistribute it on the paint with each pass. In contrast, a high-density microfiber cloth captures particles and keeps them away from the surface. This distinction is vital between cleaning and polishing.
Lastly, the sequence of actions is critical. Scrubbing a vehicle still covered in road grime — dust, insects, tar — without pre-washing is akin to sanding the paint with its own dirt. This often-overlooked principle explains many mediocre results. With these causes identified, let's explore how to assemble an effective kit without falling into the trap of over-purchasing.
Preparing the Right Equipment Without Overspending
A successful detailing job does not depend on the number of products lined up on the workbench. It relies on a few well-chosen tools used in the correct order. A common mistake is to accumulate various products without understanding their purpose and then mixing them in counterproductive ways.
The truly essential equipment can be summarized in a short list:
- At least two buckets with a grit guard at the bottom
- A microfiber wash mitt or synthetic lambswool mitt
- Several dedicated microfibers: one for each use (body, glass, drying, interior)
- A pH-neutral car shampoo that does not strip existing protective coatings
- A soft wheel brush and a specific wheel cleaner
- A blower or a waffle-weave microfiber for drying
- A diluted all-purpose cleaner (APC) for the interior
- A portable vacuum or compressed air blower
Microfiber cloths deserve special attention. Not all are created equal. A drying microfiber should be thick and waffle-weave (around 400 to 600 g/m²), while a glass microfiber should be finer and non-abrasive. Using the same cloth for both the body and glass is a common mistake that leads to persistent streaks on the glass.
The pH-neutral car shampoo is preferable to household cleaners for a specific reason: it does not degrade existing protective coatings (wax, sealants) on the paint. A product that is too alkaline or acidic can dissolve these coatings in a single wash, making the surface more vulnerable to dirt between washes.
For those looking to limit purchases, there are functional alternatives. Diluted black soap can replace car shampoo for occasional washes on unprotected paint. An old toothbrush can be handy for cleaning air vents and wheel crevices. Compressed air from a blower can effectively replace a thermal blower for drying out joints and mirrors.
This basic kit covers 90% of situations. With this equipment on hand, the next step — often overlooked — is the pre-wash, which sets the stage for everything that follows.
Pre-Wash: Removing Road Film Before Any Contact
The pre-wash is the step most often skipped due to time constraints, yet it causes the most damage. Its principle is straightforward: remove as much dirt as possible without any physical contact with the paint before even using the wash mitt.
If the vehicle is moderately dirty, a pressure rinse will suffice to remove most of the road film. A standard hose can work, but a pressure washer or a foam cannon is significantly more effective: it envelops the vehicle in a layer of diluted shampoo that softens the dirt for a few minutes before rinsing. This contact time reduces the need for friction during the actual wash.
At a car wash, the pre-wash station (using the "pre-wash" or "active foam" program) serves this exact purpose. It should be used every time, even when the car appears clean: fine dust is often invisible but still present, and it can scratch during the first pass with the mitt.
Critical areas to prioritize during the pre-wash include:
- Rocker panels and wheel arches, which accumulate mud and gravel
- The front of the vehicle (bumpers, grille, lower hood), exposed to insects and tar
- The wheels, which collect brake dust and tar — treat these separately before addressing the body to avoid cross-contamination
- The lower door panels and around the windows
With these foundational steps in place, you can achieve a professional-quality clean at home, enhancing both the appearance and longevity of your vehicle's finish.