How to Replace Faulty Hinges on Your Built-In Refrigerator
A faulty hinge on a built-in refrigerator can lead to significant inconveniences. Learn how to replace them effectively with this step-by-step guide, ensuring your appliance operates smoothly.
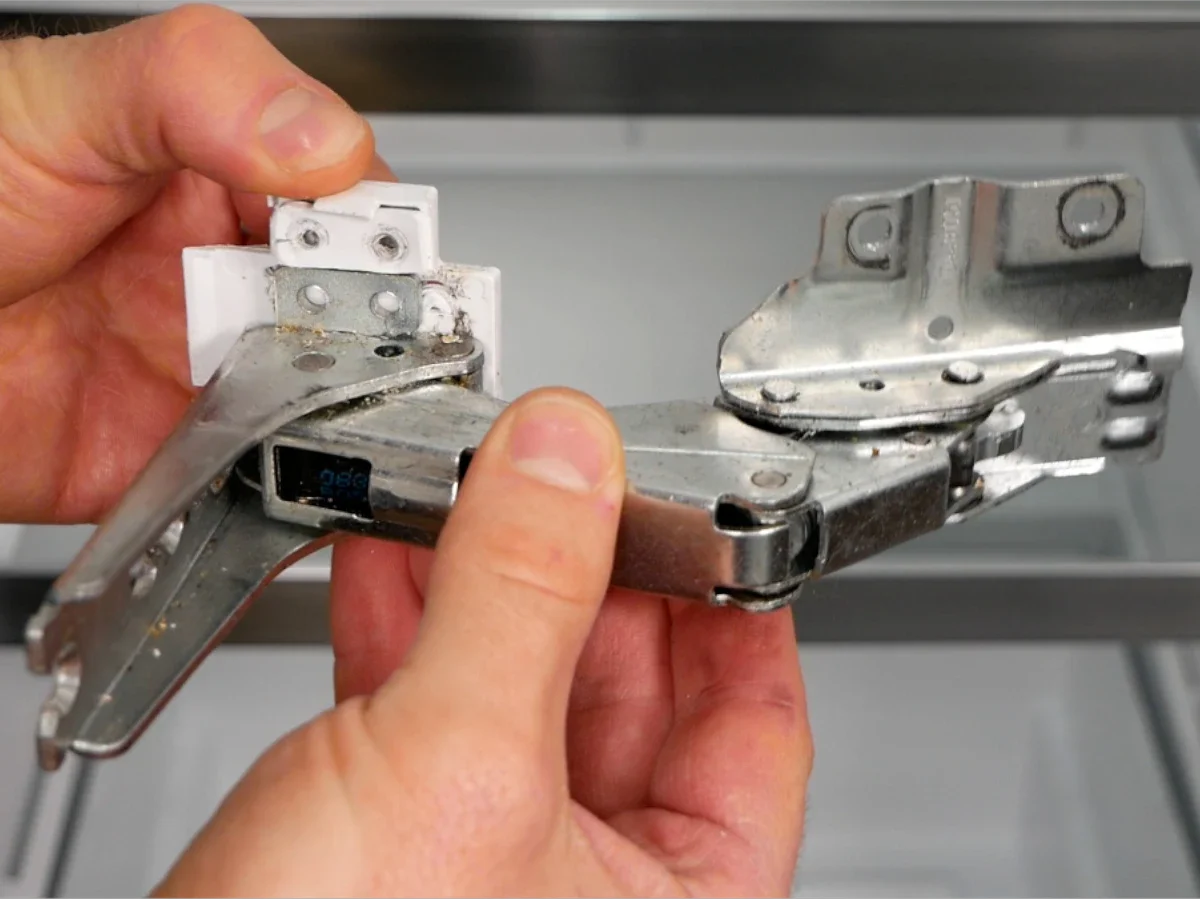
A malfunctioning hinge on a built-in refrigerator can quickly become a nuisance, causing the door to slam shut, hang unevenly, or open with difficulty. Such issues not only disrupt convenience but can also adversely affect cooling efficiency.
Replacing the hinges can be a manageable task for those with some DIY skills, especially in built-in models that use fixed door technology. The following sections detail the necessary steps and considerations for a successful hinge replacement.
Key Points at a Glance
Topic Details Signs of Faulty Hinges Door slams, hangs unevenly, does not close properly
Suitable Technology Fixed door technology (cabinet front securely screwed to appliance door)
Required Tools Screwdriver, wrench, marking pen, possibly a cordless screwdriver
Time Needed Approximately 30–60 minutes for experienced individuals
Recommended Approach Step-by-step disassembly, mark positions, install new hinges
Tip for Worn Holes Use longer screws or repair with wood glue and dowels
Are Soft-Close Hinges Worth It? Yes, for enhanced comfort and gentle closing
If Unsure Hire a professional, especially for unfamiliar systems
Preparation
Before starting the hinge replacement, thorough preparation is essential. First, empty the refrigerator completely and turn it off. This prevents disruption of the food's cooling chain and eliminates electrical hazards. An empty fridge also provides an excellent opportunity for a thorough cleaning.
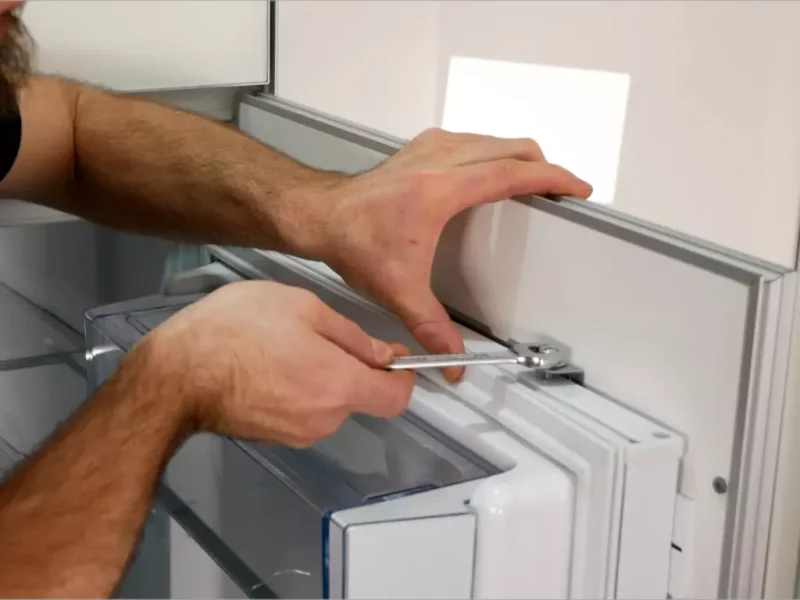
Next, gather all necessary tools, including a flat or Phillips screwdriver, a 13mm wrench, and, optionally, a thin marking pen for position marking. If you plan to install new hinges with a soft-close feature, have those ready as well.
A critical point: Determine whether your appliance uses fixed door technology or sliding door technology. In fixed door technology, the cabinet front is securely screwed to the appliance door. In contrast, sliding door technology connects the cabinet front independently to the cabinet body and moves it via sliding rails. The procedure for disassembly and reassembly varies depending on the system used.
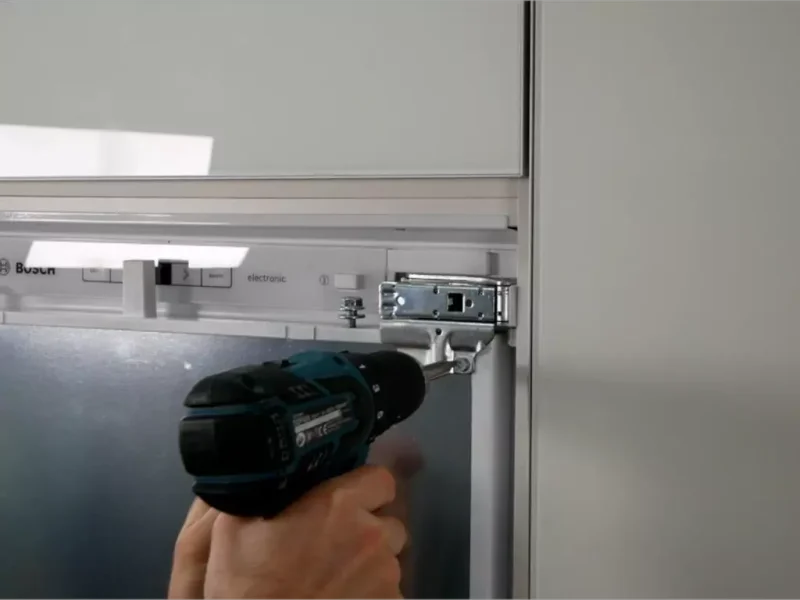
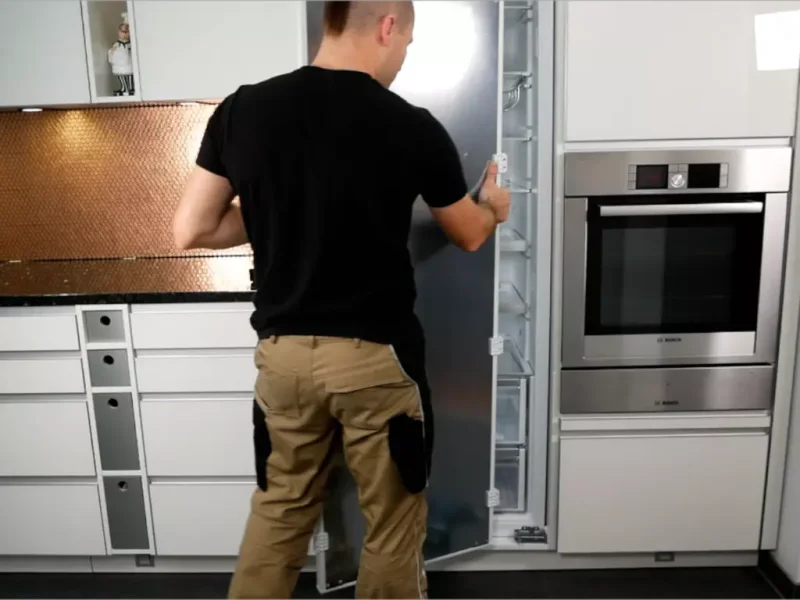
Separate Cabinet and Appliance Door
In a built-in refrigerator utilizing fixed door technology, the cabinet front is firmly attached to the appliance door. To replace the hinges, these two components must first be separated. Start by carefully removing the plastic covers from the front and around the hinges, which can usually be pried off with a small screwdriver.
Next, loosen the screws that connect the cabinet front to the appliance door. Typically, the connecting slide or fitting remains attached to the appliance door; only the connection to the cabinet front is removed. It is crucial to have a second person secure the door during this step to prevent it from suddenly dropping or falling out.
Before fully removing the cabinet front, it is advisable to mark the position of the hinge with a thin pen. This orientation will assist later in realigning the door, ensuring it closes properly and sits correctly after reassembly.
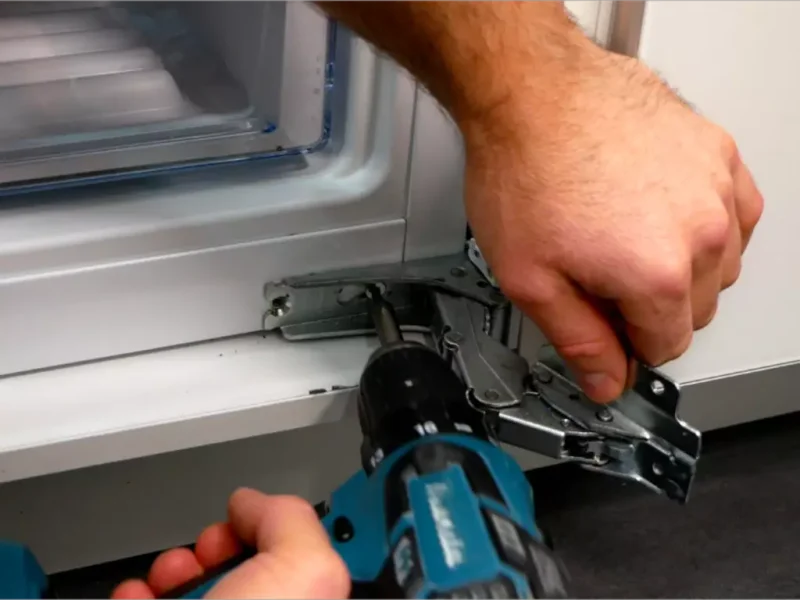
Remove Old Hinges
Once the cabinet front and appliance door are separated, the faulty hinges can be removed. Slightly open the refrigerator door and carefully lift it off. This will expose the hinges at the top and bottom, which are secured to the refrigerator body with two screws each. These can be unscrewed using the appropriate screwdriver or cordless screwdriver.
In some models, the screws may be covered with plastic caps, which need to be pried off first with a small screwdriver. Once this is done, the hinges can be fully removed.
Often, additional leveling or guiding elements are found on the old hinges. These ensure a proper door fit and should not be lost. Carefully remove, clean, and set them aside for later use to ensure the new hinges are positioned correctly and the door functions smoothly.
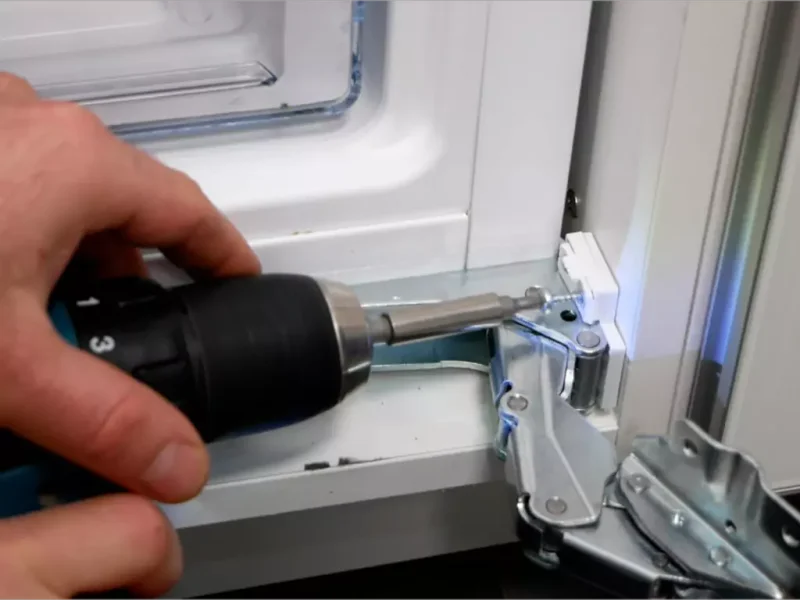
Install New Hinges
Before mounting the new hinges, transfer any existing leveling or guiding elements from the old hinge to the new one. These parts are often simply pushed on and can be easily moved. Next, position the hinges at the designated spots on the refrigerator body and secure them with the appropriate screws.
If the old screw holes are worn or the screws do not hold securely, consider using longer screws. These should ideally engage with adjacent cabinet parts for added stability. Alternatively, damaged holes can be repaired with wood glue and dowels before inserting new screws.
Once both hinges are securely mounted, carefully rehang the appliance door. Ensure it is centered to allow for even closing. After positioning the door, fold the hinges and secure them with their corresponding screws. This completes the basic assembly, followed by reconnecting the cabinet front.
Reattach Cabinet Front (Fixed Door Technology)
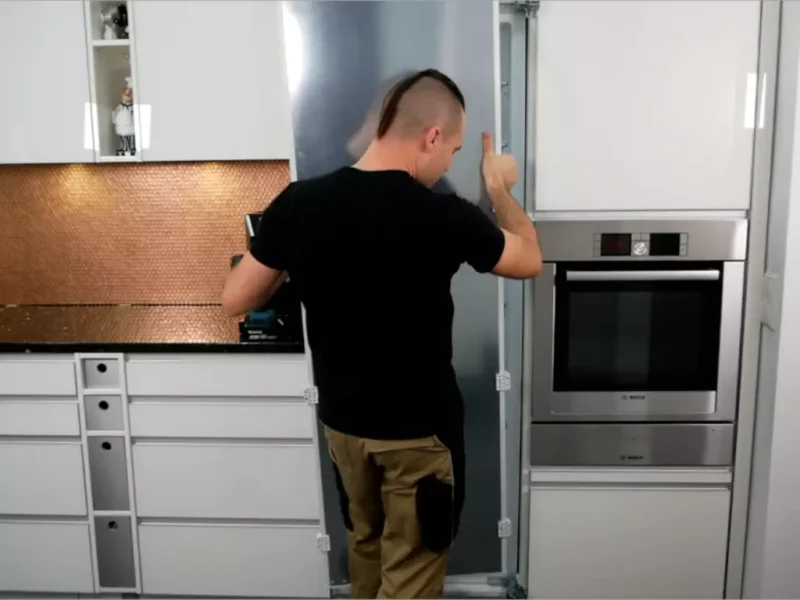
Once the appliance door is securely hung and the hinges fastened, the next step is to attach the cabinet front. In fixed door technology, the cabinet door is directly connected to the refrigerator door. The easiest way to align it is by reusing the existing screw holes from the previous installation, which provide reliable orientation and save time during adjustment.
The cabinet front is then placed against the appliance door and carefully positioned. Ideally, it should allow for slight lateral movement before final screwing to enable precise alignment, ensuring the gaps match those of neighboring cabinets and that the door operates smoothly.
Once the correct position is achieved, secure the connecting elements at the top with nuts or screws. A lock nut ensures that the attachment does not loosen during operation. Finally, replace all cover caps to conceal the screw connections and maintain the aesthetics of the cabinet front. The assembly is now complete.
Function Test and Fine Adjustment
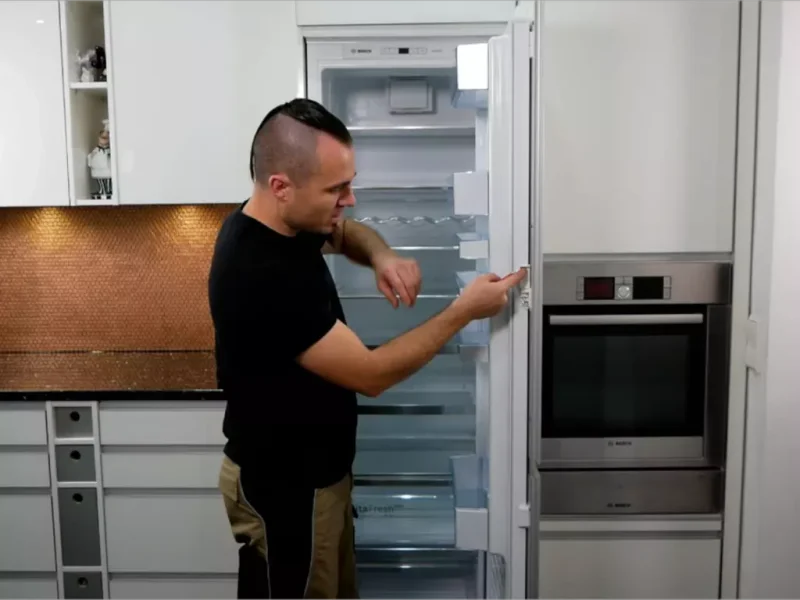
After reassembly, thoroughly test the refrigerator door. Open and close it several times to ensure it operates smoothly and does not scrape or jam. Check if it closes evenly and if the hinge operates cleanly.
If you have installed hinges with a soft-close feature, the door should gently and automatically close in the final centimeters. If this mechanism does not work, it may be due to improper positioning or excessive tension in the hinge – readjustment can help resolve this issue.
Finally, check the gap measurements. The cabinet front should run parallel to adjacent cabinets without visible tilts. Minor inaccuracies can often be corrected by slightly adjusting the screws or making corrections at the hinge mounts. Only when everything is correctly aligned is the hinge replacement fully completed.
Conclusion
Replacing the refrigerator hinges is a task that can be effectively managed with some DIY skills. By following a structured approach, utilizing the right tools, and taking time for proper alignment, you can significantly improve the functionality of your built-in refrigerator.
Particularly in older appliances, replacing faulty or stiff hinges can greatly enhance user comfort, especially when modern soft-close hinges are used. This makes door closing quieter and gentler on materials, potentially extending the appliance's lifespan.
FAQ – Common Questions About Hinge Replacement on Built-In Refrigerators
How can I tell if my refrigerator hinge is defective? Typical signs include a door hanging unevenly, noise during opening or closing, a missing self-closing feature, or a door that does not close properly.
Can I replace hinges on any built-in refrigerator myself? Generally yes, especially for models with fixed door technology. However, for special solutions or complicated installations, it may be wise to consult a professional.
What is the difference between fixed door technology and sliding door technology? In fixed door technology, the cabinet front is securely screwed to the refrigerator door. In sliding door technology, the cabinet door is separately attached to the body and is guided by sliding rails.
What tools are needed for hinge replacement? Typically, a screwdriver (flat or Phillips), a wrench (often size 13), a marking pen, and possibly a cordless screwdriver are sufficient. New hinges with a soft-close feature may require adjustment.
Can I reuse old screws and holes? If they are still secure, yes. For worn screw holes, using longer screws or repairing the holes is advisable to ensure a secure hold.
How long does it take to replace hinges? With some practice, the replacement can be completed in about 30–60 minutes, including disassembly, assembly, and adjustment.
Is it worth installing soft-close hinges? Yes, especially in older appliances, as the soft self-closing feature significantly enhances comfort and protects the door mechanism.