Vermiculite in Wood Stoves: Importance and Alternatives
Vermiculite is a crucial material in wood stoves, essential for safety and thermal efficiency. Learn about its functions, signs of wear, replacement procedures, and alternative materials.
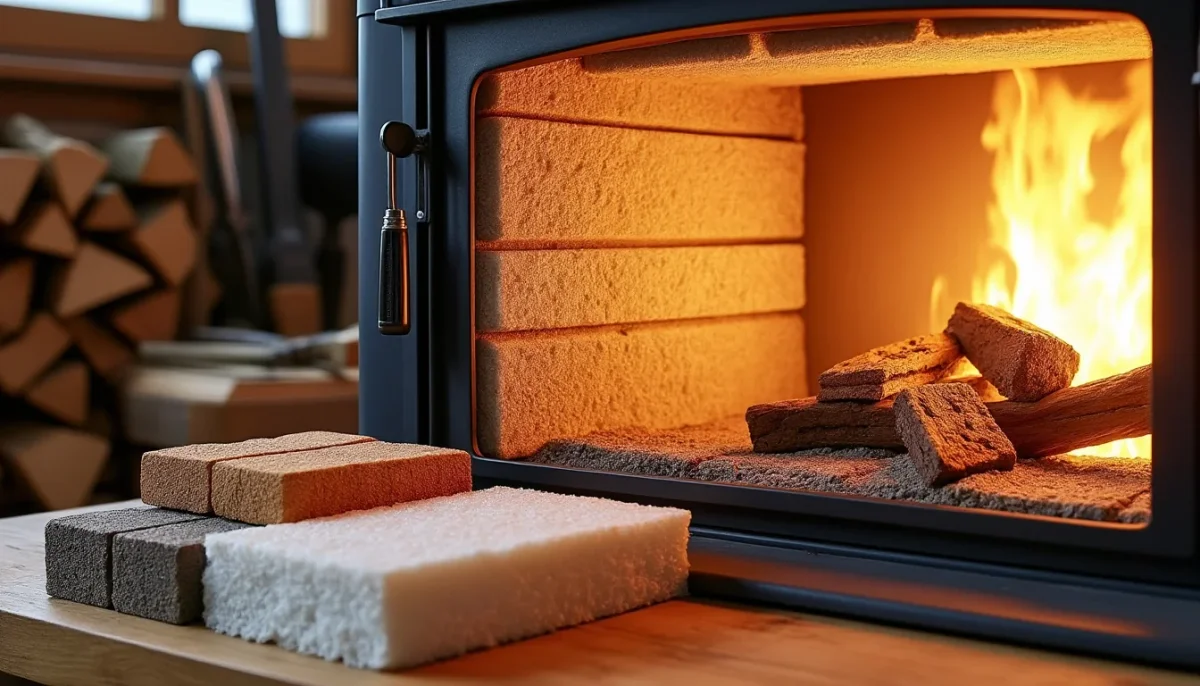
Inside every wood stove lies a crucial yet often overlooked material that plays a significant role in both safety and thermal efficiency: vermiculite. This natural mineral, typically appearing as beige sheets, serves more purposes than one might initially realize. Understanding its function, recognizing signs of degradation, and knowing how to properly replace it are key to responsible maintenance. Experts in construction and heating affirm that a cracked or crumbling vermiculite panel can reduce stove efficiency by 15 to 20 percent and may expose metal surfaces to premature wear. This practical guide covers everything from diagnosis to installation, focusing on safety, energy savings, and sustainability.
In Brief:
- Vermiculite is a natural insulating mineral that lines the interior of the stove, protecting the metal walls.
- Key signs of wear include cracks, crumbling, or a decrease in heating performance.
- Replacement is recommended every five years, or sooner depending on usage intensity.
- When choosing replacement panels, it is essential to consider the exact dimensions and required thickness.
- Potential asbestos in older panels necessitates pre-testing before any handling or disposal.
- Proper installation can enhance the stove's thermal efficiency by 10 to 15 percent.
Vermiculite in Wood Stoves: A Natural Mineral with Remarkable Thermal Properties
Vermiculite belongs to the phyllosilicate family, characterized by its layered structure and significant ability to expand under heat. When subjected to high temperatures during industrial processing, it dramatically swells, resembling popcorn, and becomes a lightweight, porous material that is highly resistant to thermal shock.
This unique physical property makes vermiculite an excellent refractory material for home heating applications. Unlike traditional refractory bricks, which are heavier and more expensive to install, vermiculite panels easily fit into a stove without requiring complex tools, while providing comparable or even superior thermal insulation in certain contexts.
Within a wood stove, vermiculite serves three essential functions. It concentrates heat within the firebox, allowing for more complete and efficient combustion of wood. It protects the metal walls from repeated thermal expansion and contraction, which, without protection, can significantly accelerate corrosion and structural deformation. Additionally, it contributes to the overall thermal safety of the installation by reducing the risk of overheating.
This explains why Scandinavian stove manufacturers have widely adopted vermiculite as the standard refractory material. Its combination of lightness, insulation performance, and ease of replacement makes it a preferred choice in the industry. A well-equipped stove with intact panels consumes less fuel to produce the same amount of heat, offering significant long-term economic benefits.
Recognizing Signs of Wear in Vermiculite Panels Before It's Too Late
One of the most useful maintenance habits for a wood stove is to inspect the condition of the vermiculite panels at least once a year, ideally at the end of the heating season. This quick check can prevent more serious issues, ranging from gradual efficiency loss to fire hazards in critical situations.
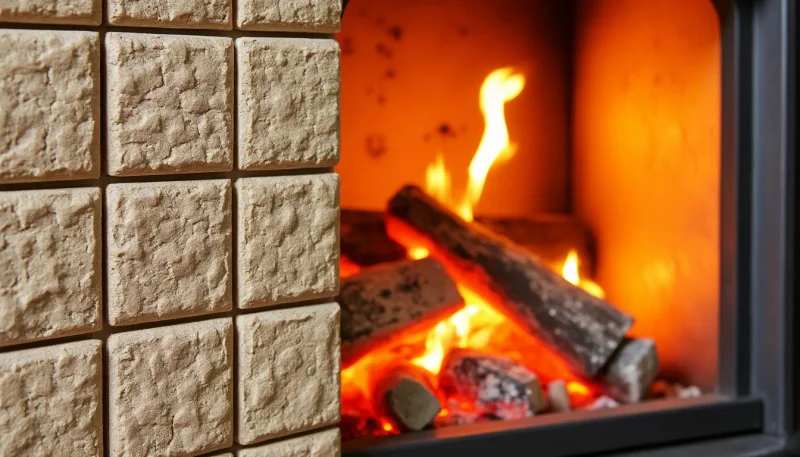
Visible cracks are the first warning sign. While fine, superficial cracks may not require immediate replacement, those exceeding 5 millimeters in width or penetrating the panel entirely demand urgent attention. Such cracks create weak spots that allow heat to escape unnecessarily, and in extreme cases, sparks can pass through the wall.
Surface crumbling is another significant indicator. If small particles detach when touched, the panel has lost a considerable amount of its structural integrity. An unusual accumulation of fine dust at the base of the stove often indicates this silent degradation.
The decrease in heating performance is the most noticeable sign in daily use. If the same volume of wood produces less heat or if the stove takes longer to reach temperature, it is reasonable to suspect a problem with the internal panels. This type of efficiency loss directly impacts fuel bills.
Essential Precautions Before Any Inspection
Before opening the stove to examine the panels, ensure that the appliance is completely cooled down, which requires a minimum wait of 24 hours after the last use. Even if the stove appears off, internal walls can retain dangerous residual heat.
Personal protective equipment is crucial: heat-resistant gloves, safety goggles, and a dust mask are necessary. This last point is particularly important if the panels are older, as some vermiculite products manufactured before the 1990s may contain traces of asbestos. If there is any doubt about the material's age, an analysis test should be conducted prior to handling, typically costing around 50 euros, which is well justified given the health risks.
Here are the points to methodically check during an inspection:
- Presence of visible cracks, especially in corners and along edges
- Signs of crumbling or flaking on the flame-exposed face
- Evidence of pronounced discoloration or suspicious stains
- Accumulation of fine dust at the bottom of the firebox without apparent cause
- Presence of gaps or misalignments between the panels and the walls
A thorough inspection takes less than fifteen minutes and can, by itself, prevent costly degradation.
Choosing the Right Replacement Panels for Your Wood Stove
Once the diagnosis is made and the need for replacement confirmed, the next step is selecting new panels. This phase requires particular attention, as an unsuitable panel, even of good intrinsic quality, can compromise the appliance's performance or create installation issues.
Vermiculite panels come in several standard thicknesses, ranging from 10 to 25 millimeters. Thicker panels provide better thermal insulation, but they also slightly increase weight and cost. For intensive domestic use, a thickness of 20 to 25 mm is often recommended. Thinner panels are more suitable for occasional use stoves or smaller fireboxes.
The density of the material, expressed in kilograms per cubic meter, directly affects long-term durability. A higher density ensures better resistance to repeated thermal cycles. Therefore, it is essential not to focus solely on price when purchasing: a higher-density panel will last significantly longer, reducing the frequency of replacements.
Measuring Accurately to Avoid Common Errors
Approximately 30% of replacement errors stem from inaccurate measurements. Before ordering, it is crucial to take precise dimensions of each panel in place: length, width, and thickness. The manufacturer's manual or the label on the appliance may also provide this information.
If original panels are no longer available in the same size, some suppliers offer custom-cut panels. This solution provides appreciated flexibility, provided you have the right cutting tools and take care not to generate fine dust during the process.
Alternatives to Vermiculite: Ceramic and Refractory Brick
In some cases, vermiculite can be replaced with other refractory materials. Refractory ceramic offers superior thermal resistance, ideal for stoves used intensively. On the other hand, refractory brick is known for its longevity and robustness against mechanical impacts.
However, these materials are typically heavier and more expensive than vermiculite. Their installation can also be more complex, sometimes requiring professional assistance. The choice thus depends on the intended use, available budget, and specific stove configuration.
Replacement vermiculite panel prices generally range from 50 to 200 euros, depending on the chosen dimensions and thickness. For such a modest investment compared to the benefits gained, it would be unwise to overlook this step.
Step-by-Step Procedure for Replacing Vermiculite Panels
Replacing a vermiculite panel is not solely a task for professionals, provided one prepares adequately and strictly follows safety guidelines. Careful preparation significantly reduces the risk of accidents, according to feedback from many stove maintenance technicians.
The first and foremost step is to ensure that the stove is completely cooled down. A minimum of 24 hours must be respected after the last burn. Protective gear should be worn even before opening the firebox door: heat-resistant gloves, protective goggles, and a quality dust mask.
The materials to gather before starting are simple: a sturdy spatula, a rubber mallet to avoid damaging the walls, a bucket to collect debris, and possibly refractory mortar if the new panel requires securing. Having everything ready before starting avoids unnecessary interruptions during the operation.
Removing the Old Panel Without Damaging the Firebox
Dismantling begins at the edges. Using the spatula, carefully pry the panel away, progressing steadily without forcing it. The rubber mallet allows for light pressure without risking chipping the internal walls of the firebox. Debris should be carefully collected in the bucket to avoid spreading dust throughout the room.
If the panel breaks during removal, which is common with heavily degraded pieces, each fragment must be retrieved with care. No piece should remain lodged between the walls or in the corners of the firebox, as this could compromise the proper seating of the new panel.
Installing the New Panel with Precision
The new panel must be positioned accurately to ensure optimal performance and safety. Following the manufacturer’s instructions for securing the panel is crucial. If refractory mortar is required, it should be applied evenly to provide a solid hold.
After securing the new panel, it’s advisable to conduct a final inspection to ensure everything is in place and there are no gaps. This attention to detail will enhance the stove's efficiency and longevity, ensuring a safe and warm environment for years to come.