Dressing a Ceiling Between Old Beams: A Comprehensive Guide
Dressing a ceiling between old beams requires a tailored approach to preserve its character. The choice of materials, insulation, and finishing touches depend on the desired style and housing constraints.
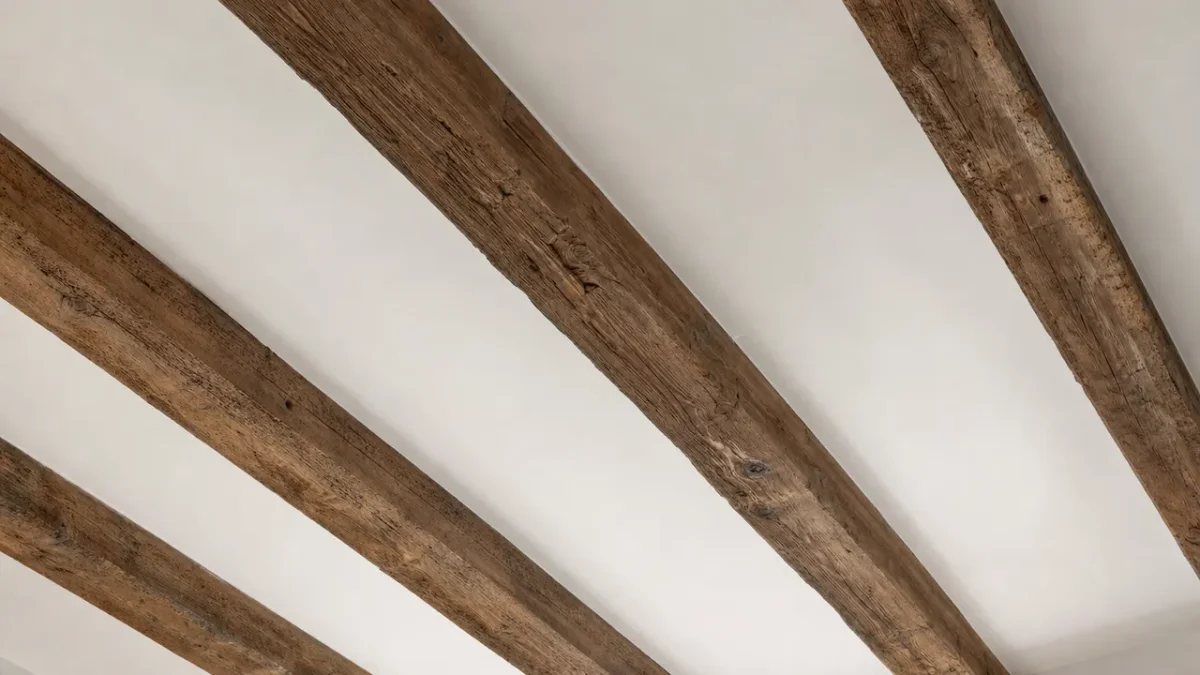
When dealing with a ceiling situated between old beams, a tailored approach is essential to maintain its character. The choice of materials, insulation, and finishing touches depend on the desired style and the specific constraints of the home.
This guide will walk you through how to dress a ceiling between old beams, whether your project involves a simple refresh or a complete renovation.
Five common solutions are particularly favored: wood paneling, plasterboard, stretched fabric, fiberglass, and acoustic panels. Your selection should reflect the aesthetic you wish to achieve as well as the technical requirements of the space.
Before beginning, assess the condition of the existing structure. If the ceiling shows significant cracks, loose areas, or instability, it is advisable to remove it before installing a new covering.
Choosing the Right Material for Your Desired Look
To preserve a traditional style that highlights the beams, wood paneling or leaving the wood exposed are excellent options. For a perfectly smooth ceiling that is easy to paint, plasterboard remains a go-to choice.
- Plasterboard (BA13, 12.5 mm): A smooth and paintable solution compatible with integrated insulation between the beams.
- Wood paneling: An aesthetic choice that naturally extends the style of the old beams.
- Fiberglass: Easy to install, resembling thick wallpaper, which can then be painted.
- Stretched fabric: A decorative alternative for a more contemporary effect.
- Acoustic panels: Recommended if sound comfort is your priority.
Installing the Framework Based on Beam Spacing
The spacing between beams influences the choice of framework. If the distance is less than 60 cm, using angles or parallel furring may suffice to support the plasterboard.
For spacings greater than 60 cm, a more robust framework with rails and intermediate studs should be planned. A maximum spacing of 60 cm between the studs is advised, or even 40 cm if the gap between the beams is larger. For fastening, plan on approximately one screw every 30 cm on load-bearing elements.
How to Insulate a Ceiling Between Beams While Keeping the Beams Visible
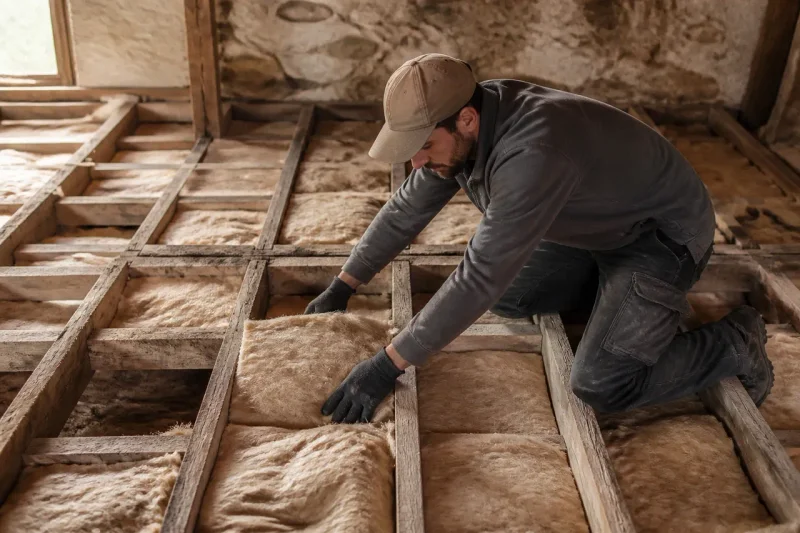
Insulation is placed directly between the beams, which remain visible after the work is completed. An alternative is to install battens along the beams to leave only part of the wood exposed.
A key consideration is the installation of the insulation. It must fill the space completely without leaving gaps, while avoiding excessive compression, as compacted insulation loses thermal and acoustic effectiveness.
What Insulation and Thickness to Choose?
For effective insulation with minimal height loss, glass or rock wool measuring 45 to 60 mm, combined with a 12.5 mm board, offers an effective compromise.
If the goal is to keep the beams visible, thinner solutions are available. Thin insulators, PIR, PU, or compressed wood fiber occupy only 2 to 4 cm in thickness, but they generally provide limited thermal performance.
How to Properly Install a Vapor Barrier
The vapor barrier should always be placed on the warm side of the insulation, toward the interior of the room. The seams must be perfectly aligned, and overlaps carefully glued to ensure continuity across the entire surface of the ceiling.
Poor sealing of the vapor barrier can lead to moisture issues, reduce the insulation's effectiveness, and degrade indoor air quality.
How to Fill Gaps and Cracks Between Beams and Ceiling
Before any filling, check the condition of the wood. Treat any sound areas and repair or replace damaged sections before applying finishes.
Between the wood and plasterboard, use a suitable sealant or paintable silicone to absorb the natural movements of the wood due to humidity variations. For joints between boards, install a sealing tape, apply a compound, and then finish with a second coat to achieve a smooth surface.
- Small peripheral gaps: Use a compatible sealant or adhesive, with sleeves at critical points.
- Cracks in the wood: First, dust off, assess the condition of the beam, then apply a suitable sealant.
- Space between two beams: Install a rigid facing if the surface is wide, or use a local fill for a small crack.
Preparing and Treating Beams Before Work
Cleaning the wood begins with a thorough dusting, followed by checking for any insects or fungi. This step helps detect hidden issues before applying a finish.
If an infestation is found, apply an insecticide and fungicide treatment before proceeding with any other work. Applying a varnish or stain comes next, but only if you wish to alter or protect the appearance of the wood.
When the existing ceiling is too degraded, install an independent framework made of wood or metal, anchored only to sound beams. This solution avoids adding stress to a weakened structure.
Modernizing and Decorating a Ceiling with Old Beams
The color white remains a reliable choice for modernizing a ceiling, whether it is made of fiberglass or plasterboard. It enhances brightness while contrasting beautifully with the wooden beams.
For the beams, a stain or varnish can revive and protect the wood after cleaning. On painted surfaces, apply a primer after filling and sanding to ensure a uniform finish.
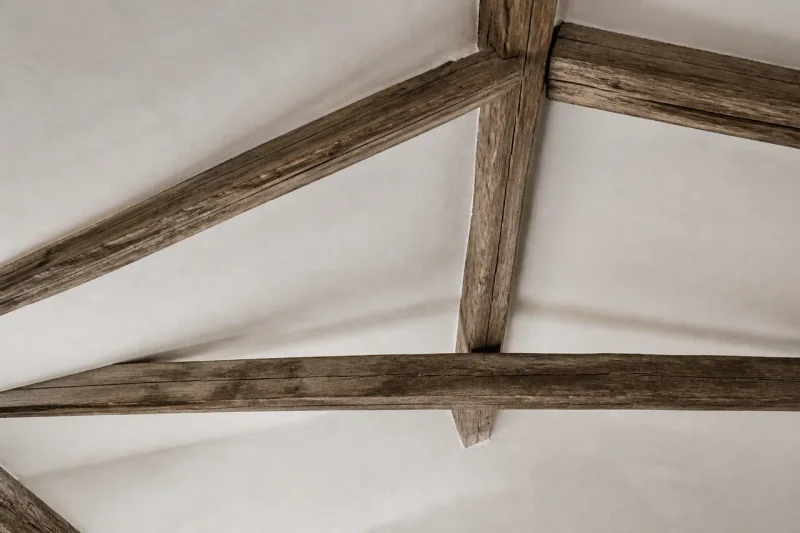
For a sleek and contemporary style, combine smooth plasterboard between the beams with either raw or simply treated wood. If acoustic comfort is a priority, acoustic panels or mineral wool hidden beneath a discreet facing can enhance comfort without compromising aesthetics.
This approach allows for the preservation of the character of the old wood while integrating it harmoniously into a modern interior. To restore the shine to a wooden staircase, learn how to strip a wooden staircase before choosing its finish. If you're torn between different treatments for your wooden floors, this comparison between oiled and varnished parquet will help you decide.