How Does an Automatic Radiator Bleeder Work?
Learn about the benefits and functionality of automatic radiator bleeders, a reliable solution for maintaining heating efficiency and preventing costly repairs.
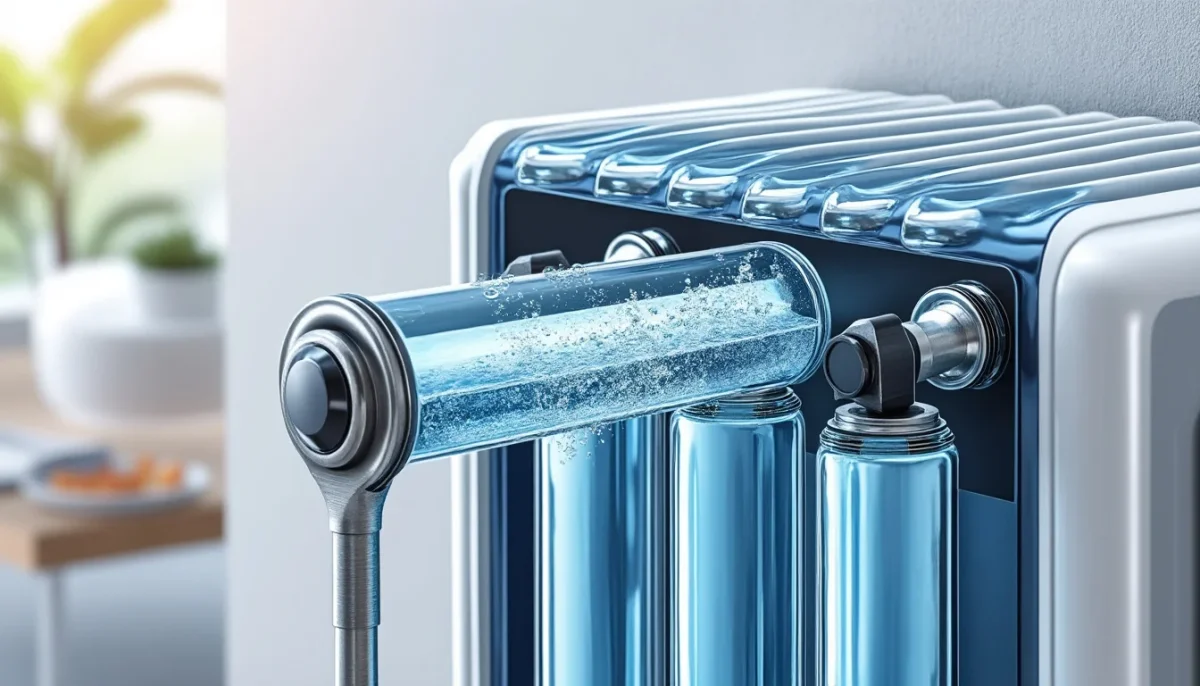
Every autumn, as the heating season approaches, homeowners face the same task: bleeding the radiators. This often tedious process, if not done correctly, can severely affect the thermal efficiency of the entire home throughout the winter. Fortunately, there is a discreet and reliable solution gaining popularity in both renovations and new constructions: the automatic radiator bleeder. Installed in minutes in place of a manual bleeder, it detects and expels trapped air from the hydraulic circuit without the need for a key, bucket, or repeated interventions. This not only enhances comfort but also actively protects against common issues such as internal oxidation, sludge formation, and pump seizing.
In summary:
- The automatic bleeder replaces the manual version and operates continuously without human intervention.
- It relies on a float mechanism, thermostatic or hygroscopic, depending on the model.
- Installation is straightforward and accessible for even the most novice DIYers.
- It improves heating efficiency and can reduce energy consumption by up to 15%.
- Prices typically range from €10 to €40, depending on the model and technology.
- Light maintenance every 6 to 12 months is sufficient to ensure longevity.
Why Air Accumulates in a Heating Circuit and Its Consequences
Air should not be present in a closed heating circuit, but it inevitably finds its way in through several well-known channels. The first source is during the initial filling of the system, when gas pockets naturally form in the upper areas of radiators and collectors. The second source is internal corrosion of pipes and emitters, which generates hydrogen through chemical reactions.
Additionally, undetected micro-leaks allow outside air to enter when the circuit pressure drops slightly. Even a slightly loose connection can cause this issue over time. In larger systems, such as a 200 m² house with multiple radiators, this problem is exacerbated.
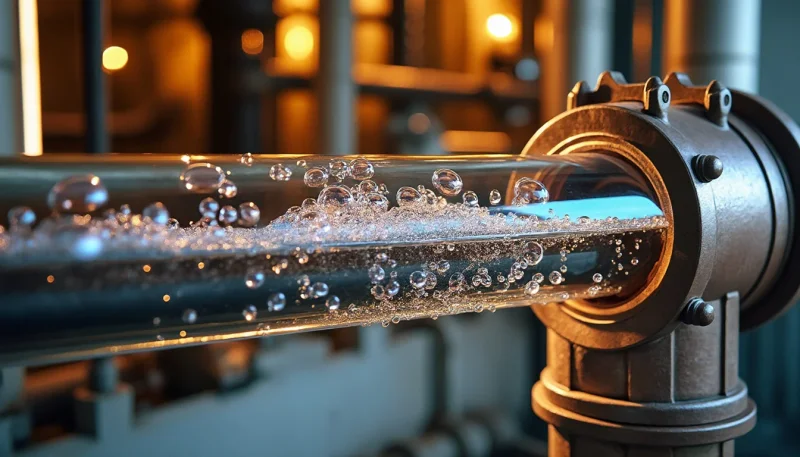
The consequences are well-known to anyone who has touched a radiator that is cold at the top and hot at the bottom: the lighter air stagnates at the top and blocks the flow of the heat transfer fluid. As a result, the radiator heats only partially, causing the boiler to work harder and consume more energy. This is compounded by the gurgling and banging noises, characteristic symptoms of a system clogged with bubbles.
In the long term, the presence of air promotes sludge formation due to the oxidation of metallic components. This sludge settles in exchangers, reduces flow rates, accelerates pump wear due to cavitation, and can cause thermostatic valve seizing. These costly interventions could have been avoided with an effective bleeding device, which is precisely where the automatic bleeder comes into play.
How Does an Automatic Radiator Bleeder Work?
The principle behind the automatic bleeder is based on a simple yet highly effective mechanism. The central element is an internal float, typically made of heat-resistant synthetic material, suspended in a small chamber filled with heat transfer fluid. As long as water flows normally, the float remains in the raised position, keeping a valve closed. This prevents any leaks or unintended evacuations.
When an air pocket enters the chamber, the liquid level drops, causing the float to descend. This movement mechanically opens the evacuation orifice, allowing the air to escape through a small vent located at the top of the housing, often protected by a cap. Once the air is expelled, the water level rises, the float returns to its original position, and the valve closes. This cycle occurs as often as necessary, each time the heating system starts up, without any external intervention.
Available Technological Variants in the Market
While the float-type bleeder is the most common model, other technologies are available for specific configurations. The thermostatic bleeder operates based on temperature variations: a heat-sensitive element controls the opening and closing of the valve. This type is particularly suited for circuits where temperatures fluctuate significantly.
The hygroscopic bleeder, less common in residential installations, uses a material that reacts to the relative humidity of the air in the chamber. When dry air accumulates, the material contracts and opens the evacuation orifice. This type is often employed in industrial setups or circuits particularly sensitive to gas corrosion.
Regardless of the model, all share a common characteristic: they operate entirely autonomously, without electrical power, programming, or remote control. This simple mechanism is thus reliable in the long term.
An often-overlooked aspect is the installation position. An automatic bleeder must be placed at the top of the radiator or circuit, where air naturally concentrates. Installing it at the bottom would be illogical, as air always rises to the highest points of the hydraulic circuit.
Concrete Advantages of Automatic Bleeders for Your System
Beyond the obvious convenience of not having to remember to bleed each radiator at the start of winter, the automatic bleeder offers measurable benefits to the overall performance of the heating system. Studies conducted on residential installations show that regular and effective bleeding can reduce energy consumption by 10 to 15%, depending on the initial condition of the system and the frequency of air accumulation.
For instance, in a 1990s single-family home equipped with a gas boiler and twelve steel radiators, the owners noticed that three radiators heated poorly each winter despite correct thermostat settings. After installing automatic bleeders throughout the system, the boiler returned to its nominal efficiency, and gas bills noticeably decreased in the first season.
Protection Against Internal Circuit Disorders
One of the less visible yet most significant benefits is the long-term protection of the circuit. A well-bled system limits the formation of ferrous sludge, a major cause of circulation pump failures. When a pump cavitates regularly due to micro-bubbles, its seals and turbine wear out prematurely. Replacing a pump can be costly, not to mention the labor involved.
Moreover, internal oxidation of steel radiators is directly correlated with the presence of dissolved oxygen in the circuit. An automatic bleeder in good working order helps maintain a closed system devoid of air, making it less conducive to oxidation reactions. This preventive maintenance approach increasingly appeals to homeowners eager to preserve their property's value.
Plumbing and heating professionals recommend installing automatic bleeders not only on radiators but also on collectors and high points in the circuit, such as loop departures or underfloor heating manifolds. This network configuration ensures comprehensive bleeding of the system rather than limiting it to a few isolated emitters. If you notice that your underfloor heating flow meter is not moving, the presence of air in the circuit is often one of the first issues to investigate.
How to Install an Automatic Radiator Bleeder: Step-by-Step Guide
Installing an automatic bleeder does not require professional skills, provided a few fundamental steps are followed and a compatible model is chosen for the existing radiator thread. Most European radiators are equipped with a male thread of 1/8″, 3/8″, or 1/2″, standardized dimensions found on nearly all bleeders available on the market.
Before any work begins, it is essential to turn off the heating and allow the system to cool for at least an hour. Working on a pressurized circuit with hot water poses serious burn risks. Once the system has cooled, follow these steps:
- Prepare the necessary tools: an adjustable wrench or appropriate spanner, Teflon tape or joint paste, a small container to catch any water drips, and of course, the new automatic bleeder.
- Remove the old manual bleeder by unscrewing it counterclockwise while holding the radiator body to avoid stressing the connection.
- Wrap Teflon tape around the thread of the new bleeder in the direction of screwing, making three to five complete turns to ensure a tight seal.
- Screw in the automatic bleeder vertically, with the air vent cap facing upward, until it is securely tightened without excessive force.
- Restart the heating and observe the bleeder during the first few minutes of operation to check for any leaks at the connection.
A commonly overlooked precaution is to ensure that the protective plastic cap of the bleeder is in place but not overly tightened. This cap allows air to pass while preventing water splashes if the mechanism operates fully during the first start-up.
Common Mistakes During Installation
The first frequent mistake is choosing a bleeder whose thread does not match that of the radiator. Before purchasing, it is essential to measure or note the diameter of the existing thread. Some bleeders come with adapters, but it is better not to rely on them for a clean and durable connection.
The second mistake involves underestimating the importance of sealing products. Teflon tape or joint paste is not optional; without it, tiny leaks can quickly develop and damage flooring or walls. Finally, never install an automatic bleeder upside down or horizontally: gravity is crucial to its mechanism, and improper orientation renders it completely ineffective.
Maintenance, Lifespan, and When to Replace Your Automatic Bleeder
A good quality automatic bleeder can function between 5 and 10 years without special intervention, provided the water in the circuit is of good quality and the system is properly pressurized. Bleeders typically suffer from two types of failures: sticking in the open position, causing a continuous water leak, and sticking in the closed position, rendering the device inoperative without obvious signs.
To avoid these situations, an annual visual inspection is usually sufficient. This involves checking the condition of the cap, looking for any signs of limescale or rust around the connection, and ensuring that the bleeder does not emit any unusual noises or leaks. Regular maintenance ensures that the automatic bleeder continues to function effectively, preserving the efficiency and longevity of the heating system.