How to Build a Simple and Durable Garden Ladder
Building a garden ladder is an accessible project that combines functionality and aesthetics to enhance your outdoor space. This step-by-step guide leads you to create a durable and harmonious structure.
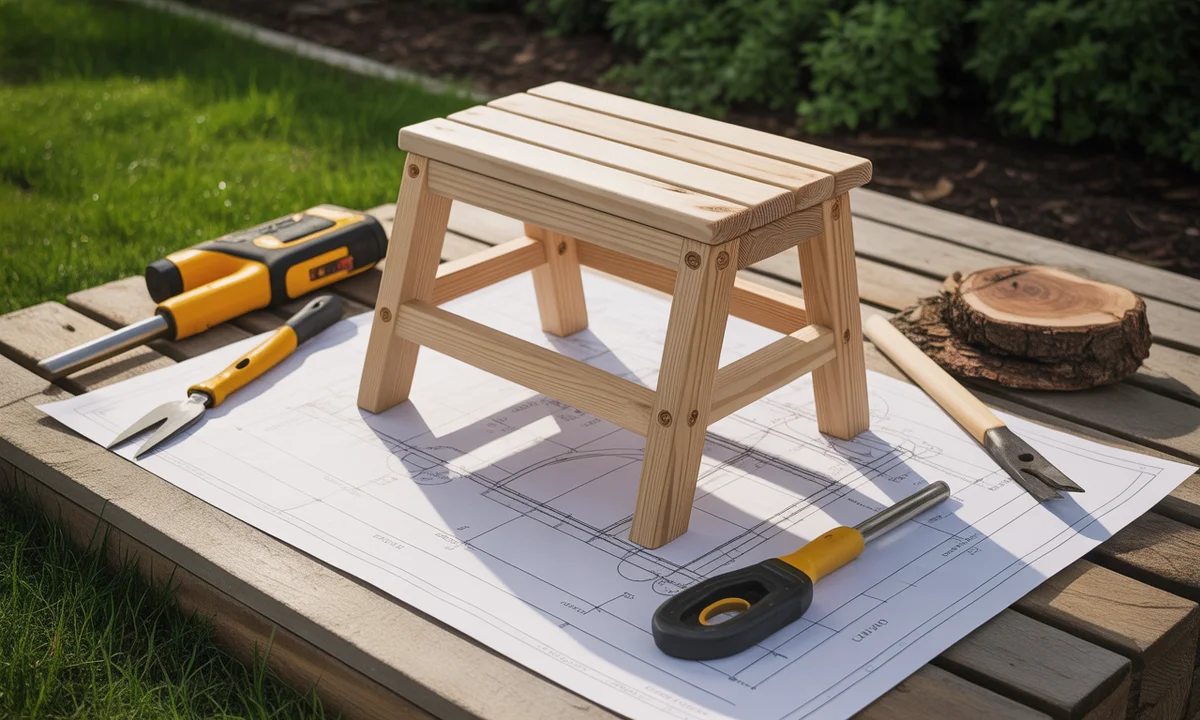
Creating a garden ladder is a straightforward project that combines functionality and aesthetics, enhancing your outdoor space. Whether you need to traverse a slight incline, access a terrace, or simply beautify your garden, this step-by-step guide will lead you to a sustainable and harmonious creation. From meticulous planning to selecting eco-friendly materials and construction tips, discover how to build a sturdy structure that withstands the elements and integrates seamlessly into your landscape.
In summary, to create a simple and durable garden ladder:
- 📏 Plan meticulously: Define its use, measure the space, and calculate the step dimensions to ensure comfort and safety.
- 🌳 Choose suitable materials: Opt for resilient wood species, treated metal, concrete, or stone, prioritizing durability and aesthetic integration.
- 🏗️ Prepare the ground carefully: Precisely mark the location, level the soil, and ensure a stable base with compacted gravel for optimal drainage.
- 🛠️ Build a solid structure: Securely attach the stringers (side supports) and install the steps, ensuring perfect alignment and stability.
- ♻️ Maintain regularly: Cleaning, checking fasteners, and prompt repairs will extend the life of your ladder. Adopt an eco-friendly approach by using recycled or certified materials.
The Garden Ladder: Your Simple and Durable Solution for an Enhanced Outdoor Space
Your garden is a peaceful retreat, but some areas can be hard to access. Does a slight slope make it challenging to reach your terrace or favorite flower beds? This common frustration can be addressed without extensive renovations or exorbitant costs. DIY projects may seem daunting, but creating a robust, practical, and aesthetically pleasing garden ladder that fits beautifully into your landscape is well within reach for everyone. This guide is designed to support you step by step toward a simple, durable, and even eco-friendly project, regardless of your DIY experience. Get ready to transform your outdoor area and enjoy every corner safely. 🌿
Planning Your Ladder Project: The Foundations of Success
Before you cut the first board or dig the first hole, careful planning is essential. This crucial step helps avoid unpleasant surprises, ensures the safety of your future structure, and guarantees its longevity. Never underestimate the importance of good preparation; it is the key to a successful and smooth project.
Define Use and Measure Space: Essential Steps
Every ladder has a purpose! Will it serve as the main access to your convivial terrace, a discreet path to a hidden flower bed, or a means to navigate a natural slope? Its intended use will determine its width, shape, and even the choice of materials. For a frequently used ladder, larger dimensions and highly durable materials will be necessary.
Once your objective is clear, grab your tape measure! Accurately measure the total height to cover (from the ground to the highest point of your destination) and the available length for the ladder's deployment. These figures will form the basis of all your future calculations. Write them down carefully; they are your best allies.
Calculate Step Dimensions: Comfort and Ergonomics
The comfort and safety of a ladder depend on the balance of its steps. The recommended standard dimensions for steps are a rise between 16 and 18 cm and a tread depth between 25 and 30 cm. How can you adapt this to your project?
The well-known Blondel formula, often used for indoor stairs, provides an excellent basis for outdoor use: 2 riser heights + 1 tread depth = between 60 and 64 cm. For example, if you need to cover a height of 120 cm and aim for a riser height of 17 cm, you will need approximately 7 steps (120 / 17 ≈ 7). Each of these steps will then have a depth of 25 cm, adjusted according to the available space. Always maintain a safe slope between 33 and 35 degrees for pleasant and risk-free use.
Ready to build your ideal ladder? Enter a few measurements, and we’ll guide you to a perfect and durable result!
Total height to cover (cm) *
The height from the ground to the upper surface of your ladder.
Desired riser height (cm) *
The ideal height of each step for your comfort (between 10 and 20 cm is often recommended).
Tread depth (cm) *
The horizontal space for comfortably placing your foot on each step.
Ladder width (cm) *
The desired width for your ladder (minimum 30 cm for stability).
Input Error: Please ensure all fields are filled with positive numbers.
Sketch Your Ladder: Visualizing Before You Build
A good sketch is worth a thousand words! Take the time to draw your future ladder. This plan, even if rudimentary, will help you visualize the entire structure: the stringers (the inclined pieces that support the steps), their angle, and the positioning of each step. It serves as a valuable guide to anticipate challenges and verify the consistency of your calculations. You can also envision how your structure will integrate into the landscape from this stage.
Choosing Materials: Beauty, Strength, and Eco-Friendly Commitment
Selecting materials is about more than aesthetics; it’s a decision that impacts the durability, weather resistance, and future maintenance of your ladder. In 2026, there is also a focus on eco-friendly options.
Wood, Concrete, Metal, or Stone: Which Material Suits Your Style?
Each material has its character and specifics. Here’s an overview to help clarify:
Material 🧱 | Advantages 🌱 | Disadvantages 🌧️ | Aesthetic Integration 🎨
Wood | Warm, natural, easy to work with, lightweight. | Requires regular maintenance (staining, treatment), sensitive to moisture and insects. | Perfect for a natural, rustic garden or a wooden terrace.
Concrete | Very strong, durable, adaptable, low maintenance. | Technical installation, may need a non-slip coating, heavy. | Ideal for a modern, minimalist design or a robust base.
Metal | Lightweight, contemporary, highly weather-resistant (aluminum, galvanized steel). | Can be slippery without texture, more expensive, requires anti-corrosion protection. | Fits well with contemporary or industrial architecture.
Stone | Elegant, timeless, extremely durable, requires little maintenance. | Very heavy, difficult to install, costly in purchase and labor. | Adds rustic, classic, or Mediterranean charm.
Ensuring Weather Resistance: Longevity at the Heart of the Project
Your ladder will be constantly exposed to the elements, making it imperative to choose materials that can withstand the climatic variations of 2026.
- 🌳 For wood, prioritize naturally moisture-resistant species like oak, larch, or teak. Regular treatment with a stain or waterproof varnish is essential to extend its lifespan and prevent graying.
- 🏗️ Ladders made from concrete and stone benefit from significant thermal mass, but a non-slip treatment is highly recommended to prevent accidents, especially during rain or frost.
- ⚙️ If you opt for metal, ensure it has anti-corrosion coating (galvanized steel, aluminum) to prevent rust, a silent enemy of durability.
Aesthetic integration is also crucial: the ladder should blend harmoniously into your landscape. A wooden ladder will match beautifully with a wooden terrace or a natural garden, while a concrete structure with clean lines will signify a modern and minimalist space. The secret lies in respecting the overall style of your garden to create a coherent and welcoming ensemble.
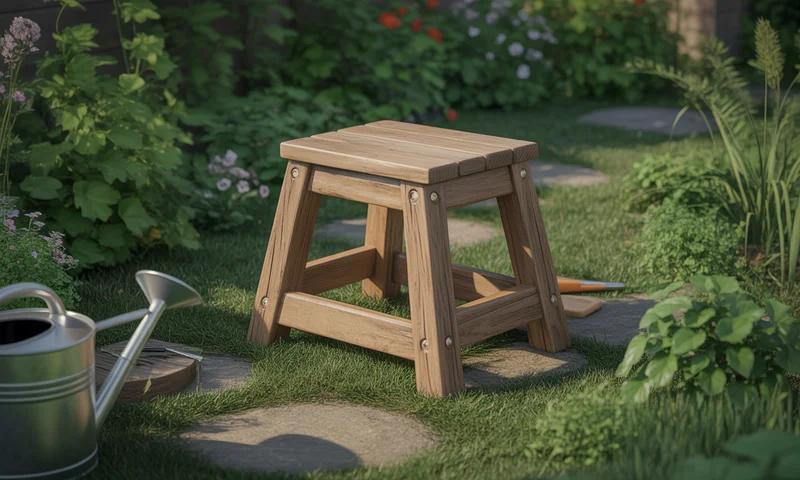
Preparing the Ground: A Solid Base for a Stable Ladder
The stability and durability of your garden ladder largely depend on impeccable ground preparation. This step ensures that your structure will withstand time and use.
Marking the Location Precisely: The First Crucial Step
The first phase involves marking the exact location of your future ladder. Use stakes and string to outline the contours. Position the stakes at the four corners of the designated area and connect them with taut string. This guideline allows you to visualize the space and adjust dimensions if necessary. Use a level to ensure your layout is horizontal and that the slope is consistent along the intended length. Attention to detail from the start is crucial to avoid uneven steps or a leaning structure.
Leveling and Stabilizing the Ground: Avoiding Unpleasant Surprises
A solid base is imperative to support the weight of the ladder and prevent any movement or settling over the seasons. If your ground has irregularities or a steep slope, excavate slightly to level the surface. It is essential to remove all roots, stones, or other obstacles that could compromise the structure's stability. For soft or clayey soils, or simply to optimize drainage, add a layer of compacted gravel about 5 to 10 cm thick. This gravel layer not only improves drainage but also prevents water accumulation under the ladder, which could weaken the foundations over time. Finally, compact the soil thoroughly using a tamper or vibrating plate to achieve a perfectly stable surface ready for your ladder.
Building the Structure: Assembling Key Elements
Now that your ground is prepared, let’s move on to assembly! This is where your ladder will take shape, section by section. A methodical construction process will ensure the strength and aesthetics of your work.
Installing the Stringers: The Skeleton of Your Garden Ladder
The stringers are the main components of your ladder. These are the inclined side supports that will hold and maintain each step, defining the slope and robustness of the entire structure. Their cutting and installation require great precision.
- Precise Marking: Based on the dimensions calculated during planning (riser heights, tread depths), transfer the cuts onto a thick board. Use a carpenter's square to ensure perfect angles.
- Clean Cutting: A circular saw is ideal for long, straight cuts, ensuring a professional finish.