How to Repair a Masonry Flashing in Just Two Days
Learn how to efficiently repair your chimney's masonry flashing in just two days. Discover essential tools, preparation steps, and expert tips for a durable solution.
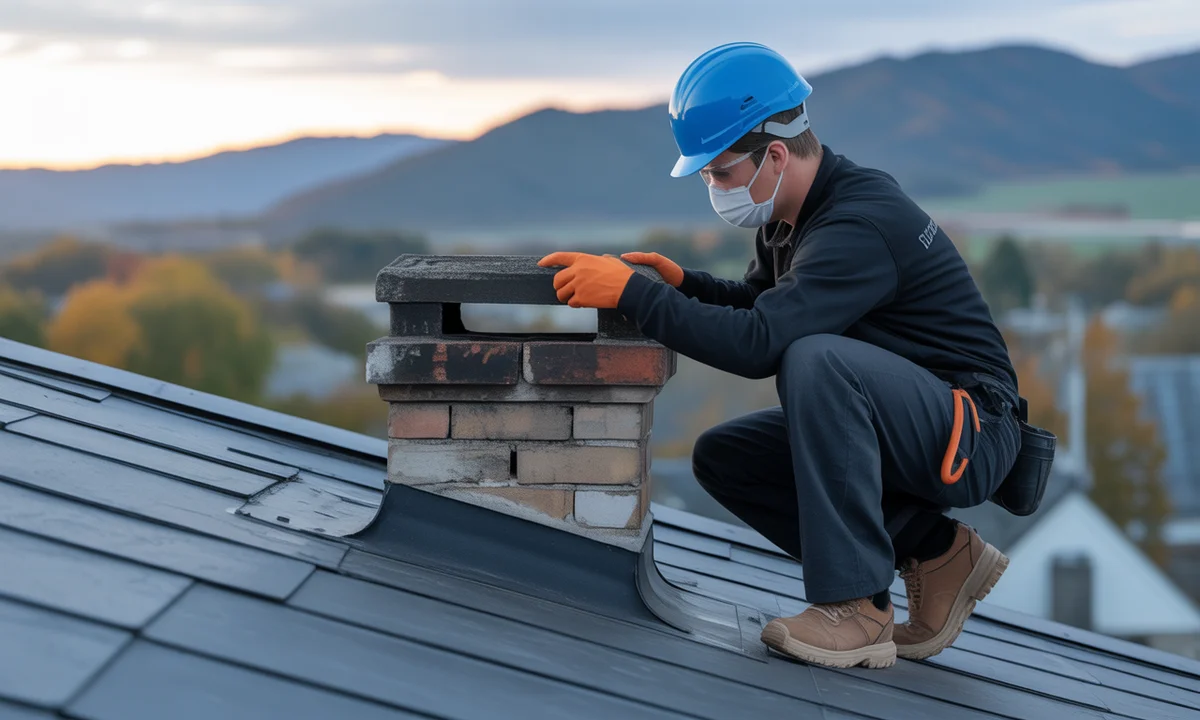
Overview
- 🔧 The masonry flashing is crucial for the waterproofing of your chimney and roof.
- 🔍 A quick diagnosis of cracks, detachments, or crumbling mortar is essential to prevent leaks.
- 🛠️ Effectively repair it in two days using structured micro-actions and suitable tools.
- 💡 The choice between masonry repair and metal flashing depends on the condition, budget, and desired durability.
- 👷♀️ Follow craftsman tips and avoid pitfalls for a professional and lasting result.
- ⚠️ Don’t hesitate to call a professional for significant damage or dangerous situations.
Warning Signs: Is Your Chimney Flashing Threatening Your Roof?
Have you noticed moisture stains on your ceiling just below your chimney after a heavy rain? 🌧️ This is often the first sign of an issue with the masonry flashing of your chimney. This essential mortar band ensures a watertight connection between the chimney stack and the roof. Without it, water can infiltrate, jeopardizing the framework, insulation, and even the structure of your home. Acting quickly is key to preserving your property and avoiding much heavier and more costly repairs.
Diagnosing the Condition of Your Flashing: Key Indicators to Watch
The flashing's role is to act as a barrier against water. As it ages, it can crack, detach, and become a weak point. For homeowners like Claire, whose 1970s house began showing signs of moisture, diagnosis was the first step. She quickly realized that a simple coat of paint wouldn’t be enough.
Here are the warning signs to look out for:
- Visible cracks: Vertical or horizontal in the mortar of the flashing.
- Detachment: The flashing no longer adheres perfectly to adjacent tiles or slates.
- Crumbling mortar: The coating crumbles or turns to dust upon touch.
- Loose peripheral tiles: Tiles around the chimney that move or are poorly sealed can cause the flashing to detach.
If the mortar is powdery or if water clearly penetrates the masonry, restoration is inevitable. A thorough inspection, ideally after a rain, will confirm the extent of the damage. Knowing precisely what needs repair will enable you to act effectively.
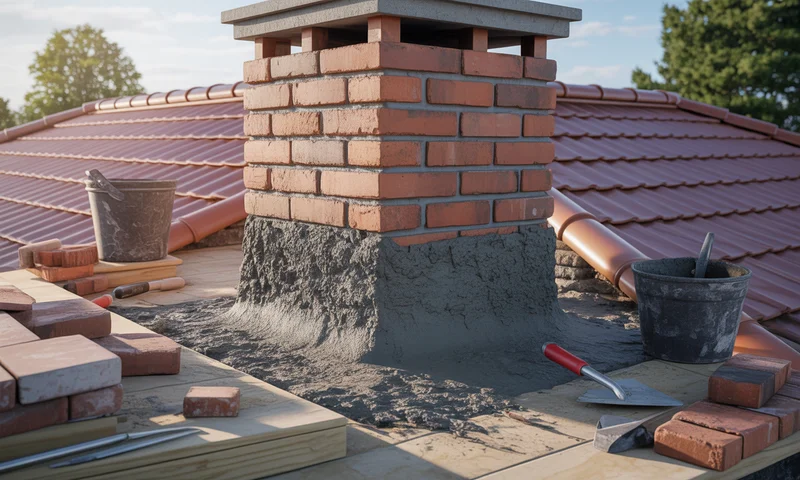
The Perfect Renovation Kit: Tools and Materials for Flashing Repair
Before stepping onto the roof, preparation is key to a successful project. Having the right materials on hand will save you valuable time and ensure the quality of your work. This is the stage where you turn intention into concrete action, organizing everything like a true DIY professional.
Preparing the Ground: Complete List for a Safe Project
Working at heights requires precautions. Ensure you have a stable and secure ladder. If your roof slope is steep, investing in a roof ladder might be wise. Always remember your Personal Protective Equipment (PPE): sturdy gloves and safety goggles are essential to avoid accidents. A workboard can also be very useful for moving around and placing your tools without risking dirt or damage to the roof.
Here’s what you’ll need for your “flashing renovation” mission:
- 🛠️ Masonry tools: Trowel, float, rubber mallet, chisel, scraper, wire brush.
- 🪚 Preparation tools: Saw or grinder for precise cuts.
- 💧 Base materials: Mixed cement, fine sand, repair mortar or ready-to-use mortar.
- 🧪 Specific products: Waterproof coating, bonding resin (like Sika or Weber & Broutin).
- 🪚 Accessories: Clamps, template board, cloth, bucket.
- 🧤 Safety gear: Gloves, goggles, secure ladder.
- 🧱 For tiles: Sealing mortar for the support, to stabilize peripheral tiles.
A handy craftsman tip: always keep a piece of plywood nearby. It can serve both as an improvised template for certain shapes and as a clean surface to place your mortar without staining the tiles.
Your Express Action Plan: Repairing a Masonry Flashing in 2 Days
The thought of repairing a flashing might seem daunting, but by breaking the work into manageable micro-actions, you’ll find it quite achievable. We’ve structured this task over two distinct days, allowing you to work at your own pace, with precision and efficiency. Each step is designed to be quick, taking no longer than 15 minutes, ensuring continuous and motivating progress.
Day 1: Thorough Preparation and Initial Repairs
The first day is dedicated to preparation and the initial rough work. This is where you set the stage for solid and durable repairs. The quality of this step will ensure the adherence of the new mortar and the longevity of your work.
- Secure the site (10 min): Set up your ladder safely. If necessary, install a workboard. Put on your gloves and goggles. Safety first!
- Initial cleaning (15 min): Meticulously remove moss, dirt, and any crumbling mortar with a wire brush. A blast of air or vacuum will ensure a perfectly clean surface, which is essential for good adhesion.
- Mark areas to open (10 min): Precisely identify cracks and detached joints. Use a pencil to outline the areas needing repair. Claire, for example, marked a 10 cm band around her leak area.
- Chisel and open the cracks (15 min): Using a chisel and hammer (or a grinder if the cracks are deep), open the cracks until you reach solid support. Aim for a depth of at least 1 cm. The repair product must anchor securely.
- Apply bonding resin (10 min): Generously coat the base of the chimney and adjacent tiles with bonding resin (like Sika or Weber & Broutin). Carefully follow the manufacturer's recommended setting time. This product is a crucial bridge between the old and new mortar.
These initial actions lay the foundation for your repair. They are critical for ensuring optimal adhesion and preventing problems from reappearing. The patience and rigor of Day 1 will save you valuable time in the long run.
Day 2: Filling, Finishing, and Ensuring Durability
On the second day, you move to the active phase of repair and finishing. This is where the flashing takes shape, waterproofing is restored, and the work is refined. Keep in mind the need for a good slope for water drainage!
- Prepare the repair mortar (10 min): Mix your building cement with fine sand, or use ready-to-use mortar, following the proportions. The consistency should be paste-like, neither too liquid (risk of sliding) nor too dry (risk of cracking).
- Seal the support if necessary (15 min): If the peripheral tiles are unstable, lay a bed of mortar on the support (the masonry part on which the tiles rest) to secure them. Use clamps if you need to temporarily stabilize an element.
- Fill cracks and redo the joint (15 min): Firmly compress the fresh mortar into the voids and prepared areas. Smooth with a float to create an even surface. Importantly, recreate a slight slope so that water flows naturally towards the tiles and not towards the chimney.
- Apply a waterproof coating (10 min): Once the mortar has partially set, apply a waterproof coating on the exposed face of the flashing. Follow the recommended drying time. This layer significantly enhances waterproofing and weather resistance.
- Check peripheral tiles (10 min): Reposition and seal with mortar any tiles that may have shifted or are causing movement. An unstable tile guarantees future infiltration.
- Finishing touches and cleaning (10 min): Remove mortar smudges with a damp cloth, tidy up your tools, and perform a final visual check. Admire your work from all angles to ensure a flawless finish.
The Essential Post-Repair Check: Ensuring Waterproofing
Your project is complete, but your mission isn’t quite over! Schedule a reminder for a post-rain check. 🌧️ Wait at least two to three significant rains to verify the absence of infiltration in your attic or around the chimney. This real-world test is the ultimate confirmation of your repair’s success. A job well done is a job verified!
Masonry or Metal Flashing: Making the Right Choice for Your Chimney
When considering flashing repair, several options are available. Choosing between masonry repair and installing metal flashing is an important decision that depends on the current condition of your flashing, your budget, and the durability you expect. Each solution has its advantages and constraints, and understanding them is crucial for making the best choice.
Understanding the Options: When to Repair, When to Replace?
Masonry repair, as detailed above, is ideal for localized damage: cracks, minor detachments, or crumbling mortar over small areas. It allows you to maintain the original aesthetics of your roof and is generally more economical. After her diagnosis, Claire chose masonry repair, recognizing it was the most fitting solution for her needs.