Meal Prep Without Container Chaos - Orderly Love
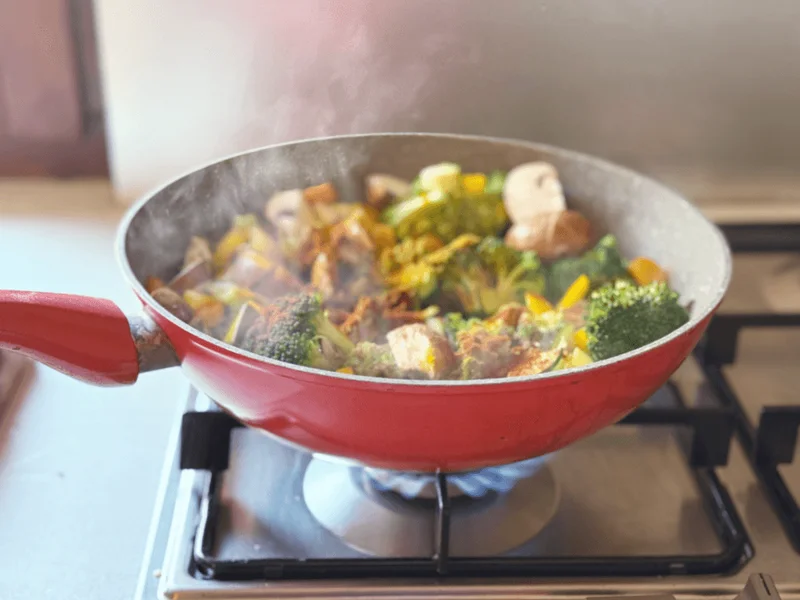
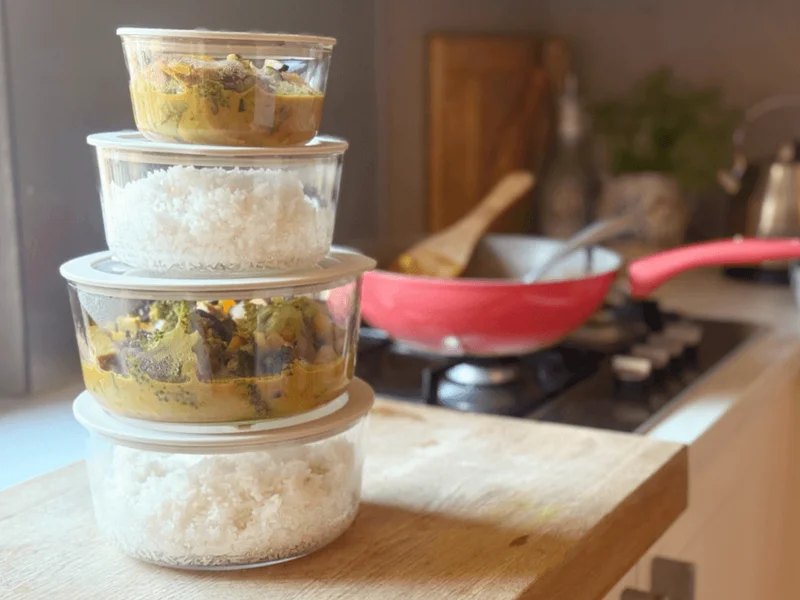
Friday evening. The aroma of coconut and lime wafts from a pot of curry. Three round jars await. One type of lid, no extensive searching, no rummaging through drawers, no lid Tetris. Everything is sealed directly and waits for its use during the week.
Friday evening. The aroma of coconut and lime wafts from a pot of curry. Three round jars await. One type of lid, no extensive searching, no rummaging through drawers, no lid Tetris. Everything is sealed directly and waits for its use during the week.
Meal prep, batch cooking, pantry cooking – no matter what you call it or how the preparation looks, the prepared meals are meant to reduce stress during the week and keep us healthy and nourished without much effort throughout the day. Because while pasta with pesto is quick to prepare, it can get a bit boring if eaten every day.

Our principle is quite simple: Once a week – usually on the weekend – we cook two related dishes. This could be a lentil Bolognese and a lasagna, a Greek chickpea soup and a chickpea curry, or two Thai dishes. The important thing is that the ingredients and preparation are very similar. This saves time and money!
Then we cook, and in the end, we usually have 6 portions, one of which goes directly to the table. The rest is frozen. If we do this every week with different dishes, we end up with about 20 prepared meals and only have to think about food on 10 other days in the month (or just pull out pasta with pesto).

Freezing: How to Do It Safely and Stress-Free
But before we get to cooking, I have a few tips for you on how to best prepare for freezing.
Do:
- Let everything cool completely. Even better: shock cool in a water bath, then dry the container well.
- Leave 10–15% headspace (i.e., space between food and lid) as liquids expand.
- Seal lids tightly, close the vent, freeze jars standing upright.
- Store flat. Largest jar on the bottom, smaller ones on top.
- Label: dish, spice level, date.
Don’t:
- Do not fill jars with boiling hot food and then place them immediately in the freezer: there is a risk of cracking.
- No overstuffed jars.
- No oven heat directly from the freezer – please thaw everything first.
Thawing:
- Overnight in the refrigerator or in a water bath: place the jar in lukewarm water and thaw for 20–40 minutes. Then transfer to pot/microwave/oven.
- Microwave: open the vent, set to medium power, and stir in intervals.
- Oven: remove the lid, heat at 160–170 °C for 20–30 minutes. A little water/splash of coconut milk helps prevent drying out.
Odor/Discoloration:
- Remove the silicone ring, soak for 20 minutes in soda water (1 tbsp/500 ml) or store with lemon slices. Let dry.
- Turmeric tends to stain, but that's not a problem. Just place it in the sun 🙂

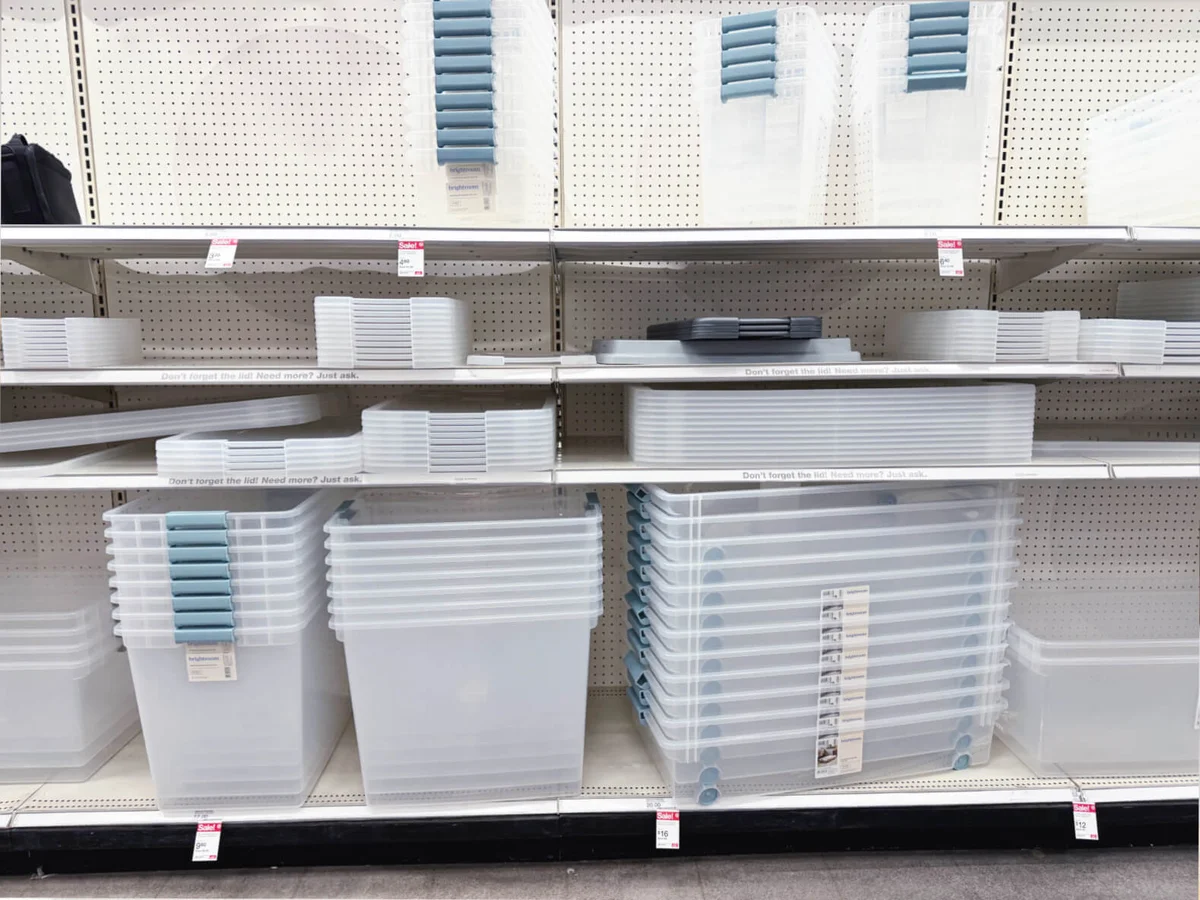
No More Chaos in the Cabinet
Now let’s talk about the topic that literally explodes in our faces: the matching plastic containers with a thousand lids that never fit, clogging our cabinets. Do you know what I mean? I have sorted them all out by now. I started with the containers that were discolored and scratched and had no matching lids left. Not many were left over.
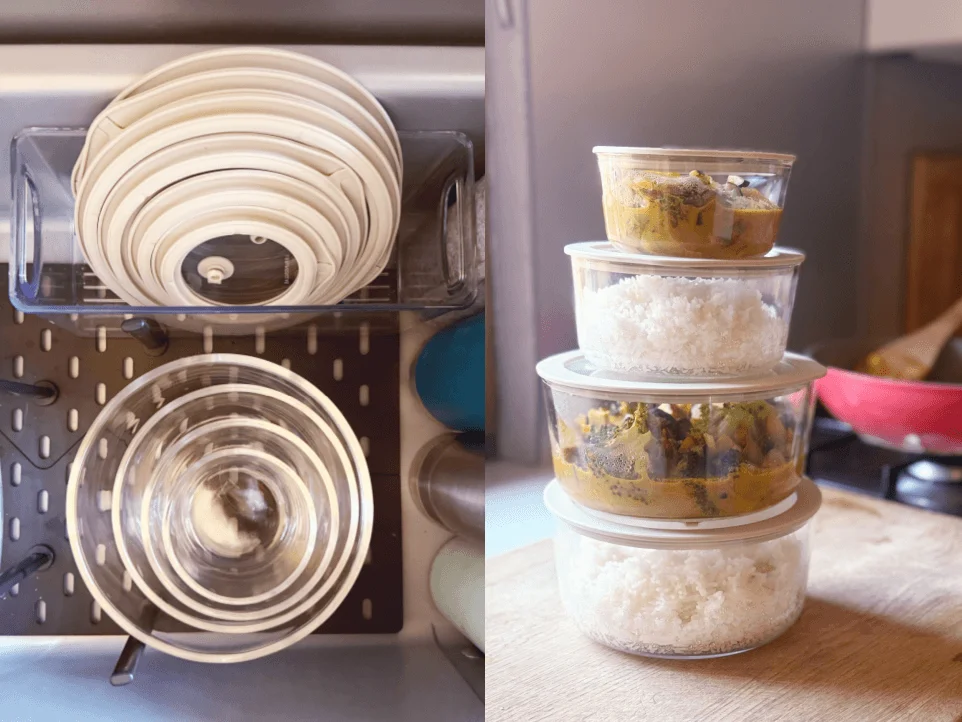
A little later, it became clear that I wanted to switch to glass. They are a bit heavier, but more durable, environmentally friendly, and also prettier!
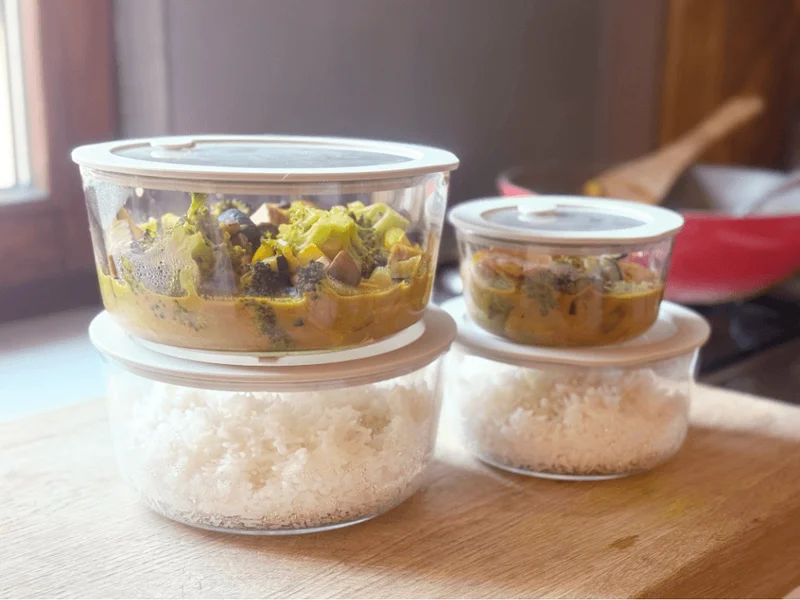
I decided on the round food storage containers from Lieblingsglas, which are glass containers with glass lids featuring a silicone ring and a vent. They are dishwasher safe, suitable for the freezer, oven-safe (without the lid), and microwave-safe. One type, one system.
This has very important advantages for me:
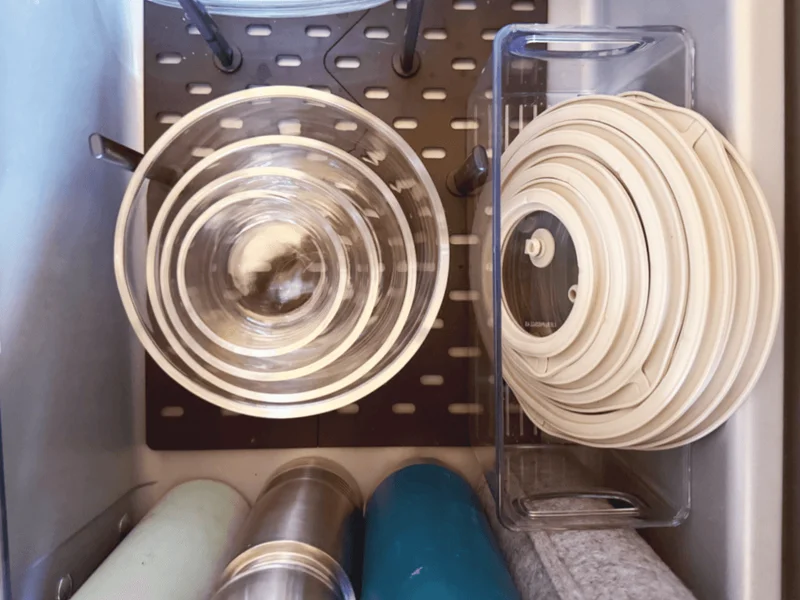
- One glance, one grab, no searching for lids.
- Stackable, one shelf or drawer is sufficient.
- Practical for everyday use: oven, microwave, freezer. You never have to transfer anything.
If you want to try the containers yourself, you can get a permanent 12% discount on the entire range with SABINE12. I got this set to start with.
Setup in 10 Minutes
If you also want to change your pantry container cabinet (or drawer), you can proceed as follows:
- Clear a shelf, sort out all other containers and give them away.
- Determine the sizes you need: XL for main dishes, L for sides/salads, M for snacks/sauces.
- Label the containers with the date and contents. Label the containers so that you can quickly recognize the contents without rummaging through the freezer.
Vegan & Gluten-Free: One Curry, Two Countries.
Now, let me share two of my recipes with you.
Thai-Style Red Curry (vegan, gluten-free)
For 6–8 servings.
Ingredients:
- 2 tbsp red curry paste, vegan and without fish/shrimp, gluten-free
- 2 cans coconut milk (400 ml each)
- 1 onion, finely chopped
- 3 cloves garlic, minced
- 1 piece of ginger (3–4 cm), grated
- 1–2 tbsp neutral oil
- 600–800 g firm vegetables, diced (e.g., sweet potato, pumpkin, carrot)
- 300–400 g “quick” vegetables (bell pepper, sugar snap peas, broccoli florets)
- 400 g natural tofu, pressed, diced OR 1 can chickpeas, rinsed
- 1–2 tbsp soy sauce/tamari (gluten-free) or salt
- 1 tsp sugar or maple syrup
- 1–2 limes (juice + zest)
- Optional: Thai basil, coriander, chili to taste
Instructions:
- Heat oil. Sauté onion, garlic, and ginger until translucent. Stir in curry paste for 1 minute.
- Deglaze with 1 can of coconut milk. Stir until smooth. Add the remaining coconut milk.
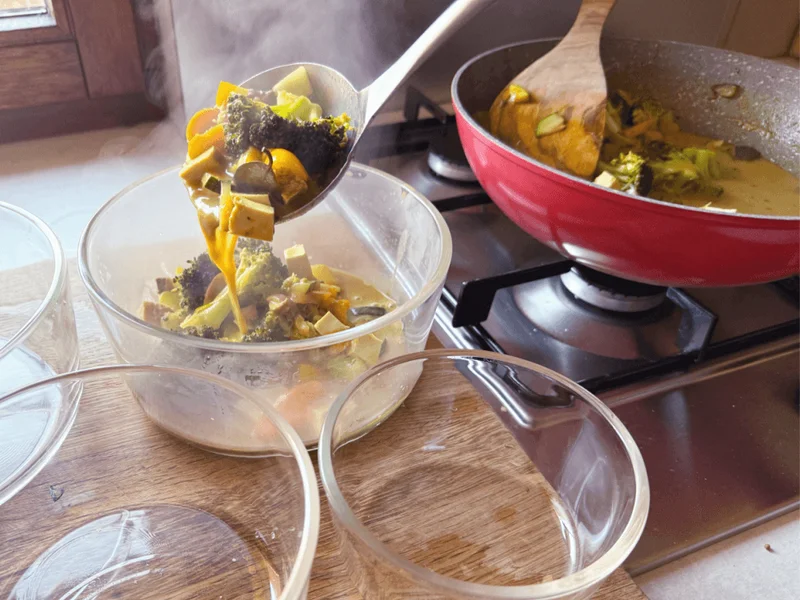
- Add firm vegetables. Simmer gently for 10–12 minutes.
- Add tofu/chickpeas and “quick” vegetables. Continue cooking for 5–7 minutes.
- Season with tamari, sugar, and lime. Top with fresh herbs.
Tip: Curry paste varies in saltiness and spiciness. Therefore, always salt at the end.
Viet-Style Curry
For 6–8 servings.
Ingredients:
- 2 tbsp curry powder (Vietnamese or mild Madras)
- 1 tsp turmeric
- 1 onion, 3 cloves garlic, ginger as above
- 2 tbsp oil
- 2 cans coconut milk
- 2 stalks lemongrass, bruised (or 1–2 tsp lemongrass paste)
- 2 bay leaves
- 600 g potatoes, 400 g carrots, in chunks
- 300 g cauliflower florets
- 400 g tofu or jackfruit (rinsed)
- Salt/tamari, 1 tsp sugar
- Lime for finishing
Instructions:
- Heat oil. Sauté onion/garlic/ginger. Briefly sauté curry powder + turmeric.
- Add coconut milk, lemongrass, and bay leaves. Add potatoes + carrots for 12–15 minutes.
- Add cauliflower + tofu. Cook for 6–8 minutes until soft but not mushy.
- Season. Add lime at the end. Remove lemongrass/bay leaves.
Side: Fragrant rice or rice noodles (gluten-free). Cook rice noodles separately, rinse with cold water, oil, and portion into M jars.
Rice as meal prep:
- 3 cups jasmine rice, 4.5 cups water, 1 tsp salt. Cook. Let steam. Fill into L jars.
Portioning with a System
- XL jar: 4–5 large adult portions of curry or 2× family with children.
- L jars: 3–4 portions of rice.
- M jars: herbs, lime wedges, roasted peanuts, chili oil, cucumber salad.
On the go:
- Curry in L, rice in M.
One Week, One Pot, Zero Chaos
- Monday: Thai curry with rice and lime.
- Wednesday: Viet curry with rice noodles, herbs, and peanuts.
- Friday: Oven casserole “Leftover Delight”: transfer curry to a baking dish/XL jar (without lid), add broccoli, a bit of coconut milk, and bake for 15 minutes. Top with a crunch of nuts.
Kid-Friendly:
- Halve the curry paste, serve chili oil separately at the table.
- Sweet potato and carrot add sweetness, lime balances the spiciness.
Timeline
- 20 min chopping vegetables.
- 25–30 min cooking curry.
- 15 min cooking rice.
- Roast oven vegetables in parallel if needed.
- Portioning. Done in about 75 minutes.