How to Quickly Clean Your Fridge: Effective Tips in Just 10 Minutes
Learn how to quickly clean your fridge in just 10 minutes with effective tips and essential hygiene rules to keep your food safe and odors at bay.
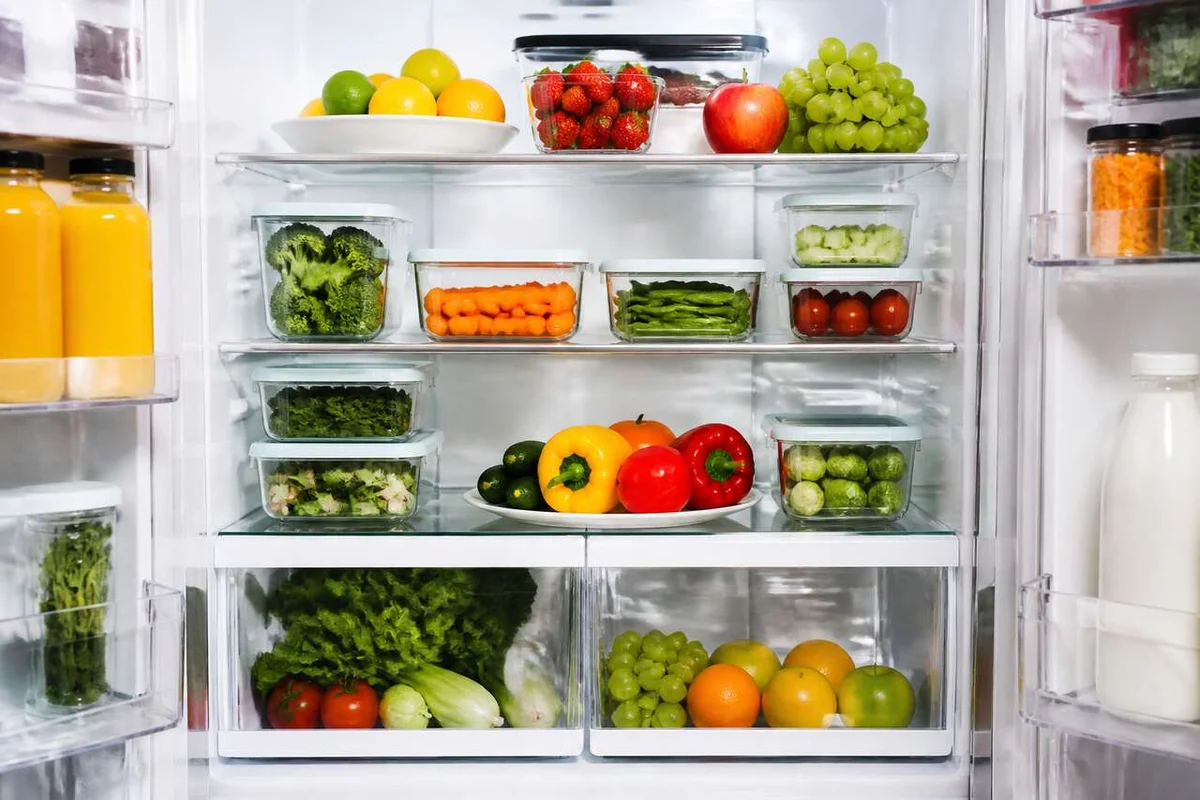
Cleaning your refrigerator doesn't have to be a lengthy chore. With just ten minutes on the clock, a clean cloth, and a systematic approach, you can effectively sanitize your fridge, eliminate unpleasant odors, and ensure your food remains safe. This guide provides a timed sequence, a checklist by zones, and three essential hygiene rules to follow.
Key Takeaways
- A quick fridge cleaning can be accomplished in 10 minutes without unplugging the appliance or removing shelves, as long as you follow a top-down order.
- The three hygiene rules to adhere to include: working swiftly to maintain the cold chain, avoiding abrasive cleaners on door seals, and drying each surface before closing.
- Baking soda, diluted white vinegar, and a microfiber cloth are sufficient for cleaning and deodorizing without damaging surfaces.
- Defrosting the freezer is not part of a quick clean; it requires at least 2 to 3 hours and should not be confused with regular fridge maintenance.
- Proper organization after cleaning extends results and minimizes the return of odors and bacteria.
The Goal of Quick Cleaning and Essential Rules
Cleaning a fridge in just 10 minutes is achievable if you know what to do—and what not to do. The aim of a quick clean is to achieve three concrete results: removing food residues that feed bacteria, neutralizing odor sources, and checking critical areas like door seals and the vegetable bin. This is not a deep disinfection (which requires specific products and longer contact time) nor is it a defrosting task, which pertains to the freezer and takes several hours.
Understanding this distinction is crucial. Many people confuse these tasks, leading to spending an hour on a job meant to take ten minutes or rushing a necessary defrosting by thinking they’ve solved everything with a quick wipe-down. The golden rule: if you see frost in your freezer compartment, a quick clean will not suffice. Schedule a dedicated session for defrosting.
The three rules to follow during cleaning are:
- Do not break the cold chain. Sensitive foods (meats, fish, dairy products) should not be left at room temperature for more than 30 minutes. Ten minutes is manageable, but it’s essential to stick to it.
- Never use abrasive products, pure bleach, or aggressive sprays. These substances can damage plastic surfaces, degrade rubber seals, and leave residues that contaminate food. Mild soap, baking soda, and diluted white vinegar do the job safely.
- Thoroughly dry before closing. Residual moisture encourages bacterial growth and accelerates frost formation in the freezer compartment. A quick wipe with a dry cloth or paper towels is sufficient.
These rules are not optional; they are fundamental to ensuring the effectiveness and safety of your cleaning. Adhering to them also protects your appliance over the long term, particularly the seals, which, once damaged, can lead to cold air leaks and increased energy consumption. With these basics in mind, it’s time to gather the right tools for a speedy clean without causing any damage.
The Minimal Kit for Efficient Cleaning
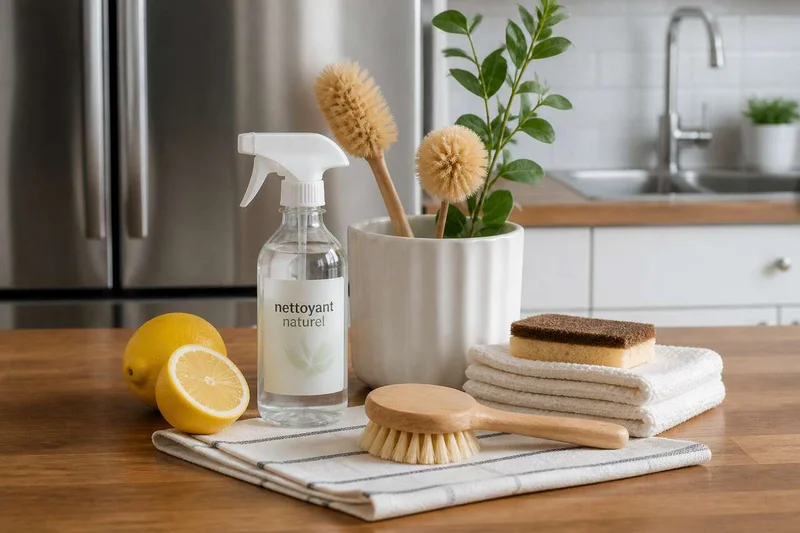
A common mistake is to start with whatever is available under the sink: a scrubbing sponge, a heavily scented multi-surface spray, and a cheap roll of paper towels. The result? Micro-scratches on surfaces, chemical residues on the shelves, and white marks on the door bins. The ideal cleaning kit consists of just a few accessible and inexpensive items:
- A damp microfiber cloth for flat surfaces: it captures dirt without scratching and doesn’t require any product for light residues.
- A natural cleaning solution: one tablespoon of baking soda diluted in a liter of warm water, or a half-and-half mix of white vinegar and water for stubborn odors and limescale deposits.
- An old toothbrush for hard-to-reach corners: door seals, shelf grooves, and the edge of the vegetable bin. No other tool can access these areas as effectively.
- Paper towels for quick drying and collecting liquid waste.
- A trash bag nearby to immediately dispose of expired or questionable food without making multiple trips.
Mild soap (unscented dish soap) can be added to the kit for greasy stains on door bins or glass shelves. However, avoid abrasive green sponges, bleach-based products, scented deodorizing sprays (which mask rather than treat), and any metallic objects that might scratch the surfaces.
A note on white vinegar: it is slightly acidic, making it effective against bacteria and limescale, but it should not be used undiluted on rubber seals or painted surfaces. Diluted to 50%, it is perfectly safe. Its odor, often considered unpleasant, dissipates within minutes after closing the fridge.
If the shelves and vegetable bin are dishwasher-safe (check the manual), you can place them in on a quick cycle at 50 to 60 °C while you clean the inside of the appliance. This significantly reduces manual scrubbing time. Be careful not to stack them and ensure the spray arm is not blocked. Before replacing them, wait until they are close to room temperature to avoid thermal shock to the fridge walls. With your materials prepared, the next question is: should you turn off the appliance?
Should You Turn Off the Fridge and How to Manage Food for 10 Minutes
The short answer: no, in most cases. For a quick 10-minute clean of accessible interior surfaces, unplugging the fridge is neither necessary nor advisable. The appliance continues to maintain a low temperature, protecting the food you haven’t yet removed and speeding up the cooling of wiped areas.
The exception applies to units without removable shelves or those needing a thorough clean with a lot of water. In such cases, it’s better to unplug or turn off the appliance to avoid any electrical risks from moisture. But for routine cleaning, the fridge remains plugged in.
Managing food during these 10 minutes follows a straightforward logic:
- Only remove the food from the area you are cleaning at that moment, not the entire contents at once.
- Place sensitive products (meats, dairy, prepared dishes) in a cooler with an ice pack if you anticipate exceeding 15 minutes, or simply on the countertop if you stay within 10 minutes.
- Use this opportunity to sort: immediately throw away any food that has passed its expiration date or looks questionable into the trash bag. This is the best time for this inventory, recommended at least once a week.
- Never return a warm food item directly into the fridge after cleaning; wait until the surfaces are dry before replacing any items.