Installing an Electrical Outlet in a Stone Wall: A Practical Guide
This guide outlines the process of installing an electrical outlet in a stone wall, addressing technical challenges, necessary tools, and compliance with safety standards.
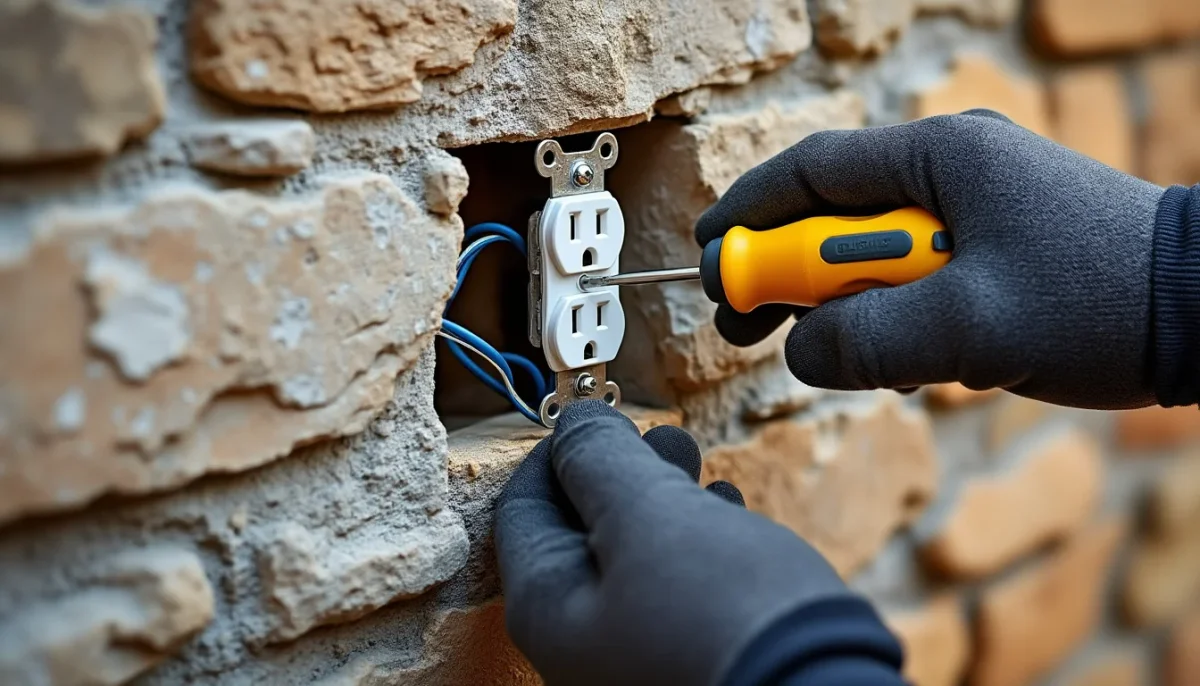
A stone wall embodies character, authenticity, and architectural soul, elements that many seek to preserve during renovation projects. However, modern life demands functional and discreet electrical outlets. The challenges of installing an outlet in such a sturdy material involve navigating regulatory constraints, aesthetic considerations, and technical difficulties. Overlooking any of these aspects can lead to unsafe or unsatisfactory results. Fortunately, with the right approach, appropriate tools, and a careful reading of regulations, this task is well within the reach of a skilled DIY enthusiast. This guide outlines each step, from regulatory preparations to aesthetic finishes, including material selection and specialized drilling techniques.
- The NF C 15-100 standard applies to stone walls: heights, wire sections, and differential protection are non-negotiable.
- A hammer drill and a 67 mm hole saw are essential for effectively working with this type of hard material.
- Electrical conduits are concealed within the joints between stones to maintain the wall's natural appearance.
- The multi-material flush box is the key component for a clean and durable installation in stone.
- Connections must adhere to the color code for wires and be made with secure connectors, avoiding simple terminal blocks.
- If there is any doubt about the wall's stability or the existing circuit, consulting a certified electrician is the best decision.
The Technical Challenge of Installing an Electrical Outlet in a Stone Wall
Ancient stone walls differ significantly from drywall partitions. Their heterogeneous structure, variable hardness depending on the material, and substantial thickness make each intervention unique. A soft limestone wall behaves differently than a granite or compact sandstone wall. This reality requires adapting tools, timing, and expectations before beginning any work.
In many renovation projects, particularly in rural homes or older buildings, artisans find that walls can be 50 to 80 centimeters thick. This complicates conduit routing and the choice of embedding depth. A standard 40 mm deep box may be insufficient if the stone surface is not perfectly flat.
Aesthetic preservation is also a central concern. Many homeowners wish to keep the stone visible while still enjoying functional electrical installations. This requires a delicate approach, utilizing existing joints rather than cutting into the raw material. Although this method takes longer, it produces far more harmonious results.
Assessing the Nature of the Wall Before Any Intervention
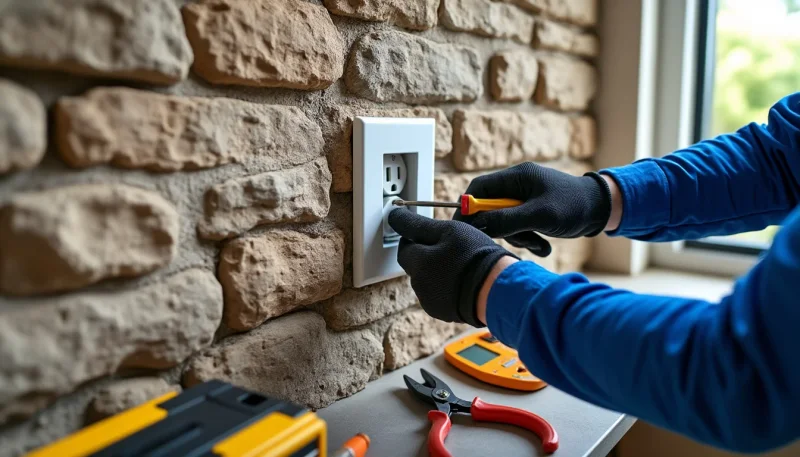
Before using the hammer drill, it is crucial to characterize the wall you are working on. Is it a load-bearing wall or a partition? This determination affects the permissible drilling zones. Attacking a load-bearing area with a hole saw without caution can compromise the structure, particularly in older buildings where stones contribute to overall stability.
A metal and cable detector is useful for locating any existing pipes or wires within the wall's thickness. In an old house, previous electrical installations may have been done unconventionally, with cables running in unexpected directions. It is best to map out these elements before drilling.
Finally, check if the wall is damp. A waterlogged stone can complicate the adhesion of the mortar used to seal the box, and persistent moisture may eventually damage the electrical conduits. Pre-treatment or opting for a surface-mounted solution may be necessary.
Essential Tools and Materials for Installing an Outlet in Stone
Working with stone necessitates serious equipment. This operation cannot be performed with the same tools used for lightweight partitions. The list of necessary materials is longer, but each item serves a specific purpose.
The hammer drill, capable of both chiseling and rotary percussion modes, is the central tool. It allows for drilling guide holes and enlarging joints for conduit passage. The 67 mm hole saw, mounted on the hammer drill with an appropriate hard material adapter (carbide or diamond depending on the stone), creates the circular opening for the flush box.
For materials, the choice of a multi-material flush box with a diameter of 67 mm is essential. Its installation can be done with plaster or adhesive mortar, ensuring a solid hold in the stone, far superior to a claw box designed for drywall. The ICTA conduits (insulated corrugated thermoplastic) of suitable section protect the cables and facilitate future replacements.
Electrical Wires: Section and Color Code
For a power outlet circuit, the minimum wire section mandated by regulations is 2.5 mm². Thinner wires pose a risk of overheating under heavy loads, potentially leading to fire hazards. Adhering to this requirement is non-negotiable.
The color code for conductors is standardized: blue for neutral, red or brown for phase, and green-yellow for ground. This convention exists specifically to prevent errors during connections. Mixing up phase and neutral can render certain devices dangerous to use, even if the outlet appears to function normally.
For connections, automatic terminals like Wago or cage clamp connectors should be prioritized. A simple terminal block crammed into a box that is too small can loosen over time, creating a potentially dangerous heat point. The quality of connections determines the longevity and safety of the entire installation.
Detailed Steps for Embedding an Outlet in a Stone Wall
The method follows a logical sequence, where each step prepares for the next. Disrupting this order increases the risk of mistakes and rework.
The first step, the most critical: cut off the electrical supply at the main panel and check for the absence of voltage using a phase tester or multimeter. This verification should be systematic, even if you are certain you have turned off the correct circuit breaker. A moment of distraction can have serious consequences.
Next comes the precise marking of the location. The minimum regulatory height is 5 centimeters above the finished floor. A spirit level ensures horizontal alignment, which is particularly important if multiple outlets are on the same visual alignment. In an irregular stone wall, finding a flat spot for the box may require some positional adjustments.
Routing Conduits and Drilling the Box
Routing conduits in a visible stone wall is the most delicate and time-consuming step. The goal is to conceal the cables within existing joints, slightly widening them with a chisel without altering the overall appearance of the wall. Once the conduit is positioned, it is temporarily held in place by small recovered stone wedges, then embedded in a lime mortar joint.
For drilling the receiving hole, the 67 mm hole saw is operated at moderate speed, applying constant pressure without forcing it. On very hard stones like granite, progress may be slow. Patience is a professional quality here. Once the stone disc is removed, the opening is cleaned, and the box is slid into place to check the fit before sealing.
Adhesive mortar is evenly applied to the inner walls of the opening, and the box is inserted and aligned precisely. A pocket level is used to ensure verticality. Full drying is expected, usually a minimum of 24 hours, before proceeding with the electrical connections. Rushing this step risks the box shifting under the strain of attaching the outlet.
Connection and Commissioning Test
Once the box is securely sealed, the wires are introduced through the conduit, stripped for about 1 centimeter using wire strippers, and then connected to the corresponding terminals on the outlet. The green-yellow wire must be connected to the ground terminal. Neglecting the ground connection can be fatal in the event of insulation failure on a plugged-in device.
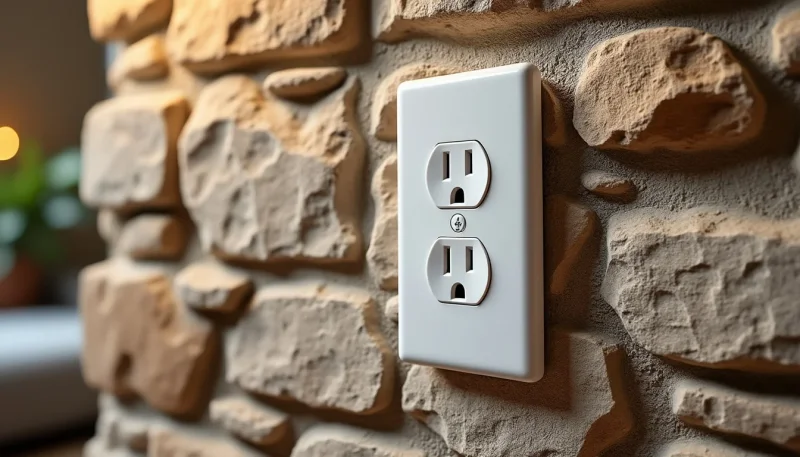
The outlet is then carefully folded back into the box and screwed in place. The finishing plate covers the assembly. For visible stone walls, plates with stone, polished concrete, or wood finishes can create a visually pleasing continuity. Before restoring power, a quick check of the connections at the source outlet ensures everything is clean. The final test, using a standard device or outlet tester, validates the installation.
NF C 15-100 Standards and Electrical Safety in Older Buildings
The NF C 15-100 standard is not merely an administrative recommendation. It is the result of decades of feedback on domestic electrical accidents. Its rigorous application significantly reduces the risks of fire and electrocution, two direct consequences of faulty installations.
In older buildings, questions often arise regarding whether the existing circuit can support an additional outlet. The rule is clear: a 20A circuit protected by a 2.5 mm² wire can supply a maximum of 8 outlets. A 16A circuit with 1.5 mm² wires is limited to 5 outlets. Exceeding these thresholds exposes you to tripping breakers or gradual overheating of wires within the walls.
For the oldest installations, it may happen that the wires within the wall lack a ground conductor. In such cases, simply adding a grounded outlet is insufficient; the entire circuit must be rewired from the panel with compliant three-wire cables. This constraint is more common than one might think in homes built before the 1970s, justifying the need to entrust the project to a professional.
The Role of the Differential Circuit Breaker in Protecting People
The 30 mA differential circuit breaker is one of the most crucial components of a residential electrical installation. Its role is to detect any current leakage to ground exceeding 30 milliamperes and to cut off the power supply in less than 30 milliseconds. This response time is below the threshold that can cause cardiac fibrillation in humans.
When adding an outlet to an existing circuit, it is imperative to verify that this circuit is adequately protected by such a device at the panel. If not, its installation must precede all other work. This verification is essential for ensuring safety in any electrical installation.