Insufficient Slope for Shower Drainage? Action Plan!
Is your shower retaining water instead of draining? An insufficient slope can cause stagnation, odors, and damaged seals. Learn how to identify the issue and find solutions ranging from simple cleaning to major renovations.
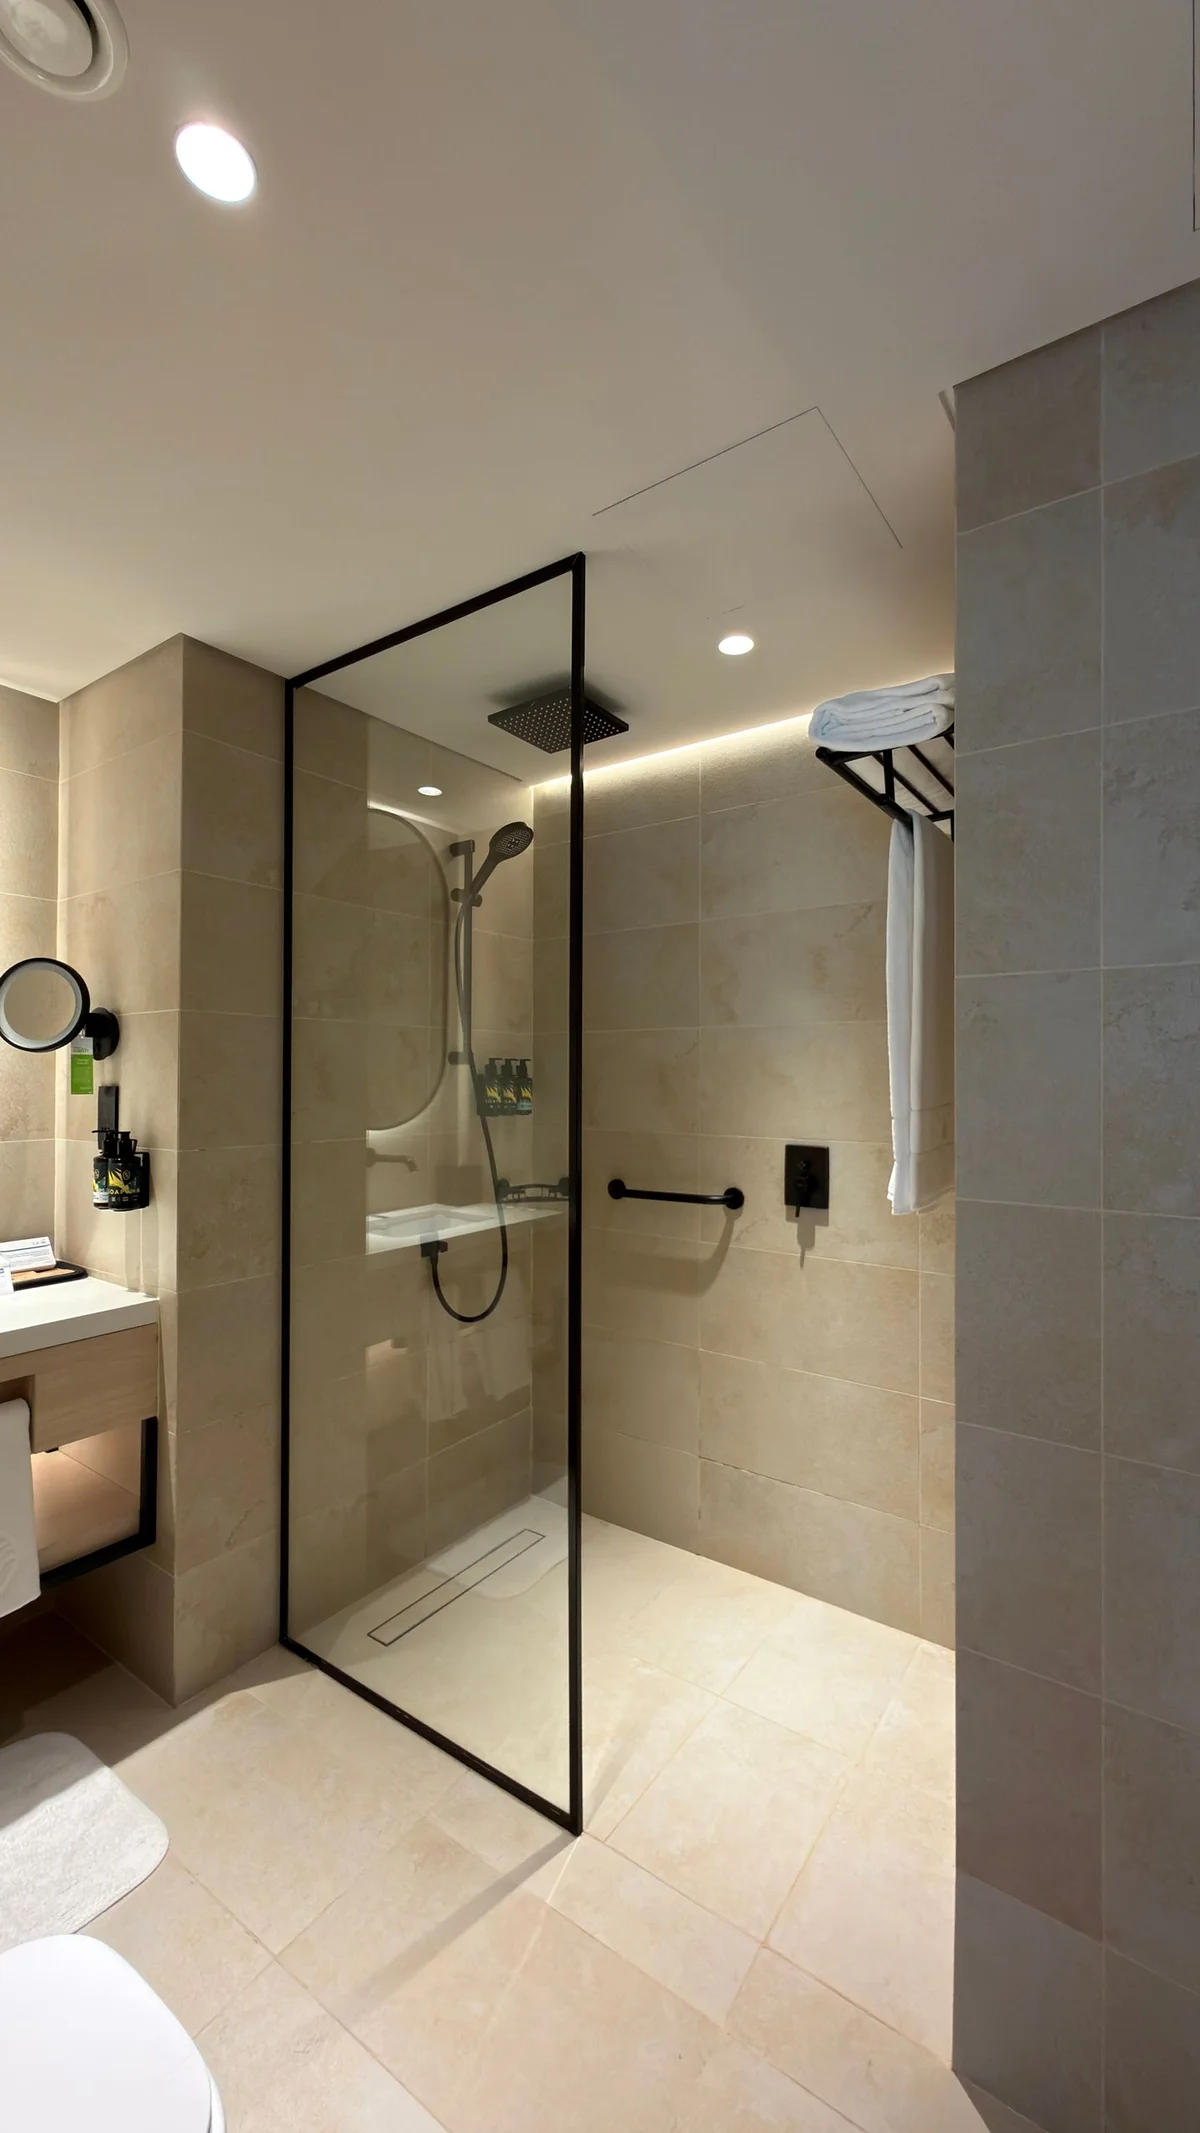
Is your shower retaining water instead of draining it? An insufficient slope for shower drainage can lead to stagnation, unpleasant odors, and quickly deteriorating seals. This guide will help you identify the issue, check the drain and siphon, and select the appropriate solution, ranging from simple cleaning to more extensive repairs.
Key Takeaways
- The ideal slope for a shower is approximately 2%, or 2 cm per meter.
- If water is pooling, the issue may stem from a clogged drain, not just the slope.
- Quick solutions are available: cleaning, raising the shower tray, or installing a lift pump.
- If the slope is poorly constructed, it may require reworking the pipes or redoing the screed.
When discussing slope, I refer to the incline of the floor or pipe towards the drain, which is the point where water exits the shower. Water must flow by gravity, without lingering on the surface. A slope that is too shallow slows down drainage, causing water to pool.
Important Note: An effective slope is measured in percentage. The lower the percentage, the more erratic the flow becomes. Below 1 cm per meter, you enter a risky zone.
What Slope is Typically Expected?
In practice, a shower operates effectively with a slope of about 2%, meaning 2 cm of drop per meter. The DTU 60.11 standard specifies a range of 1 to 3 cm per meter for wastewater collectors. In other words, this is not a matter of approximation: the slope directly affects the drainage speed.
For a concealed pipe in concrete, aim for a minimum of 2 cm/m. For an exposed pipe, 1 cm/m may suffice in some cases. However, for a shower, it’s safer to be cautious: if the slope is too low, water finds it harder to flow, leading to faster accumulation of debris.
What Signs Indicate Poor Drainage?
Identifying the signs of inadequate drainage is generally straightforward. The most obvious indicator is standing water at the bottom of the shower tray or around the drain after use. Slow drainage is another telltale sign: water may take several seconds or even minutes to disappear completely.
- Standing water after use, especially in the corners of a walk-in shower.
- Slow drainage that leaves a film of water on the floor.
- Residues of hair, soap, and dirt around the drain.
- Unpleasant odors if the siphon is emptying or if drainage is overly constrained.
Why do these signs occur? A slope that is too shallow prevents water from effectively pulling debris towards the drain. Hair, soap remnants, and limescale cling more easily, exacerbating the problem. Thus, an insufficient slope for shower drainage often creates a vicious cycle.
Why Does the Slope Become Insufficient?
Several reasons can contribute to this issue. Sometimes, it stems from an incorrect installation from the outset: a poorly positioned drain, uneven screed, or an irregular support. Other times, the slope may have been correct initially, but the subfloor shifted or the mortar settled over time.
Don’t forget about clogging. A partially blocked pipe alters water circulation and may give the impression of a slope issue. Low-profile showers and walk-in showers are also more susceptible, as they leave less room for drainage errors.
How to Check the Slope and Identify the Problem?
Before making any major changes, it’s advisable to accurately diagnose the situation. A shower that drains poorly doesn’t necessarily mean everything needs to be redone. Sometimes, a simple cleaning will suffice. The goal is to distinguish between a slope issue and a clog issue.
Measuring the Slope with a Level
To measure, you’ll need a bubble level or electronic level, a tape measure, and, if possible, a straightedge. Place the straightedge between the farthest point from the drain and the drain itself, then measure the height difference. Over 1 meter, a slope of 2 cm corresponds to 2%.
If you only have a smartphone, a leveling app can be a temporary solution. While it may not be the most precise tool, it’s useful for an initial check. The key is to ensure that the lowest point is near the drain and that the slope remains consistent, without any local depressions.
Reminder: A correct slope is pointless if the drain isn’t positioned correctly. The drain must be at the lowest point; otherwise, water will inevitably accumulate in any low spots.
Inspecting the Drain and Siphon
The drain is the visible element through which water enters the drainage system. The siphon retains a small amount of water, known as the water seal, to block odors and insects. If the siphon is concealed, it should ideally remain accessible for maintenance.
Diameter is also important. A 90 mm drain is common in modern showers, and pipes should be at least 40 mm in diameter. If the length exceeds 1 meter, I recommend using 50 mm to facilitate drainage. Avoid configurations with multiple bends or poorly positioned flexible pipes, as they can lead to a “siphon after siphon” situation, promoting clogs.
Distinguishing Between Insufficient Slope and Clogged Drain
The test is straightforward. Clean the drain, remove visible hair, and observe the water flow. If water drains quickly after cleaning, the issue was primarily due to clogging. If it remains stagnant despite a clean drain, the slope is likely the culprit.
You can also use a drain snake or auger, which is a flexible rod designed to remove deposits from the pipe. If it passes through easily and water drains better afterward, you’ve identified the problem. If not, the issue may lie with the slope or the configuration of the drainage system.
Solutions for Insufficient Slope in Shower Drainage
If the problem isn’t structural, several accessible solutions exist before considering major renovations. I always recommend starting with the simplest option: it’s often the least expensive and quickest to implement. An insufficient slope for shower drainage doesn’t always necessitate a complete overhaul.
- Clean the drain, siphon, and beginning of the pipe to remove deposits.
- Raise the shower tray if a few centimeters can create a proper slope.
- Install a lift pump when gravity cannot suffice.
Cleaning and Descaling the Drain
I always start with cleaning because it’s the most logical solution. A mix of hair, soap, and limescale can significantly hinder water flow. Use a strainer, which is a small filter placed over the drain, to catch debris.
Regularly clean the siphon if your installation allows for it.
You can use a manual drain cleaner, a snake, or a descaling product suitable for plastics. Avoid overly aggressive products with strong acids, as they can damage some materials. Hot water mixed with a bit of white vinegar can also help dissolve light deposits.
The goal is not to mask the problem but to verify if the flow returns to normal once the drain is cleaned.
Raising the Shower Tray
When the floor is too flat but the slope isn’t entirely absent, raising the shower tray can suffice. This involves gaining a few centimeters in height to create a better incline towards the drain. This is often beneficial for low-profile trays, provided the structure allows for some recovery of space.
This solution may involve a new layer of mortar, an elevated support, or an adjustment of the existing base. The aim is simple: allow water to flow by gravity without forcing it. While this may not be the most aesthetically pleasing solution in all cases, it can sometimes avoid a complete bathroom renovation.
Installing a Lift Pump
A lift pump is the appropriate choice when natural slope correction isn’t feasible. It draws wastewater and pushes it towards the drainage column, even when gravity isn’t sufficient. This is commonly found in constrained configurations: low basements, cramped spaces, or when modifying pipes is impossible.
However, keep in mind that a pump requires electrical power and regular maintenance. You must check the filter, clean deposits, and ensure the system functions properly. Therefore, I recommend reserving this solution for situations where other options are genuinely unfeasible.
Reminder: Before undertaking any plumbing or electrical work, turn off the water, secure the power supply, and check access points. A misstep can quickly lead to higher costs than a well-planned intervention.
When to Consider Major Renovations for Insufficient Slope in Shower Drainage?
When the issue is structural, simple cleaning isn’t enough. If the slope is poorly designed, if the shower tray is deformed, or if the pipes are improperly placed, it may require redoing part of the work. This shifts from quick fixes to renovation.
Reconfiguring the Drainage Pipes
If the source of the problem lies within the network, the pipe layout may need to be revisited. Ideally, limit bends and maintain an appropriate diameter: 40 mm for short distances, 50 mm beyond about 1 meter. The longer and more convoluted the network, the less effective the drainage becomes.
I also recommend considering primary ventilation, which involves extending the drainage column to the roof to balance pressures. Without this network breathing, the siphon can partially empty and allow odors to escape.
When redoing the pipes, you often correct more than just a slope issue.
Redoing the Slope of a Walk-in Shower
For a walk-in shower, if the slope is incorrect, it may require removing the tiles altogether. Afterward, the screed needs to be redone with the correct angle, typically between 2 and 3%. For textured surfaces, like pebbles or certain natural stones, I prefer to aim for 3% to ensure comfortable drainage.
This slope can be created with a traditional screed, a ready-to-tile tray, or slope guides. In some renovations, compensation wedges are used to locally adjust the level before tiling. I recommend a very informative video on this topic, as it clearly illustrates how to correct a poorly made slope.
This slope adjustment requires precision, as an error of just a few millimeters can create a stagnant water zone. And in a walk-in shower, even the slightest negative slope quickly becomes apparent during use.
Replacing a Defective Shower Tray
If the shower tray is too flat, poorly molded, or deformed, it may be impossible to correct it properly without replacement. In such cases, replacing it is often more rational than attempting a partial fix. A new model with an integrated slope and appropriately sized drain often resolves the issue right from installation.
I recommend choosing a tray with a correctly sized drain, ideally with a 90 mm drain if the model allows. This enhances flow, user comfort, and long-term reliability.
What Slope Should Be Maintained for a Shower or Bathtub?
Here are the most useful guidelines to keep in mind. They allow you to compare your installation with the recommended standards:
- Shower with standard drain: 2% (2 cm/m)
- Shower with concealed drainage: 2% (2 cm/m) minimum
- Walk-in shower: 2-3% (2-3 cm/m)
- Bathtub: 1-2% (1-2 cm/m)
By adhering to these guidelines, you can ensure efficient drainage and avoid complications in the future. Regular maintenance and timely interventions can help maintain your shower's functionality, preventing the issues that arise from insufficient drainage slope.