Understanding Rectified Tiles: Definition and Benefits
Explore the transformative qualities of rectified tiles in home renovation. Learn about their manufacturing process, benefits, and installation techniques that enhance aesthetics and durability.
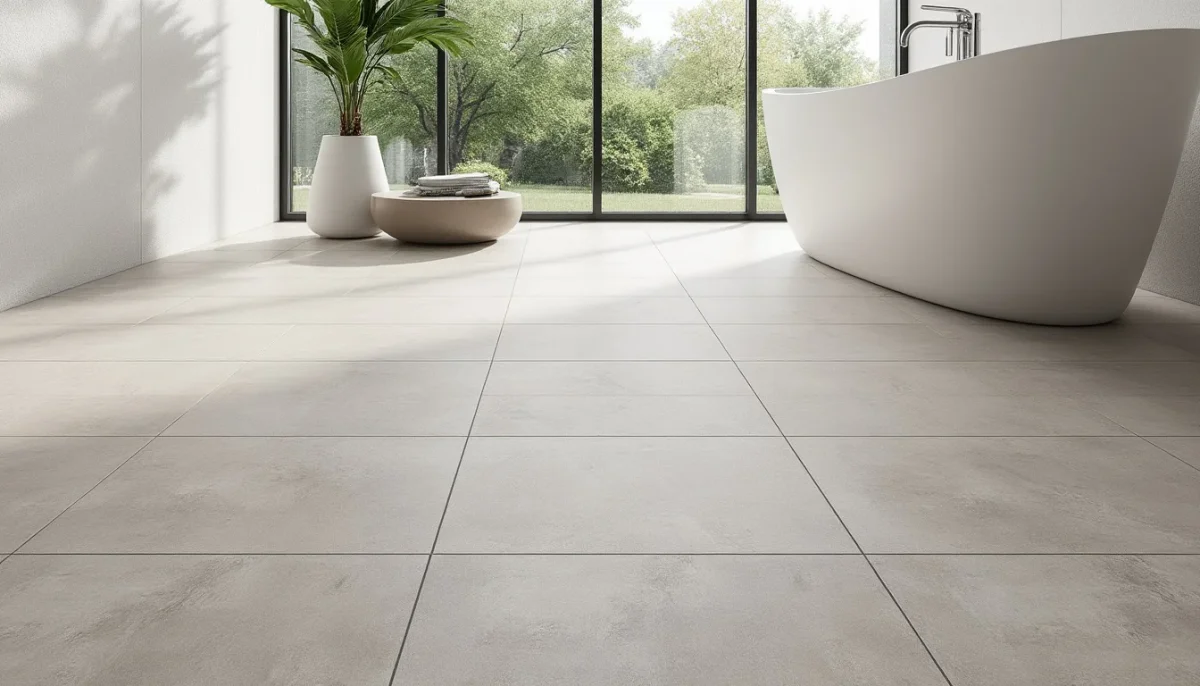
In recent years, flooring and wall coverings have undergone significant changes. Where traditional tiles once sufficed, a new standard has emerged in renovation projects and new constructions: rectified tiles. Favored by interior designers, skilled craftsmen, and discerning homeowners, this type of tile meets the growing demand for aesthetics, precision, and durability. Understanding what a rectified tile is involves recognizing its impact on the ambiance of a space and why it has become a benchmark in the building sector.
In brief:
- Rectified tiles are trimmed after firing to achieve perfectly straight edges and uniform dimensions.
- They are distinguished from traditional tiles by the narrowness of their joints, which can be as small as 2 mm according to DTU standards.
- This type of covering is suitable for all surfaces: indoor floors, walls, outdoor spaces, and wet areas.
- Their installation requires a perfectly level substrate and the intervention of a qualified professional.
- They come in a wide variety of formats, finishes, and colors, ranging from small tiles to large XXL formats.
- Their cost is slightly higher than traditional tiles, but the aesthetic and technical added value is significant.
Rectified Tiles: Definition and Manufacturing Process
To truly grasp the significance of rectified tiles, one must look back at the manufacturing process. Like all tiles, they are made from clay or stoneware, mixed, and then fired at very high temperatures. This is where complications arise: during firing, each tile can undergo differential contraction. In simpler terms, two tiles from the same batch may not emerge with perfectly identical dimensions.
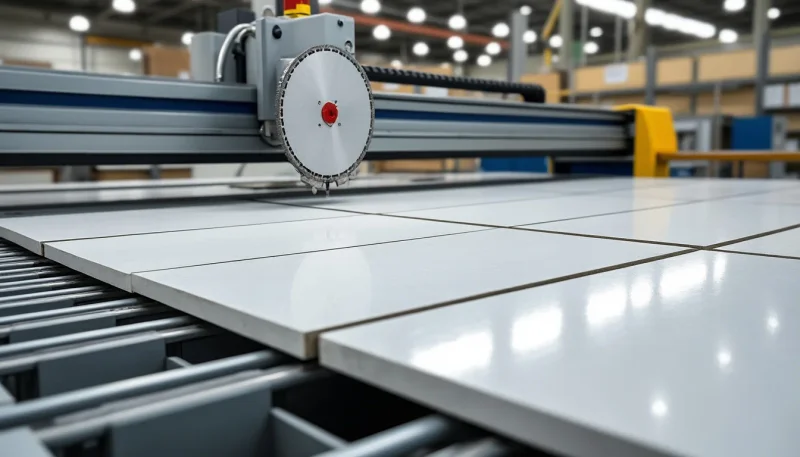
For traditional tiles, these slight size variations are compensated for by wider joints. However, for rectified tiles, an additional step is involved: rectification. Essentially, each tile is trimmed on all four sides using a diamond disc after firing. This process ensures perfectly straight edges and rigorously identical dimensions from one tile to another.
The result is striking: a uniform surface, clean edges, and the ability to lay tiles with extremely thin joints. This process, once reserved for high-end projects, is now accessible to all budgets and is gradually replacing non-rectified tiles in the market.
Why Does Firing Create Irregularities?
Firing tiles at temperatures exceeding 1,200 degrees inevitably leads to shrinkage and microscopic deformations. Although these variations are minimal, they can create visible discrepancies during installation. For instance, on a large living room tile, these irregularities can result in an unwanted wavy or uneven effect.
Rectification addresses this issue at its source. By imposing precise mechanical sizing on each piece, it ensures a dimensional uniformity that firing alone cannot guarantee. This level of precision explains why this type of tile is so sought after in high-end renovation projects, as well as in everyday residential construction seeking a clean and modern finish.
Rectified Tiles vs. Traditional Tiles: Key Differences
A common question arises in discussions between craftsmen and clients: is it worth paying more for rectified tiles? To answer this honestly, one must compare both options based on objective criteria, beyond mere visual appeal.
Non-rectified tiles, or traditional tiles, have not undergone any mechanical treatment after firing. Their edges exhibit a slight natural rounding, and their dimensions may vary by a few millimeters from one tile to another. To compensate for these irregularities, tilers typically need to plan for wider joints, usually between 3 and 4 mm. This is not a flaw per se; for a rustic style, a characterful kitchen, or a vintage space, these wider joints contribute to the overall charm.
However, for a contemporary apartment with clean lines or a minimalist bathroom, wide joints can detract from visual coherence. This is where rectified tiles shine: installed with joints of only 2 mm, they create an almost continuous, elegant surface that is very easy to maintain.
A Direct Impact on Daily Maintenance
Joints, even when well-sealed, remain sensitive areas prone to dirt accumulation. The wider the joints, the more they collect dust, mold, and cleaning residues. A 2 mm joint, due to its narrowness, significantly reduces these accumulation zones. For a bathroom or kitchen used daily, this is a tangible advantage that pays off in the long run.
It is important to note that joints are still essential, even with rectified tiles. DTU standards require a minimum of 2 mm to allow tiles to absorb thermal expansions and the stresses of the substrate. Completely eliminating the joint is a technical error that inevitably leads to cracks or premature detachment. For more information on joint application, particularly in outdoor contexts, practical guides like this one on exterior tile jointing provide clear and detailed explanations.
The Advantages of Rectified Tiles for Your Renovation Project
Choosing rectified tiles for a renovation or construction project means opting for a covering that combines several qualities rarely found in a single material. Beyond aesthetics, it is a technical decision that influences durability, ease of installation, and the perceived value of the property.
Here are the main benefits that explain the growing enthusiasm for this type of covering:
- A luxurious and contemporary appearance: nearly invisible joints create an impression of continuity and space, particularly appreciated in large areas.
- Flawless flatness: perfectly cut edges prevent stepping effects between adjacent tiles.
- A wide variety of formats: from small modules of 20×20 cm to large XXL tiles of 120×120 cm or more, the range is extensive.
- A broad choice of finishes: matte, glossy, satin, concrete effect, natural stone effect, or wood effect—every style has its rectified variant.
- Compatibility with all surfaces: whether for indoor floors, walls, terraces, or pools, rectified tiles adapt to all configurations, provided a suitable model is chosen (non-slip for wet or outdoor areas).
- Increased property value: well-installed rectified coverings contribute to the perceived quality of a property, which can play a role in sales or rentals.
Consider the example of a renovated Haussmann-style apartment: the owner opted for large rectified tiles mimicking travertine stone, laid with 2 mm joints. The result is a living space that appears larger and brighter, with no visual break on the floor. A choice that has directly influenced the perceived value of the property during its rental listing.
Installation Techniques for Rectified Tiles
The quality of rectified tiles is fully realized only with impeccable installation. This is perhaps the most delicate aspect for a homeowner to grasp: poorly installed rectified tiles lose much of their appeal. The precision that characterizes this material demands rigorous preparation of the substrate and technical mastery that only an experienced craftsman can provide.
There are two main installation methods, each suited to specific project configurations.
Sealed Installation: A Proven Method for Large Projects
Sealed installation, defined by DTU 52.1, involves first creating a mortar screed of at least 4 cm thick. This screed allows for leveling differences and covering technical passages like electrical conduits or plumbing. Once the screed is perfectly dry, it is sprinkled with pure cement to enhance adhesion. The tiles, pre-moistened, are then carefully laid one by one.
This method, longer and more complex, is favored for large areas or when the base substrate has significant irregularities. It offers excellent durability, provided that every step is followed meticulously.
Glued Installation: Flexibility and Speed for Renovations
Glued installation, governed by DTU 52.2, is the most common method used in residential renovations. It involves applying a tile adhesive directly onto the substrate, then pressing the tiles firmly into place. The substrate must be clean, dry, sound, and level. If not, a leveling compound is necessary to correct any flatness issues.
For large rectified tiles, double gluing is highly recommended: adhesive should be applied both to the floor and to the back of the tile. This technique maximizes contact area and ensures optimal adhesion, minimizing long-term detachment risks.
Regardless of the chosen method, one fundamental rule applies: never lay tiles edge to edge. DTU standards explicitly forbid this. A joint of at least 2 mm is mandatory to allow for thermal expansions and to prevent cracking.